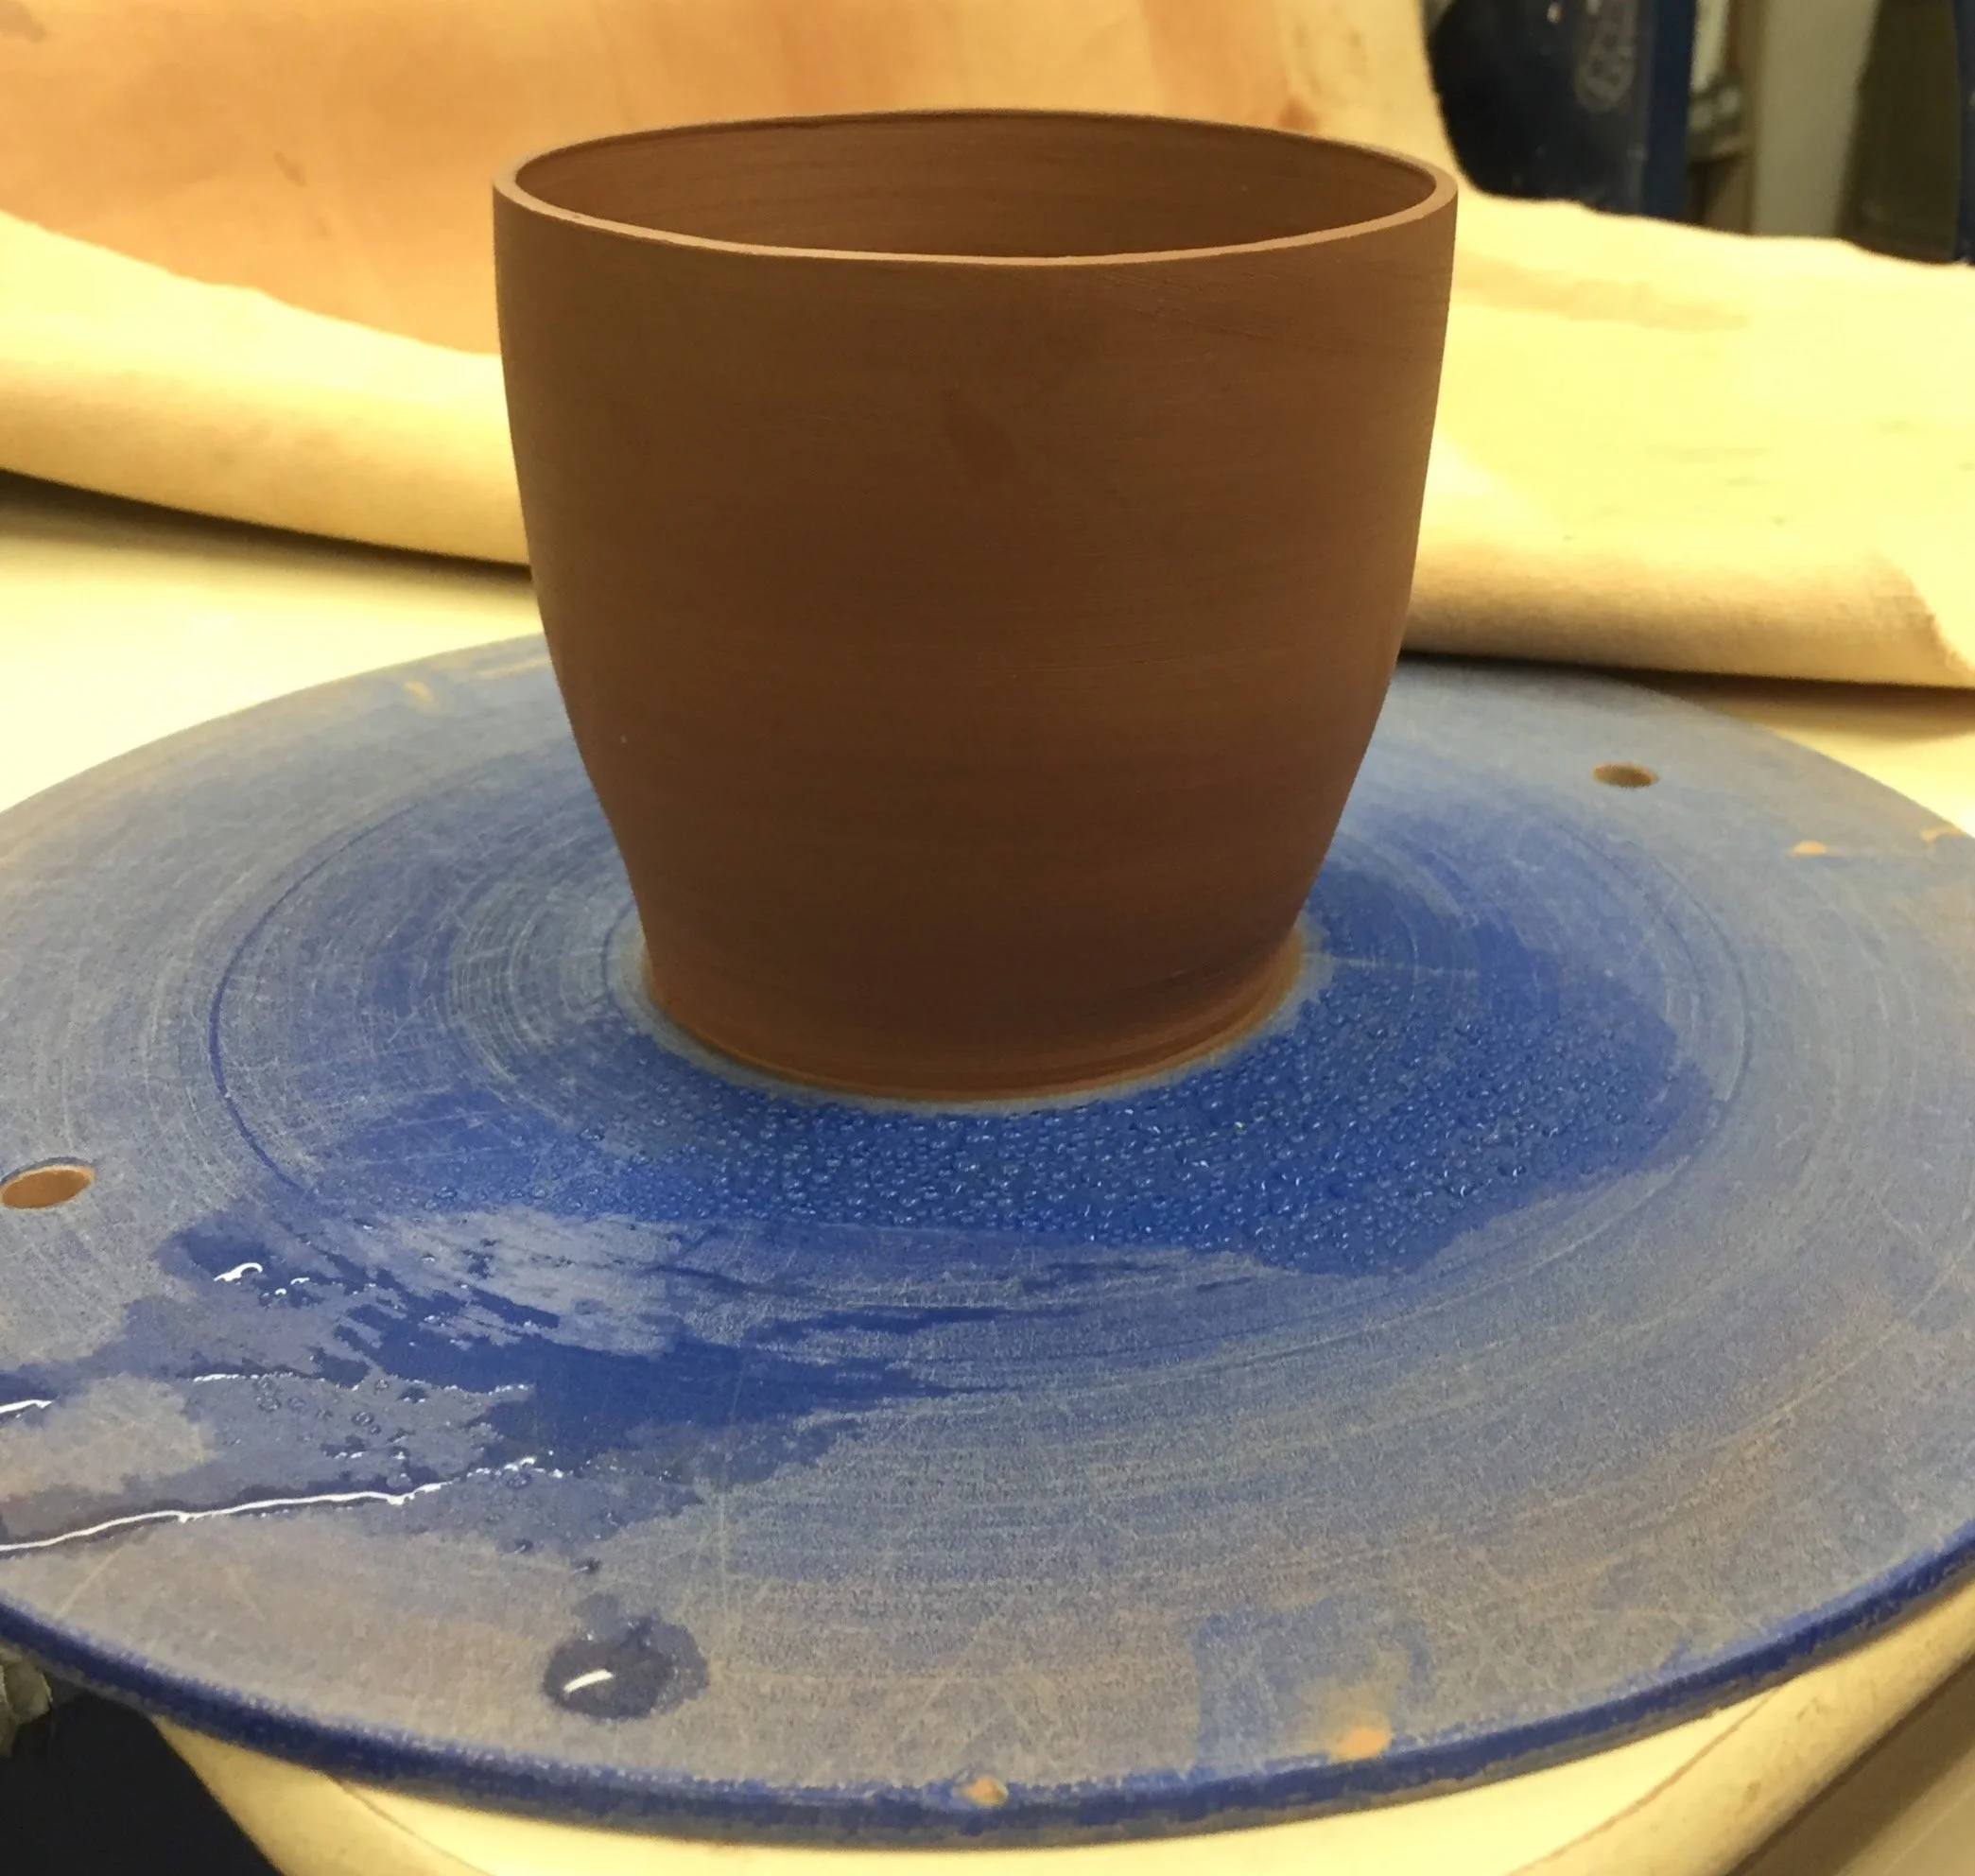
I throw my pots (I call all my raw shapes pots) on bats (the plastic, this case blue, disc) this makes it easy to remove them from the wheel to allow them to stiffen.

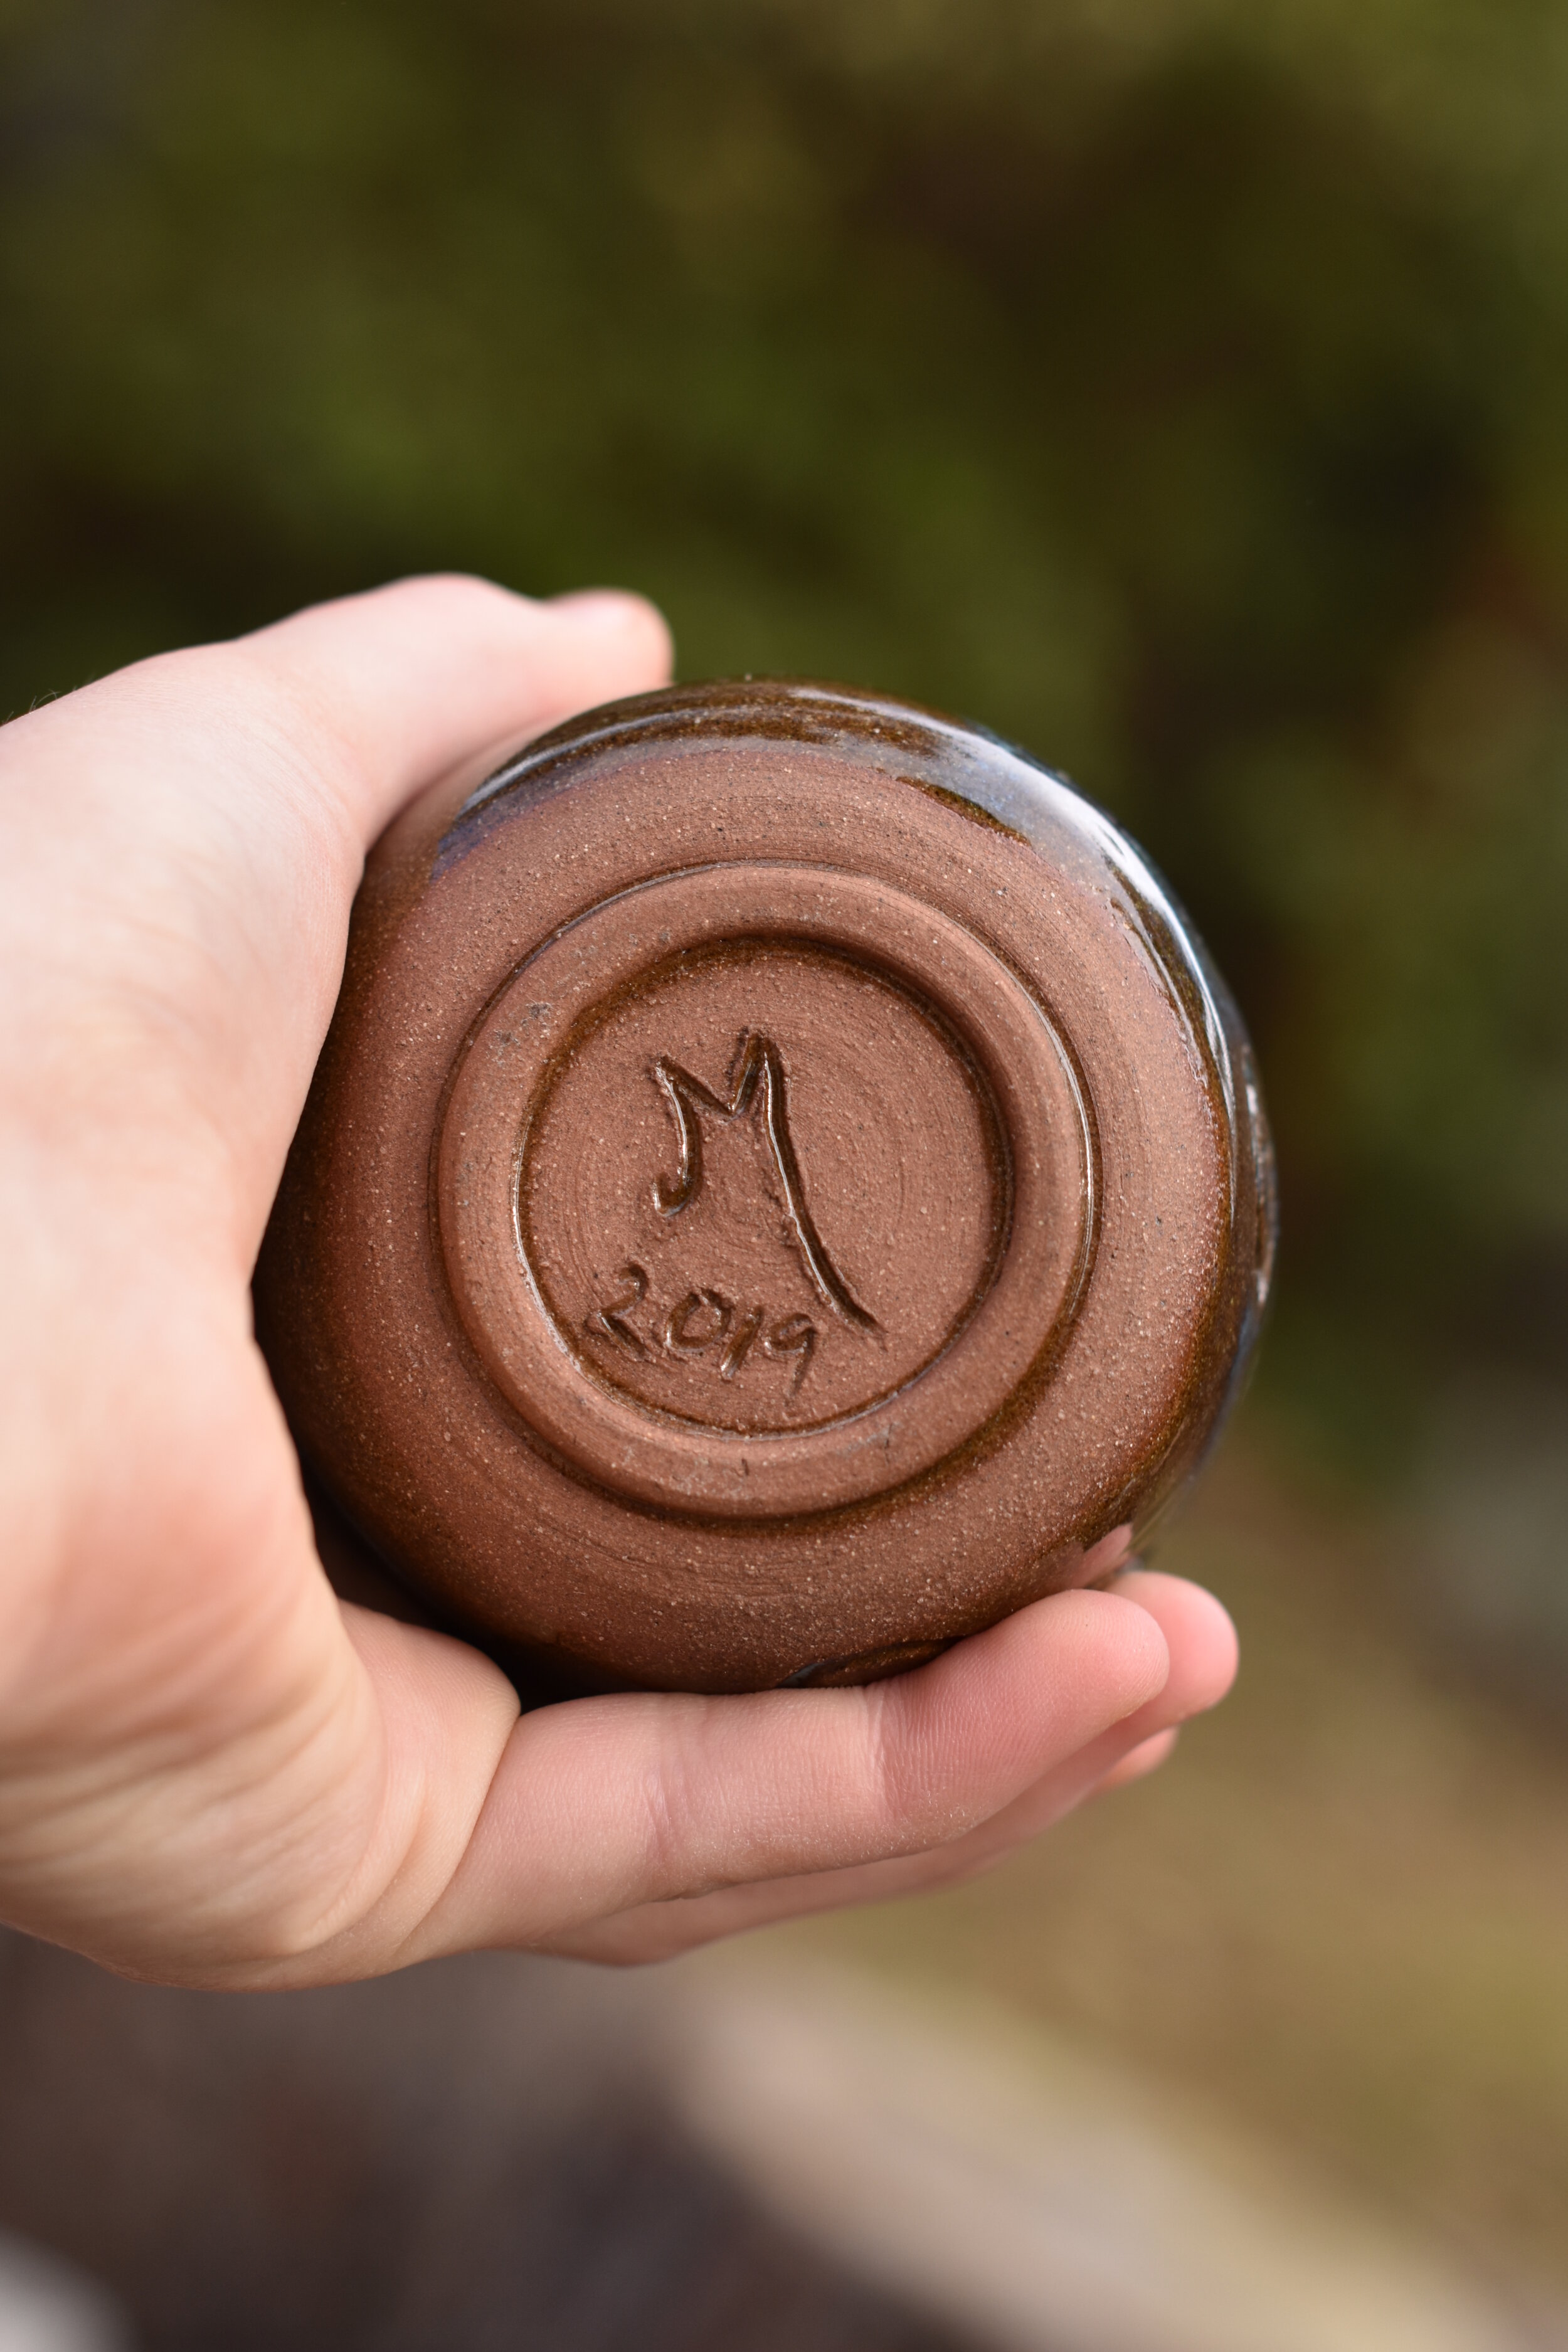
After the pot has dried to the point where no sticky fingerprints are made when it is touched, I cut the pot off the bat and trim it. Trimming involves re-centering the pot with the bottom facing up allowing me to trim the excess clay off, creating a foot. If the pot is not centered on the wheel the foot won’t be centered on the pot. When the pot is dry it is ready for the bisque firing.
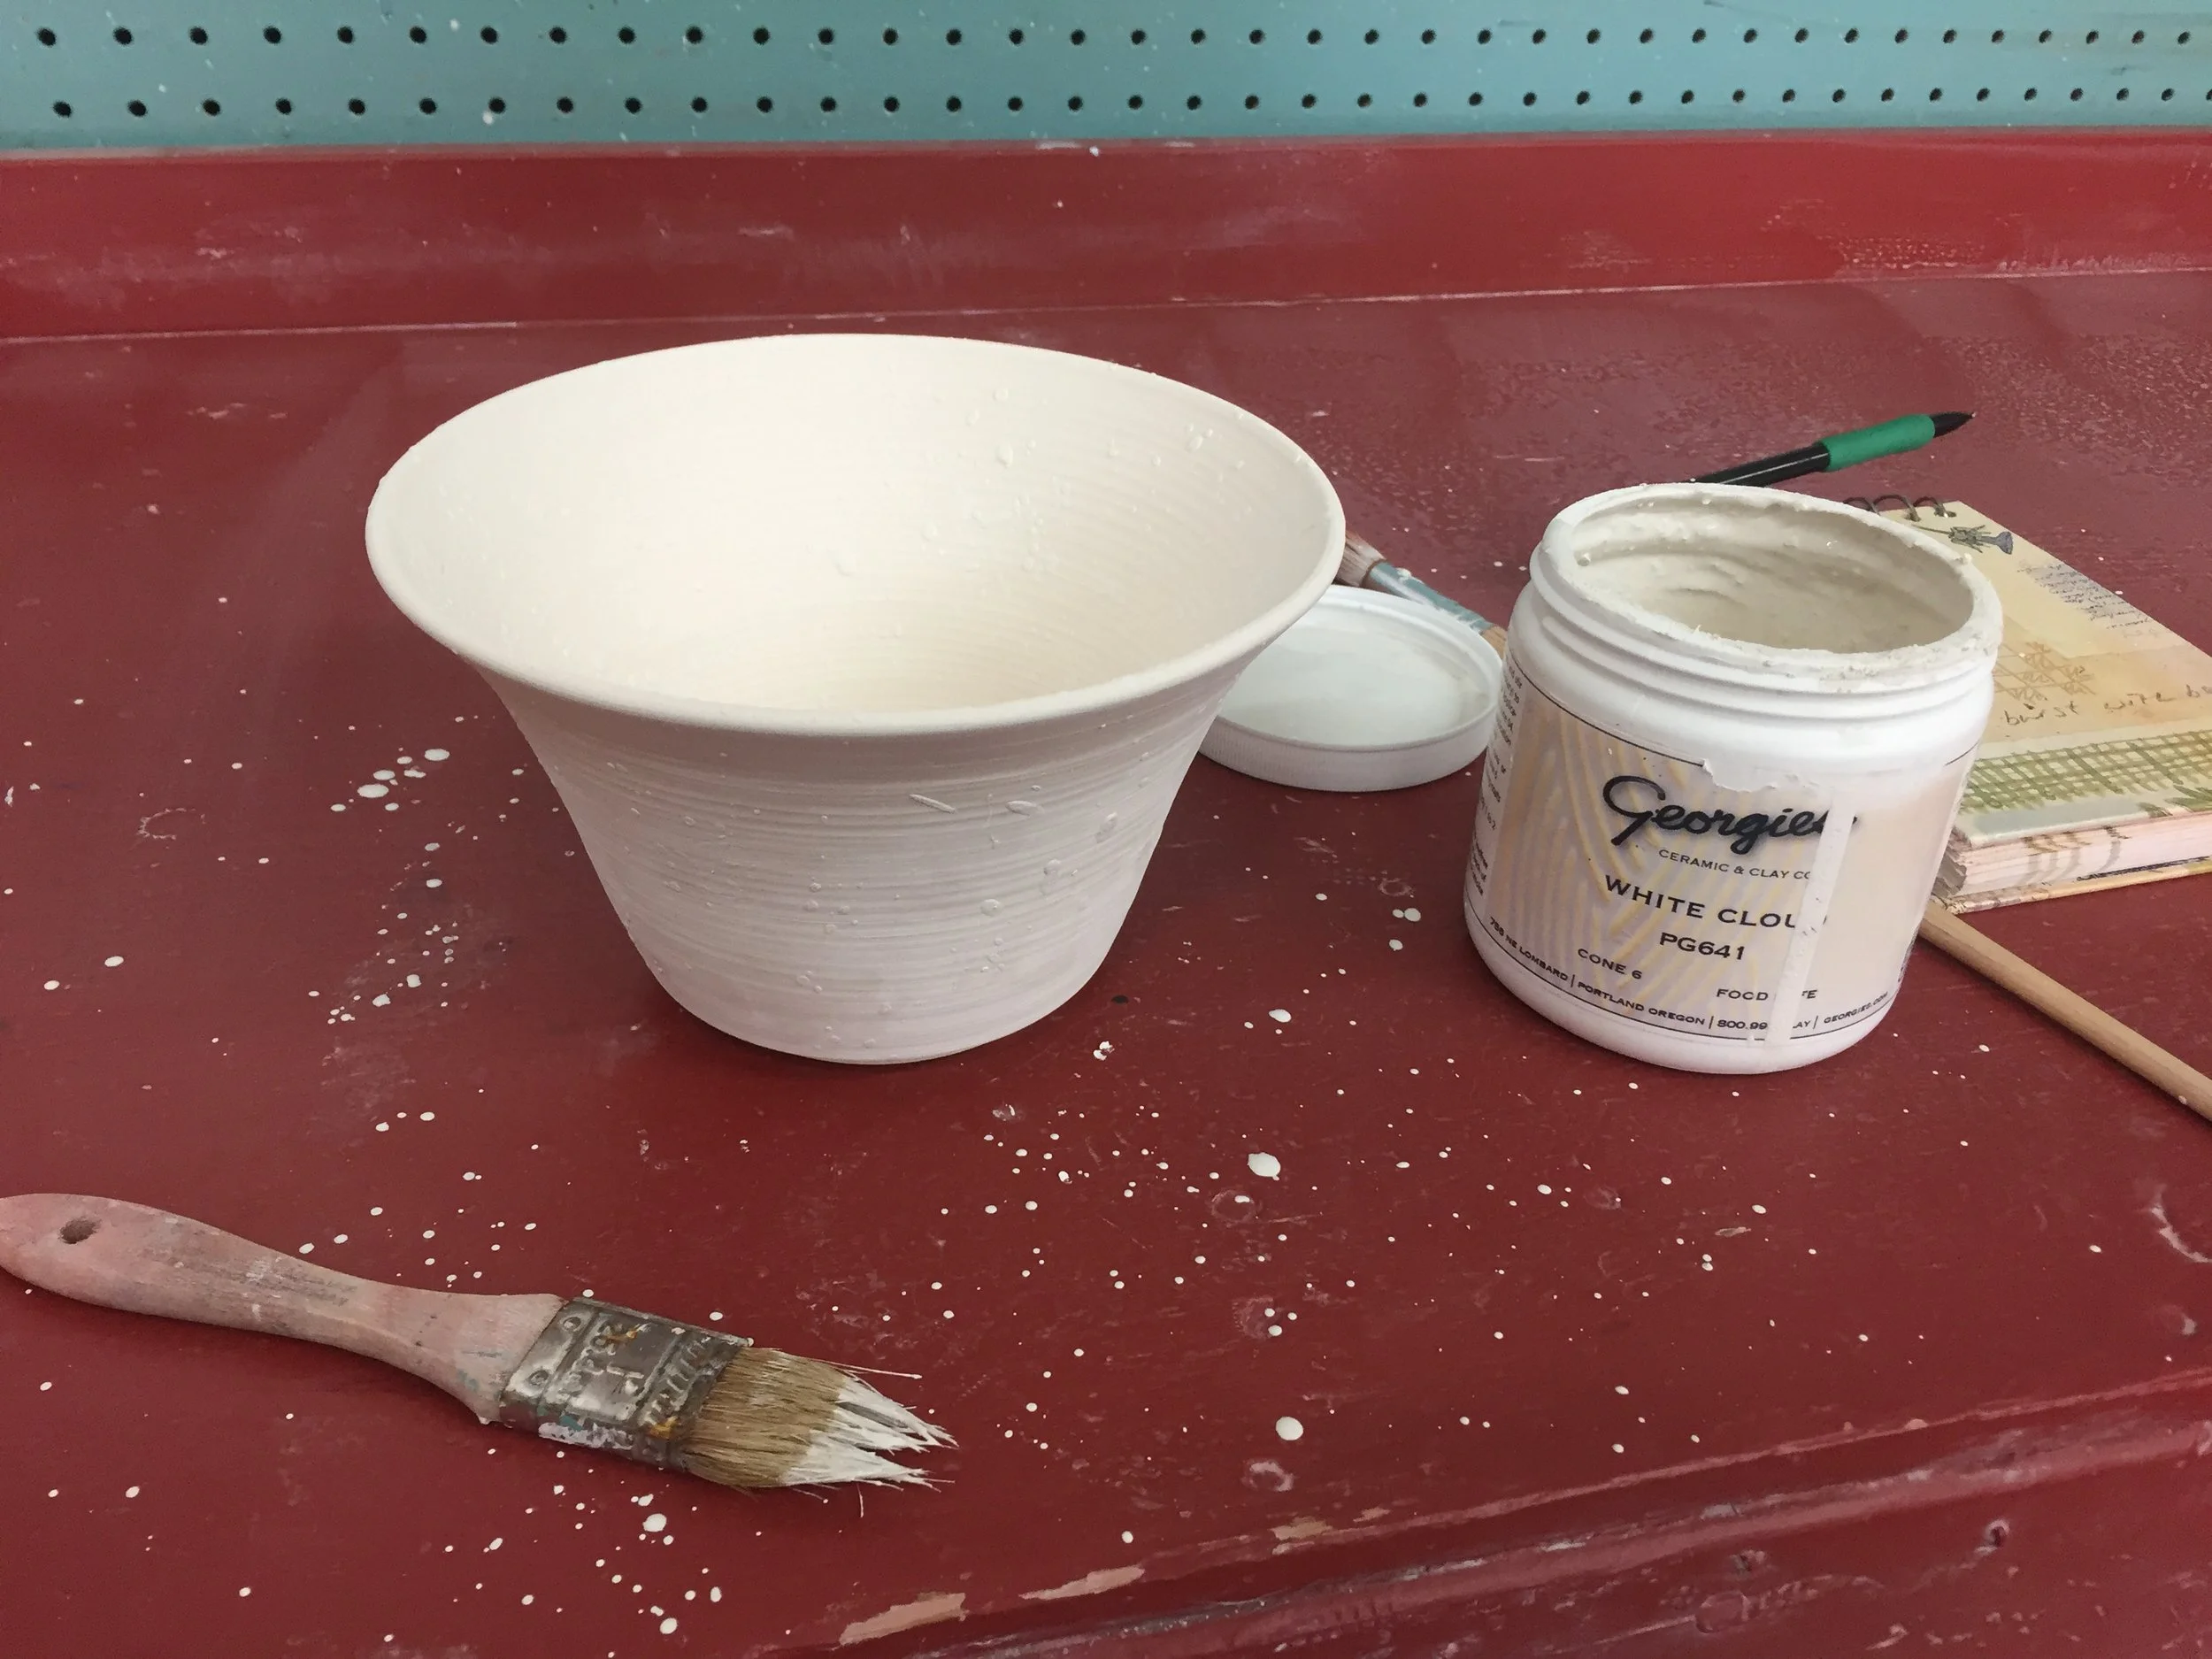
Once a pot has been bisque fired it is stable and can not be added to. The final step is glazing (painting with mixtures of glass dust, chemicals, and minerals suspended in water.) Often the glazes do not resemble their post kiln colors before they are fired the final time.


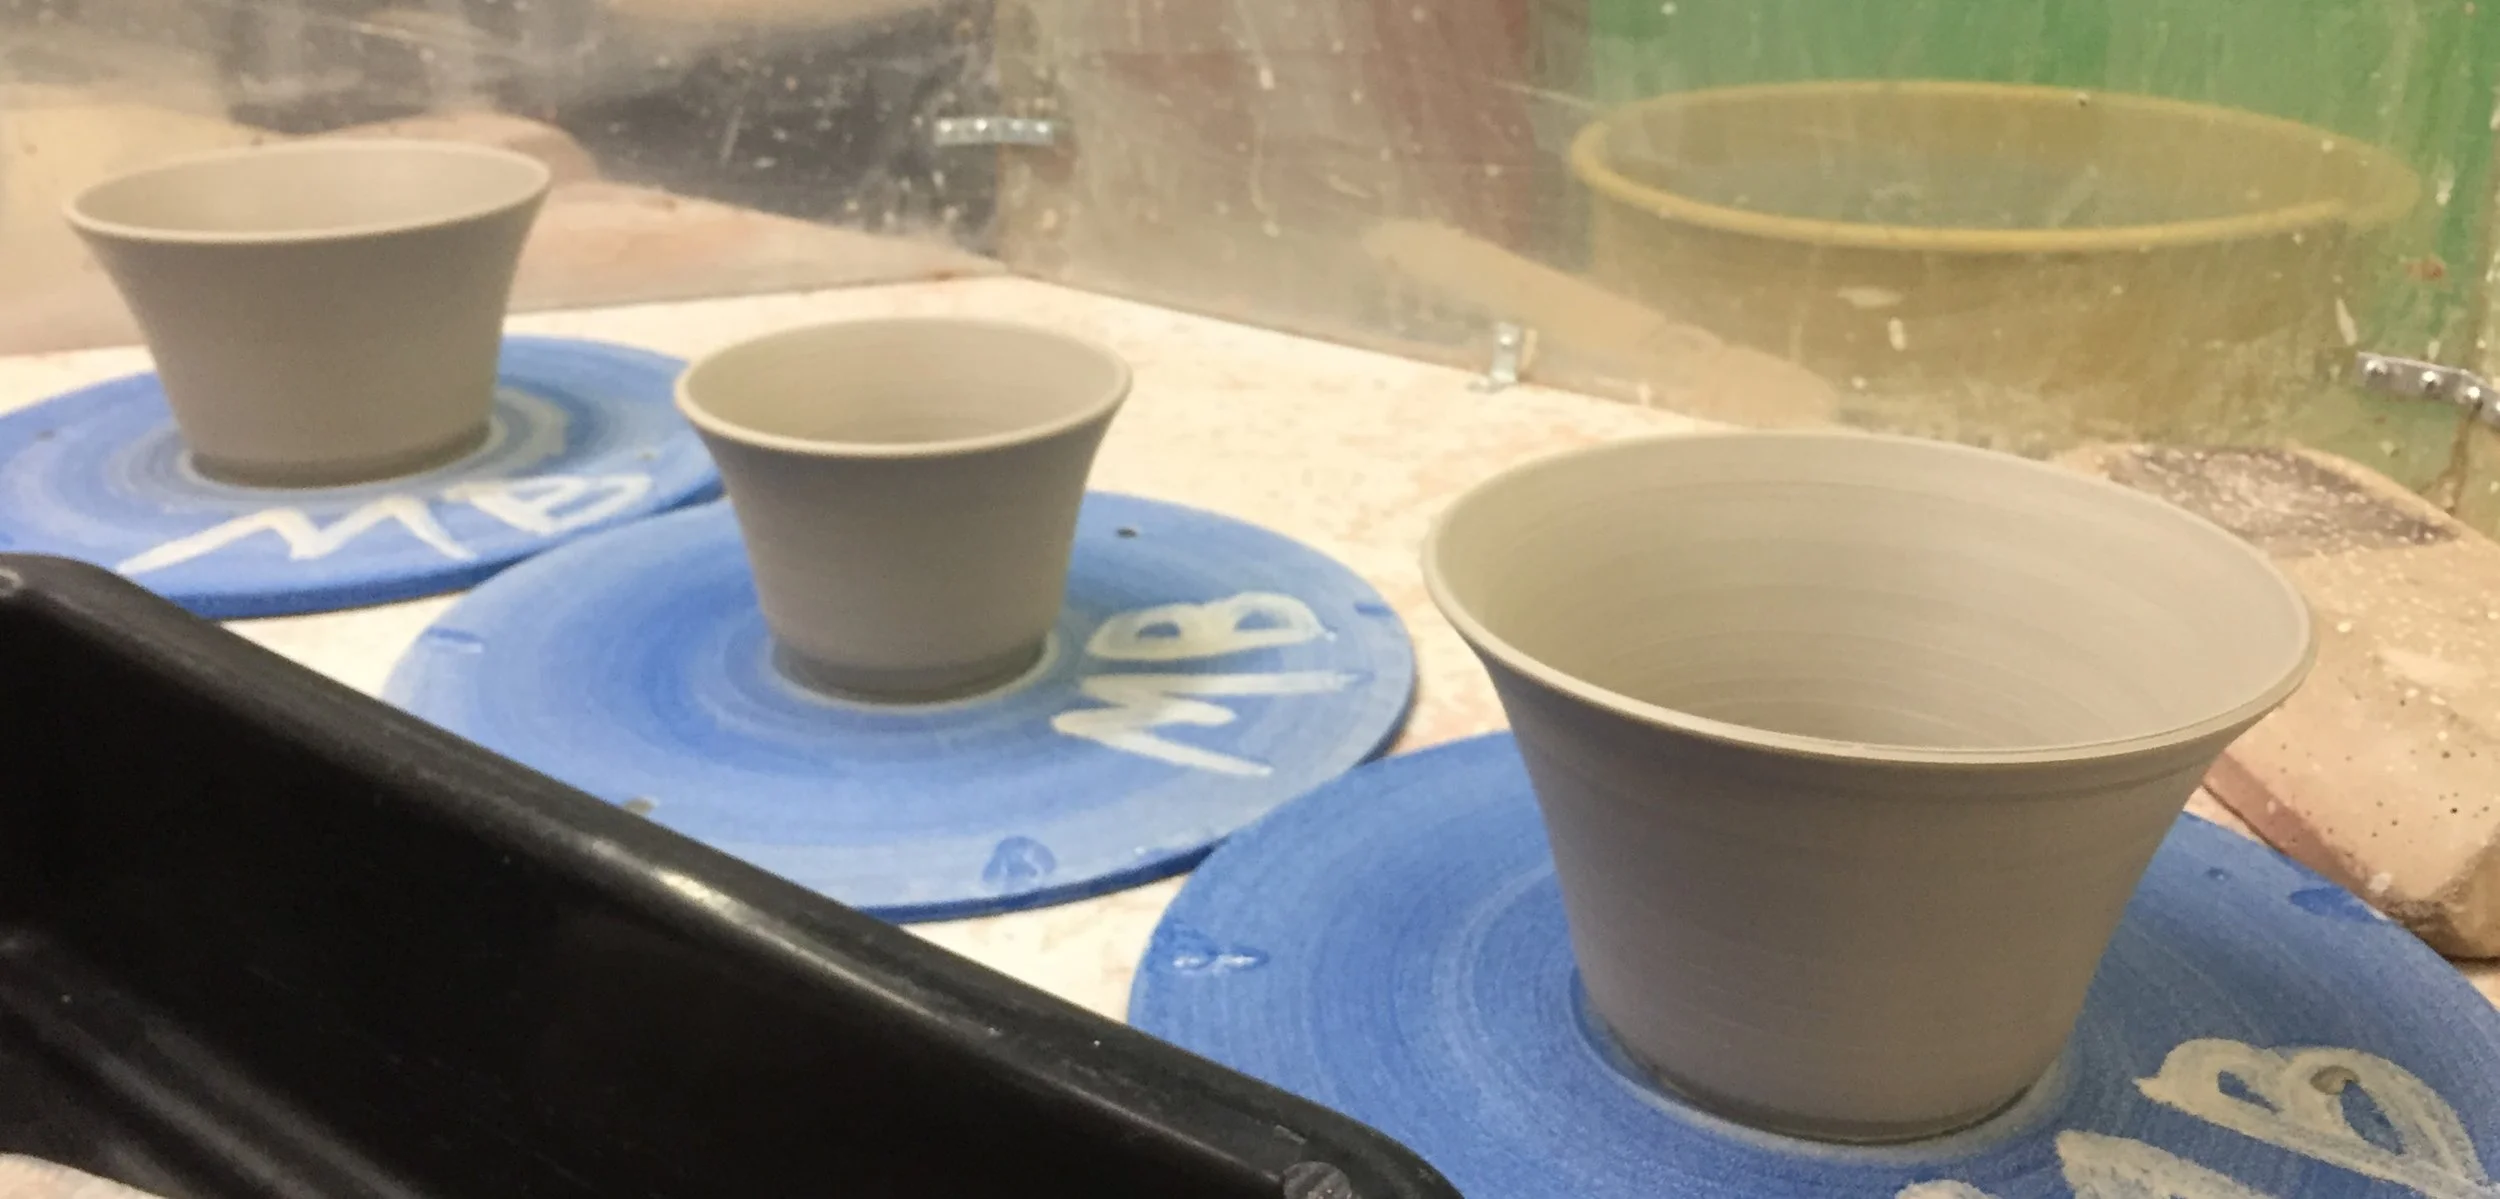
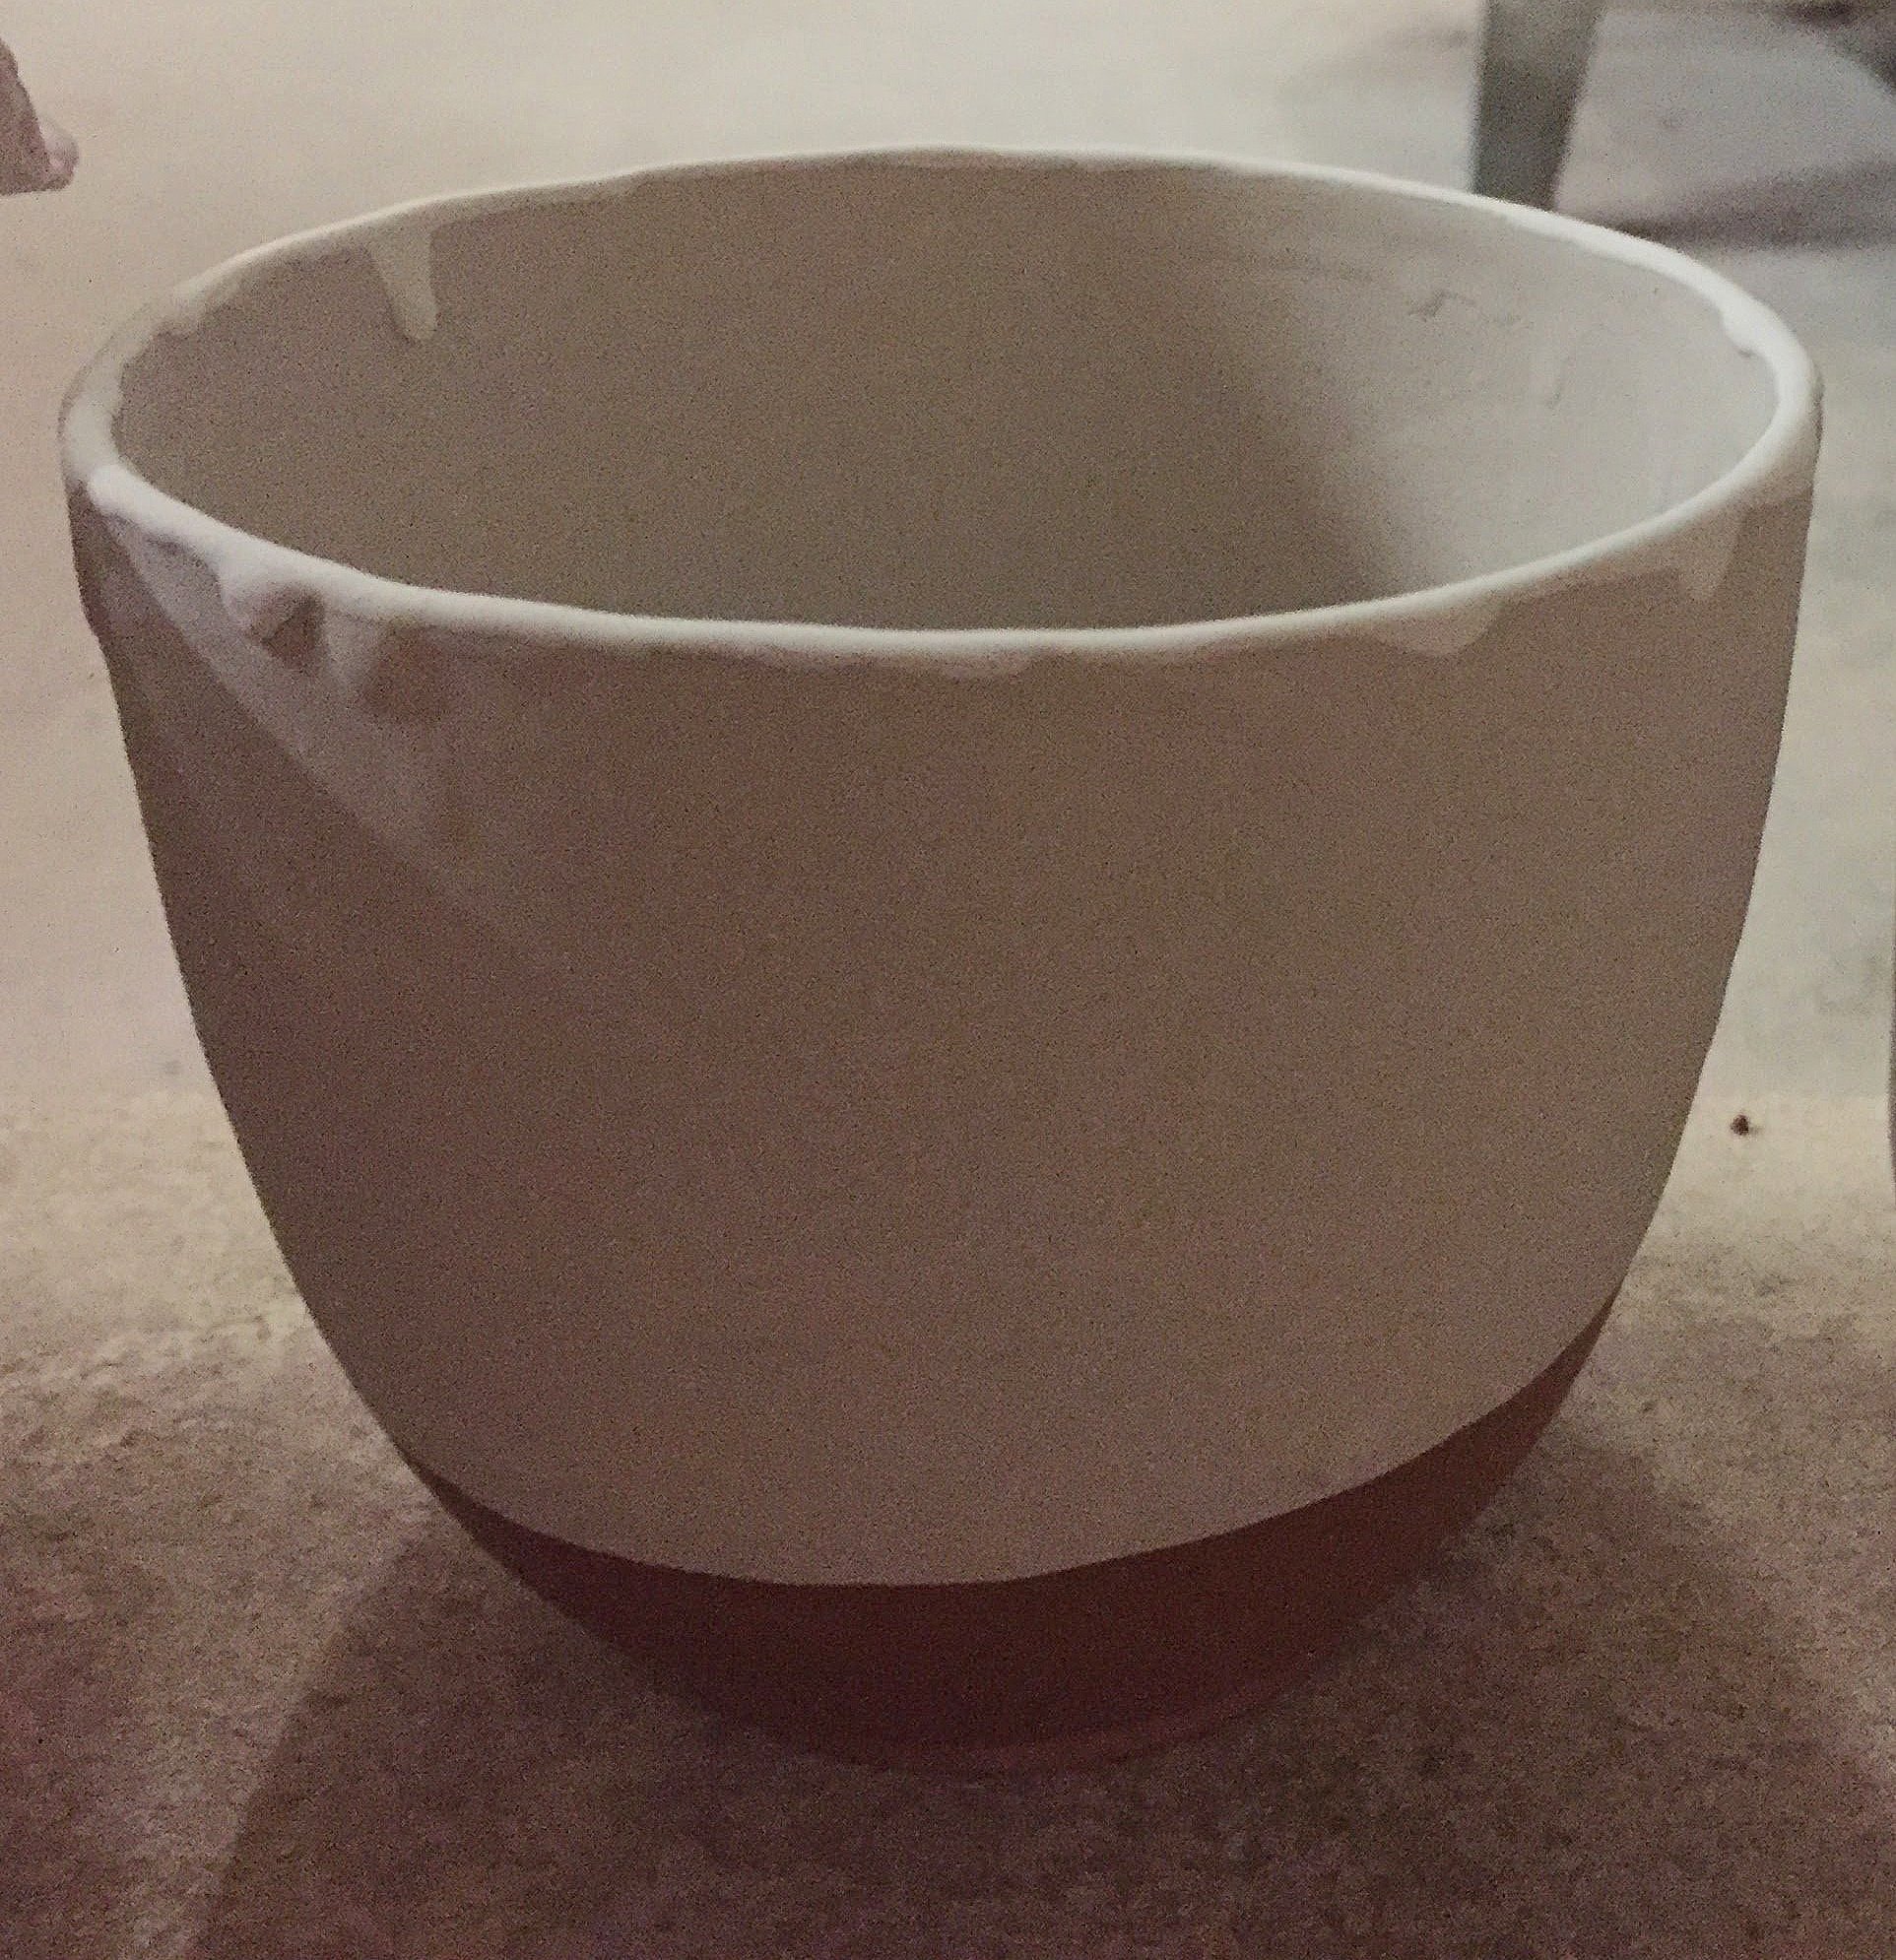
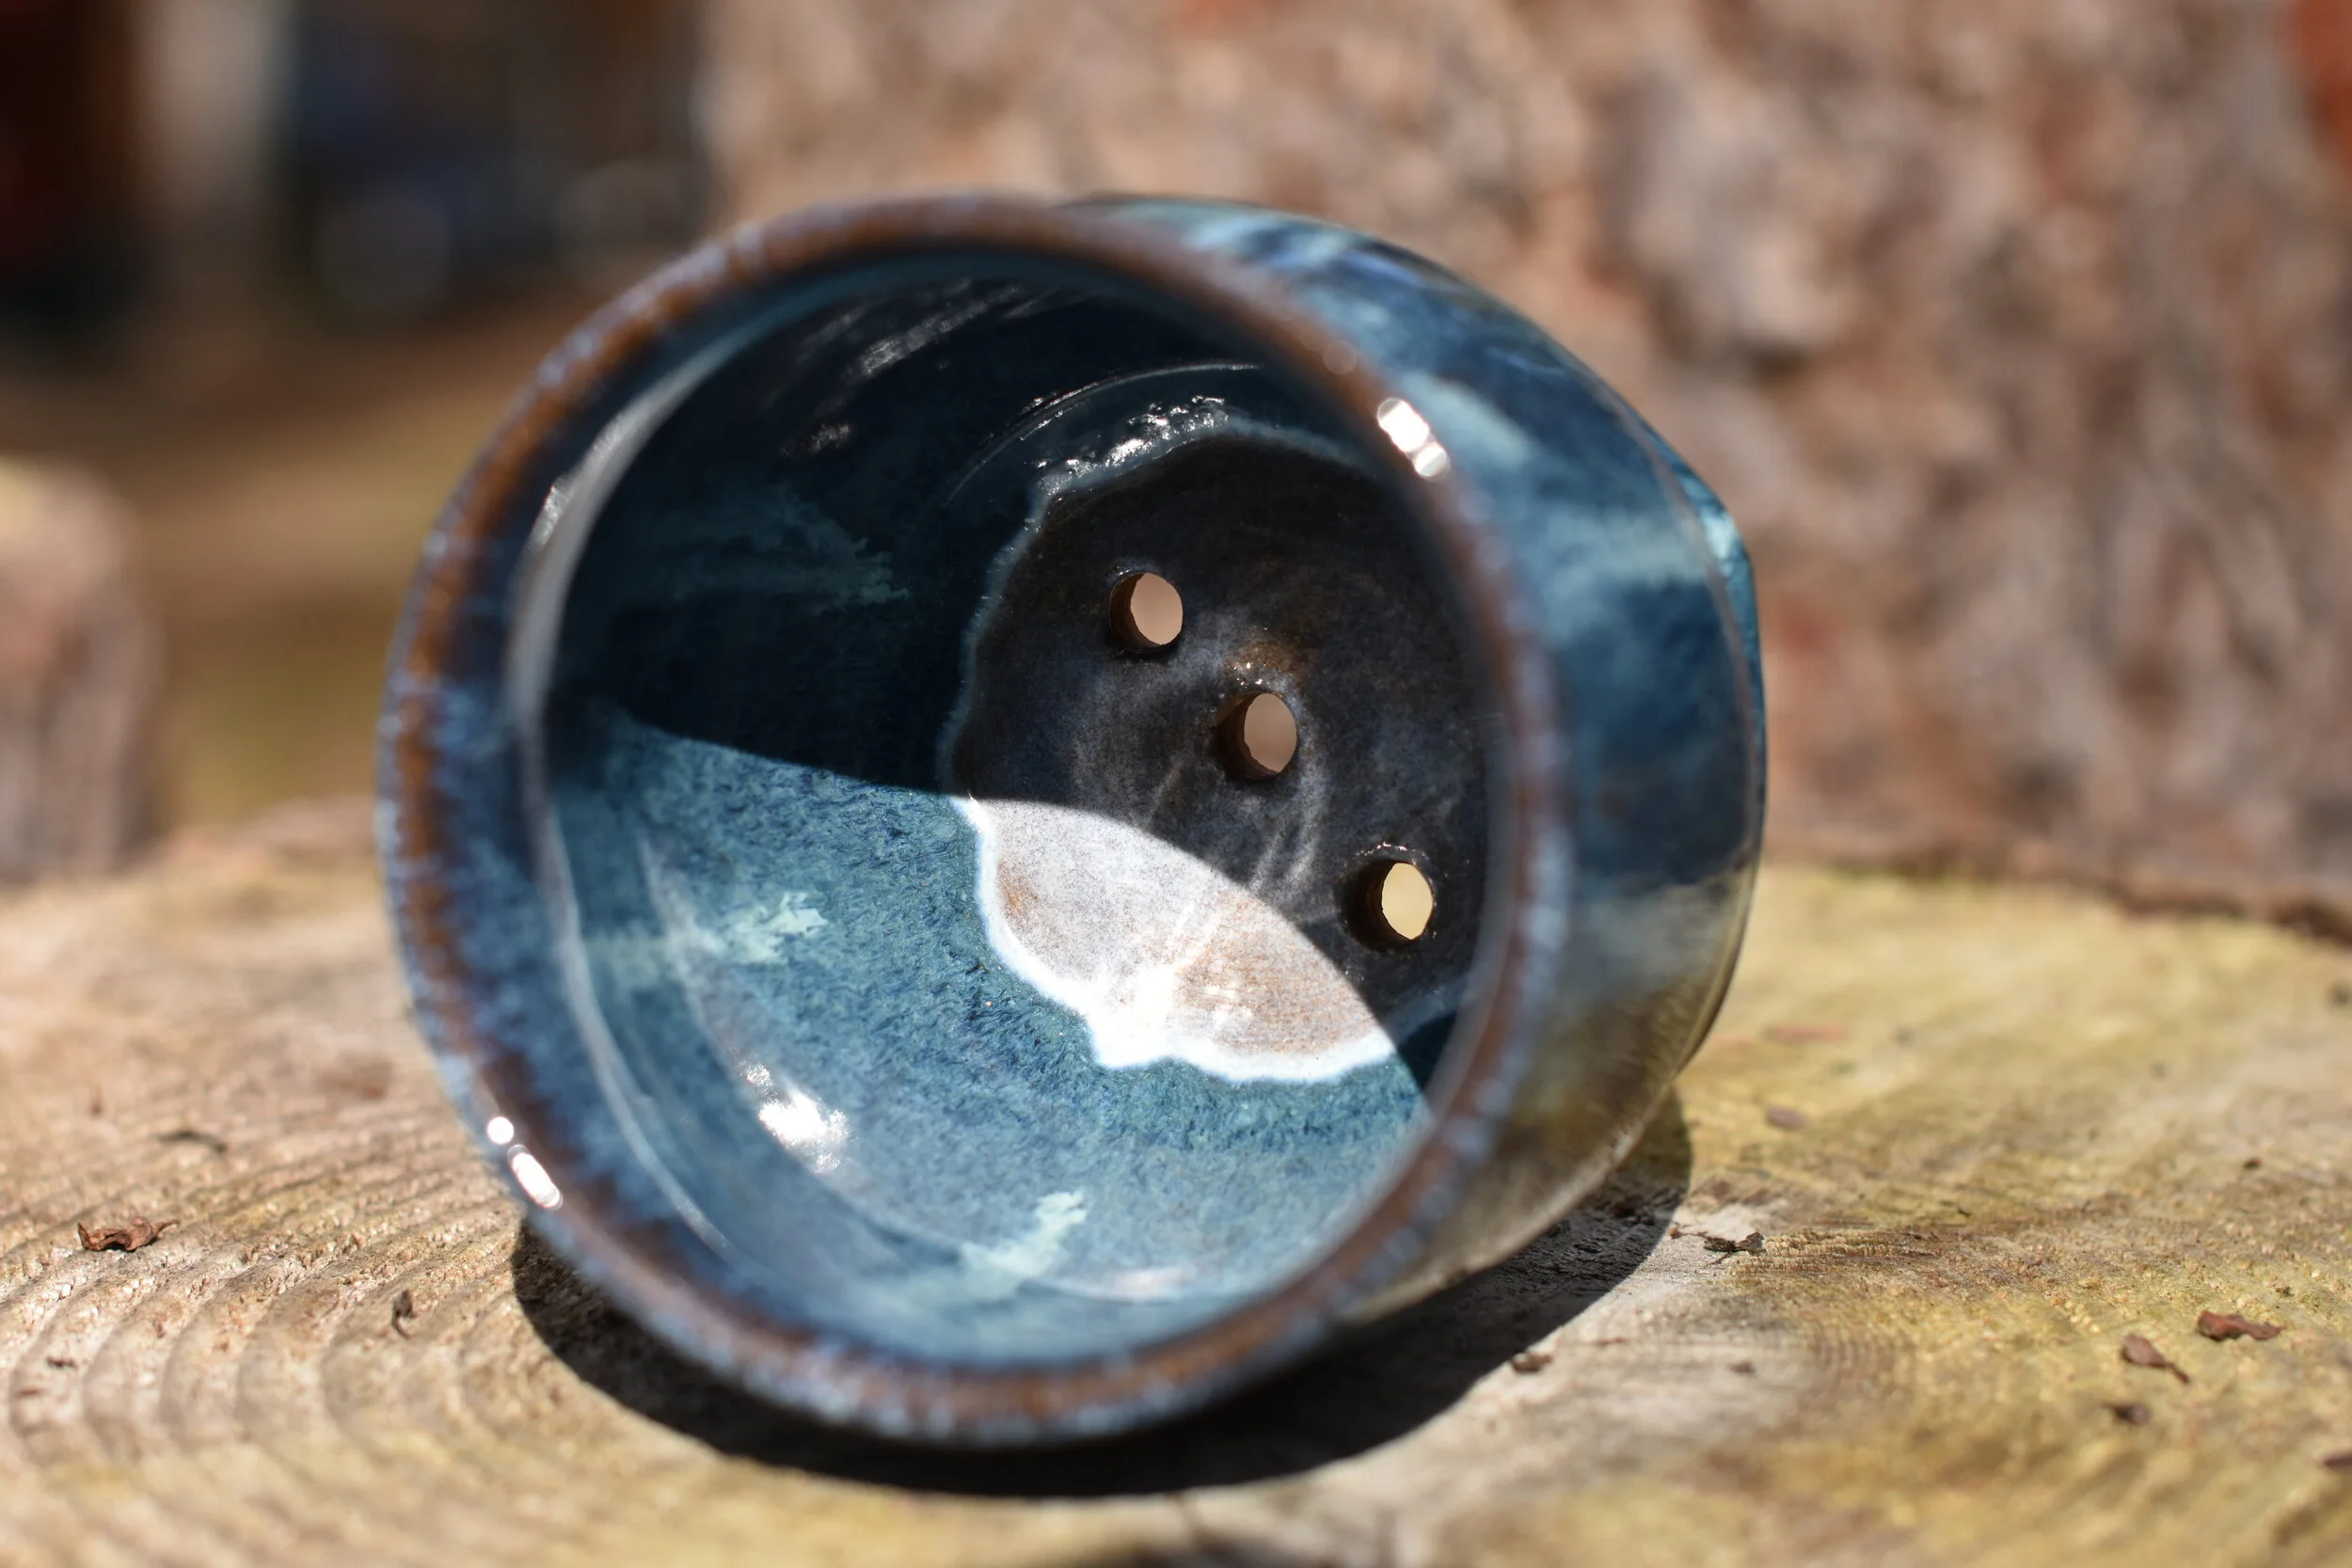
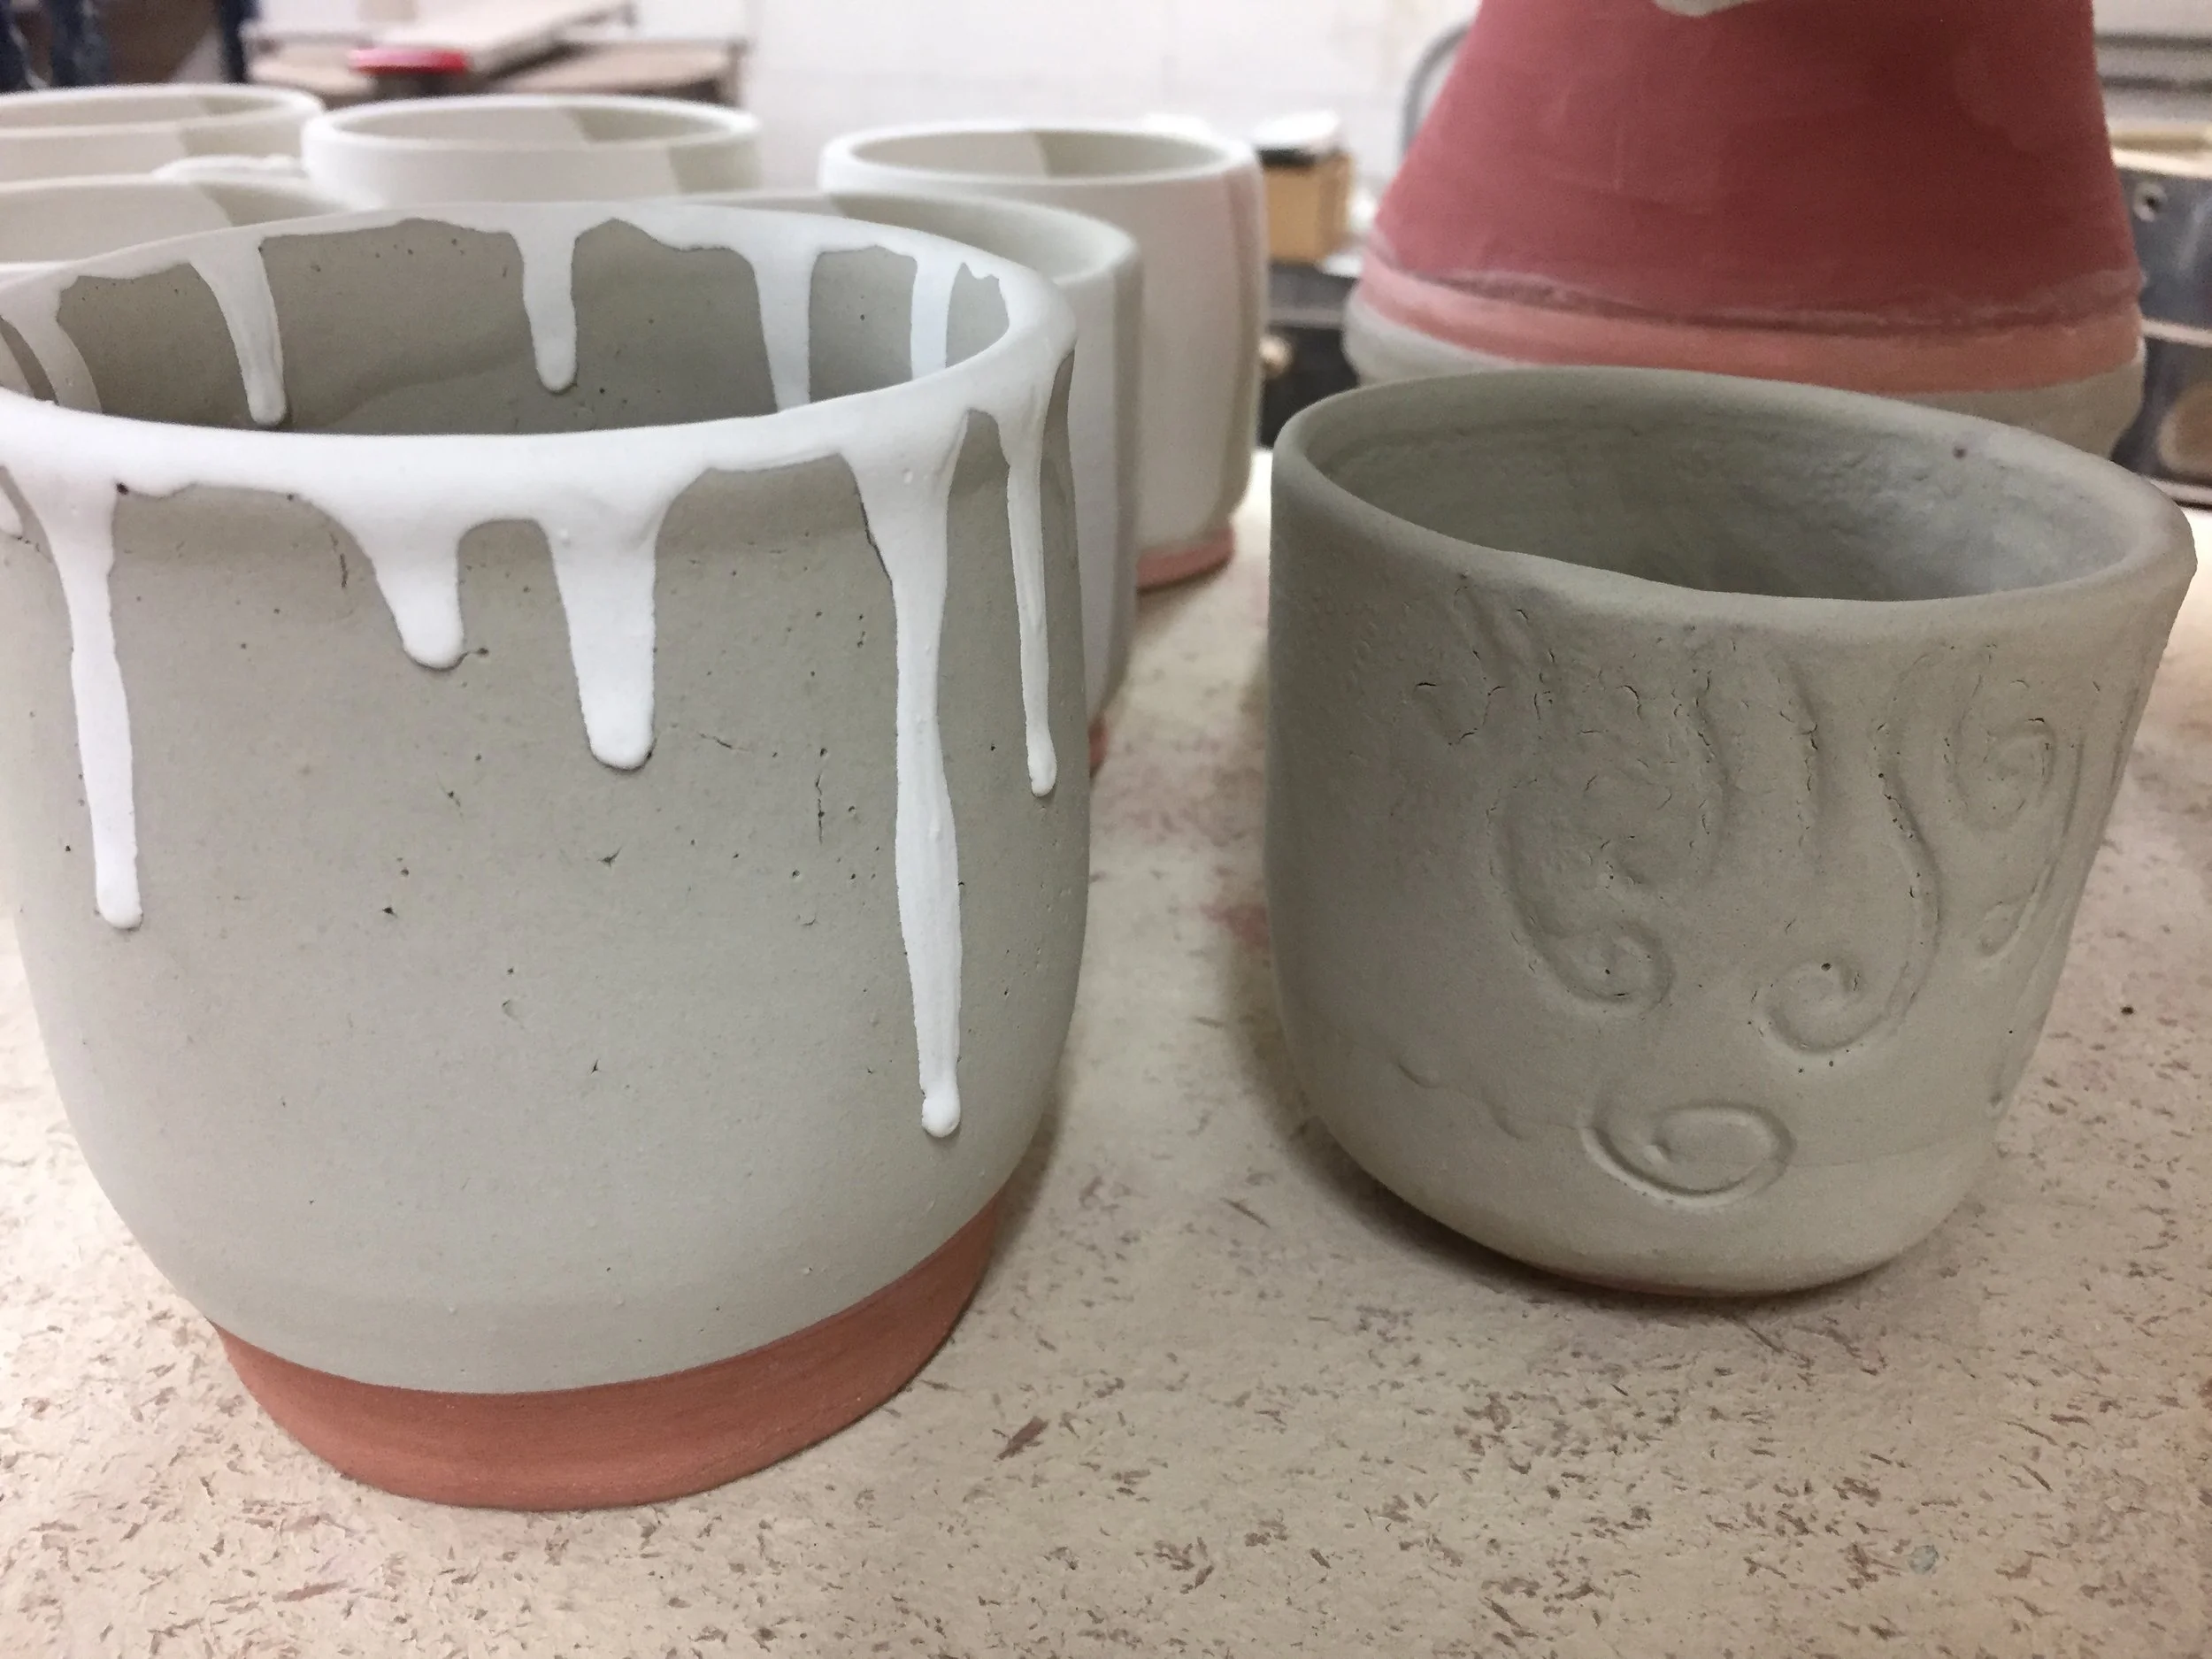
The bowl above started its creation as a trio.
This left two…
This left one, which I fired and then speckled with glaze.


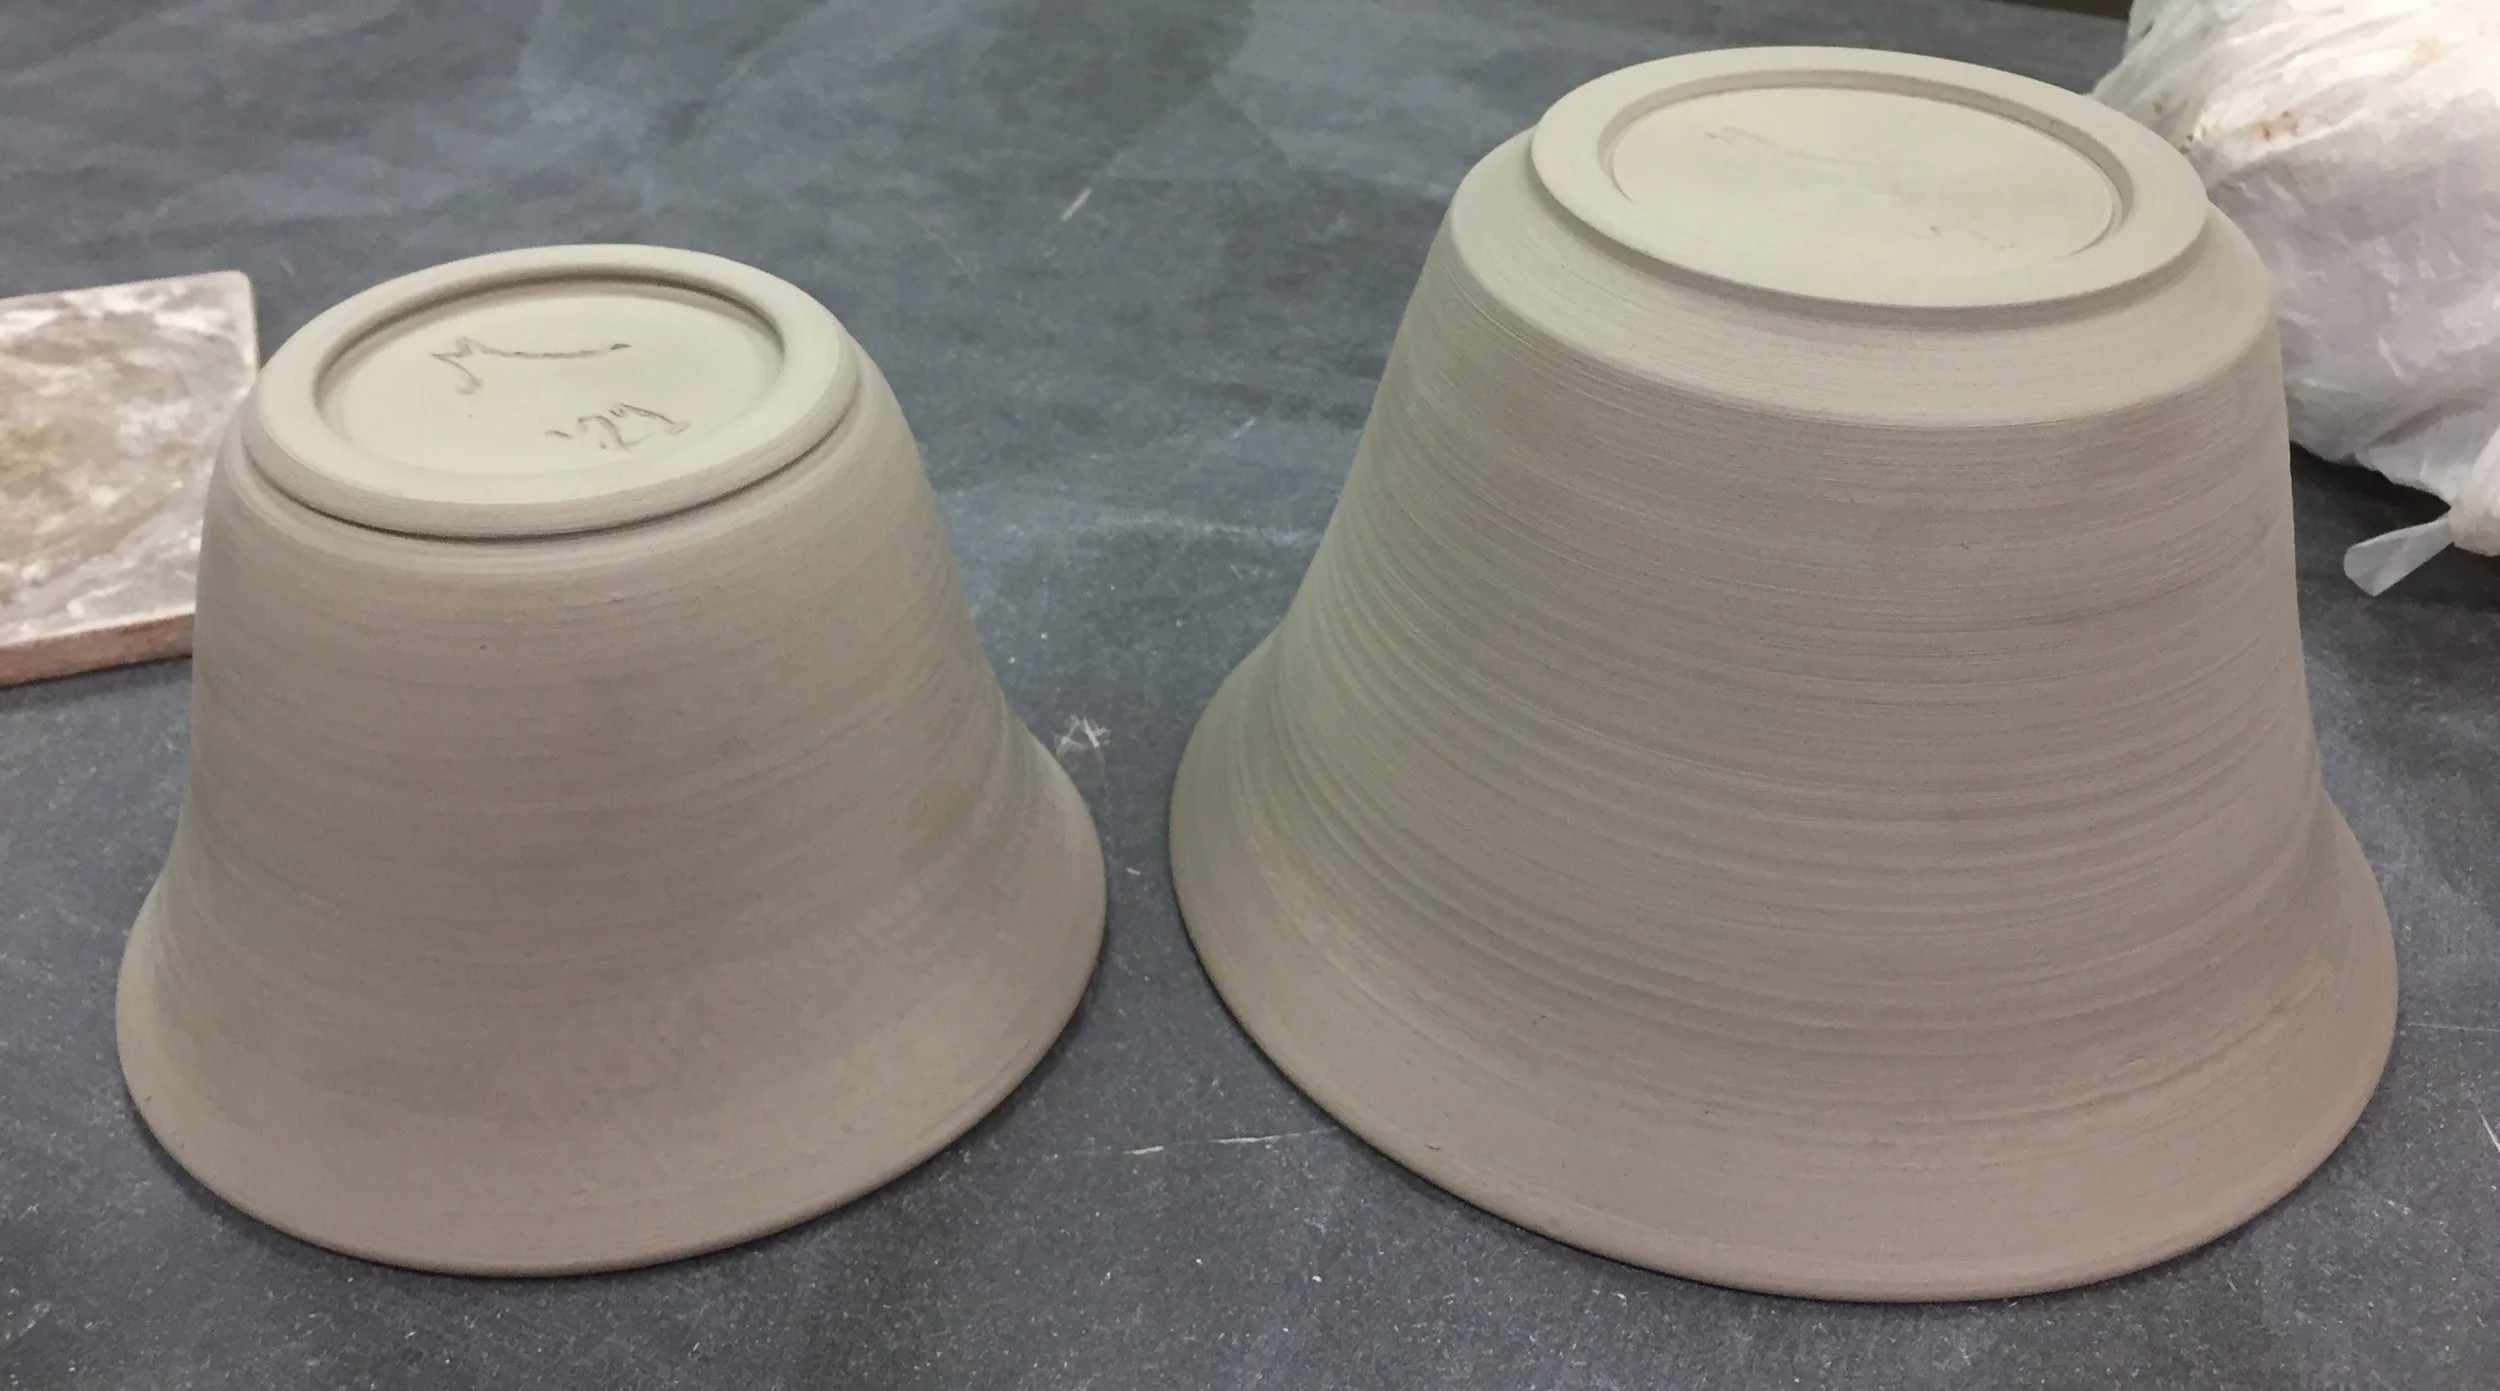
All three got trimmed.

But before the bisque firing this one cracked.
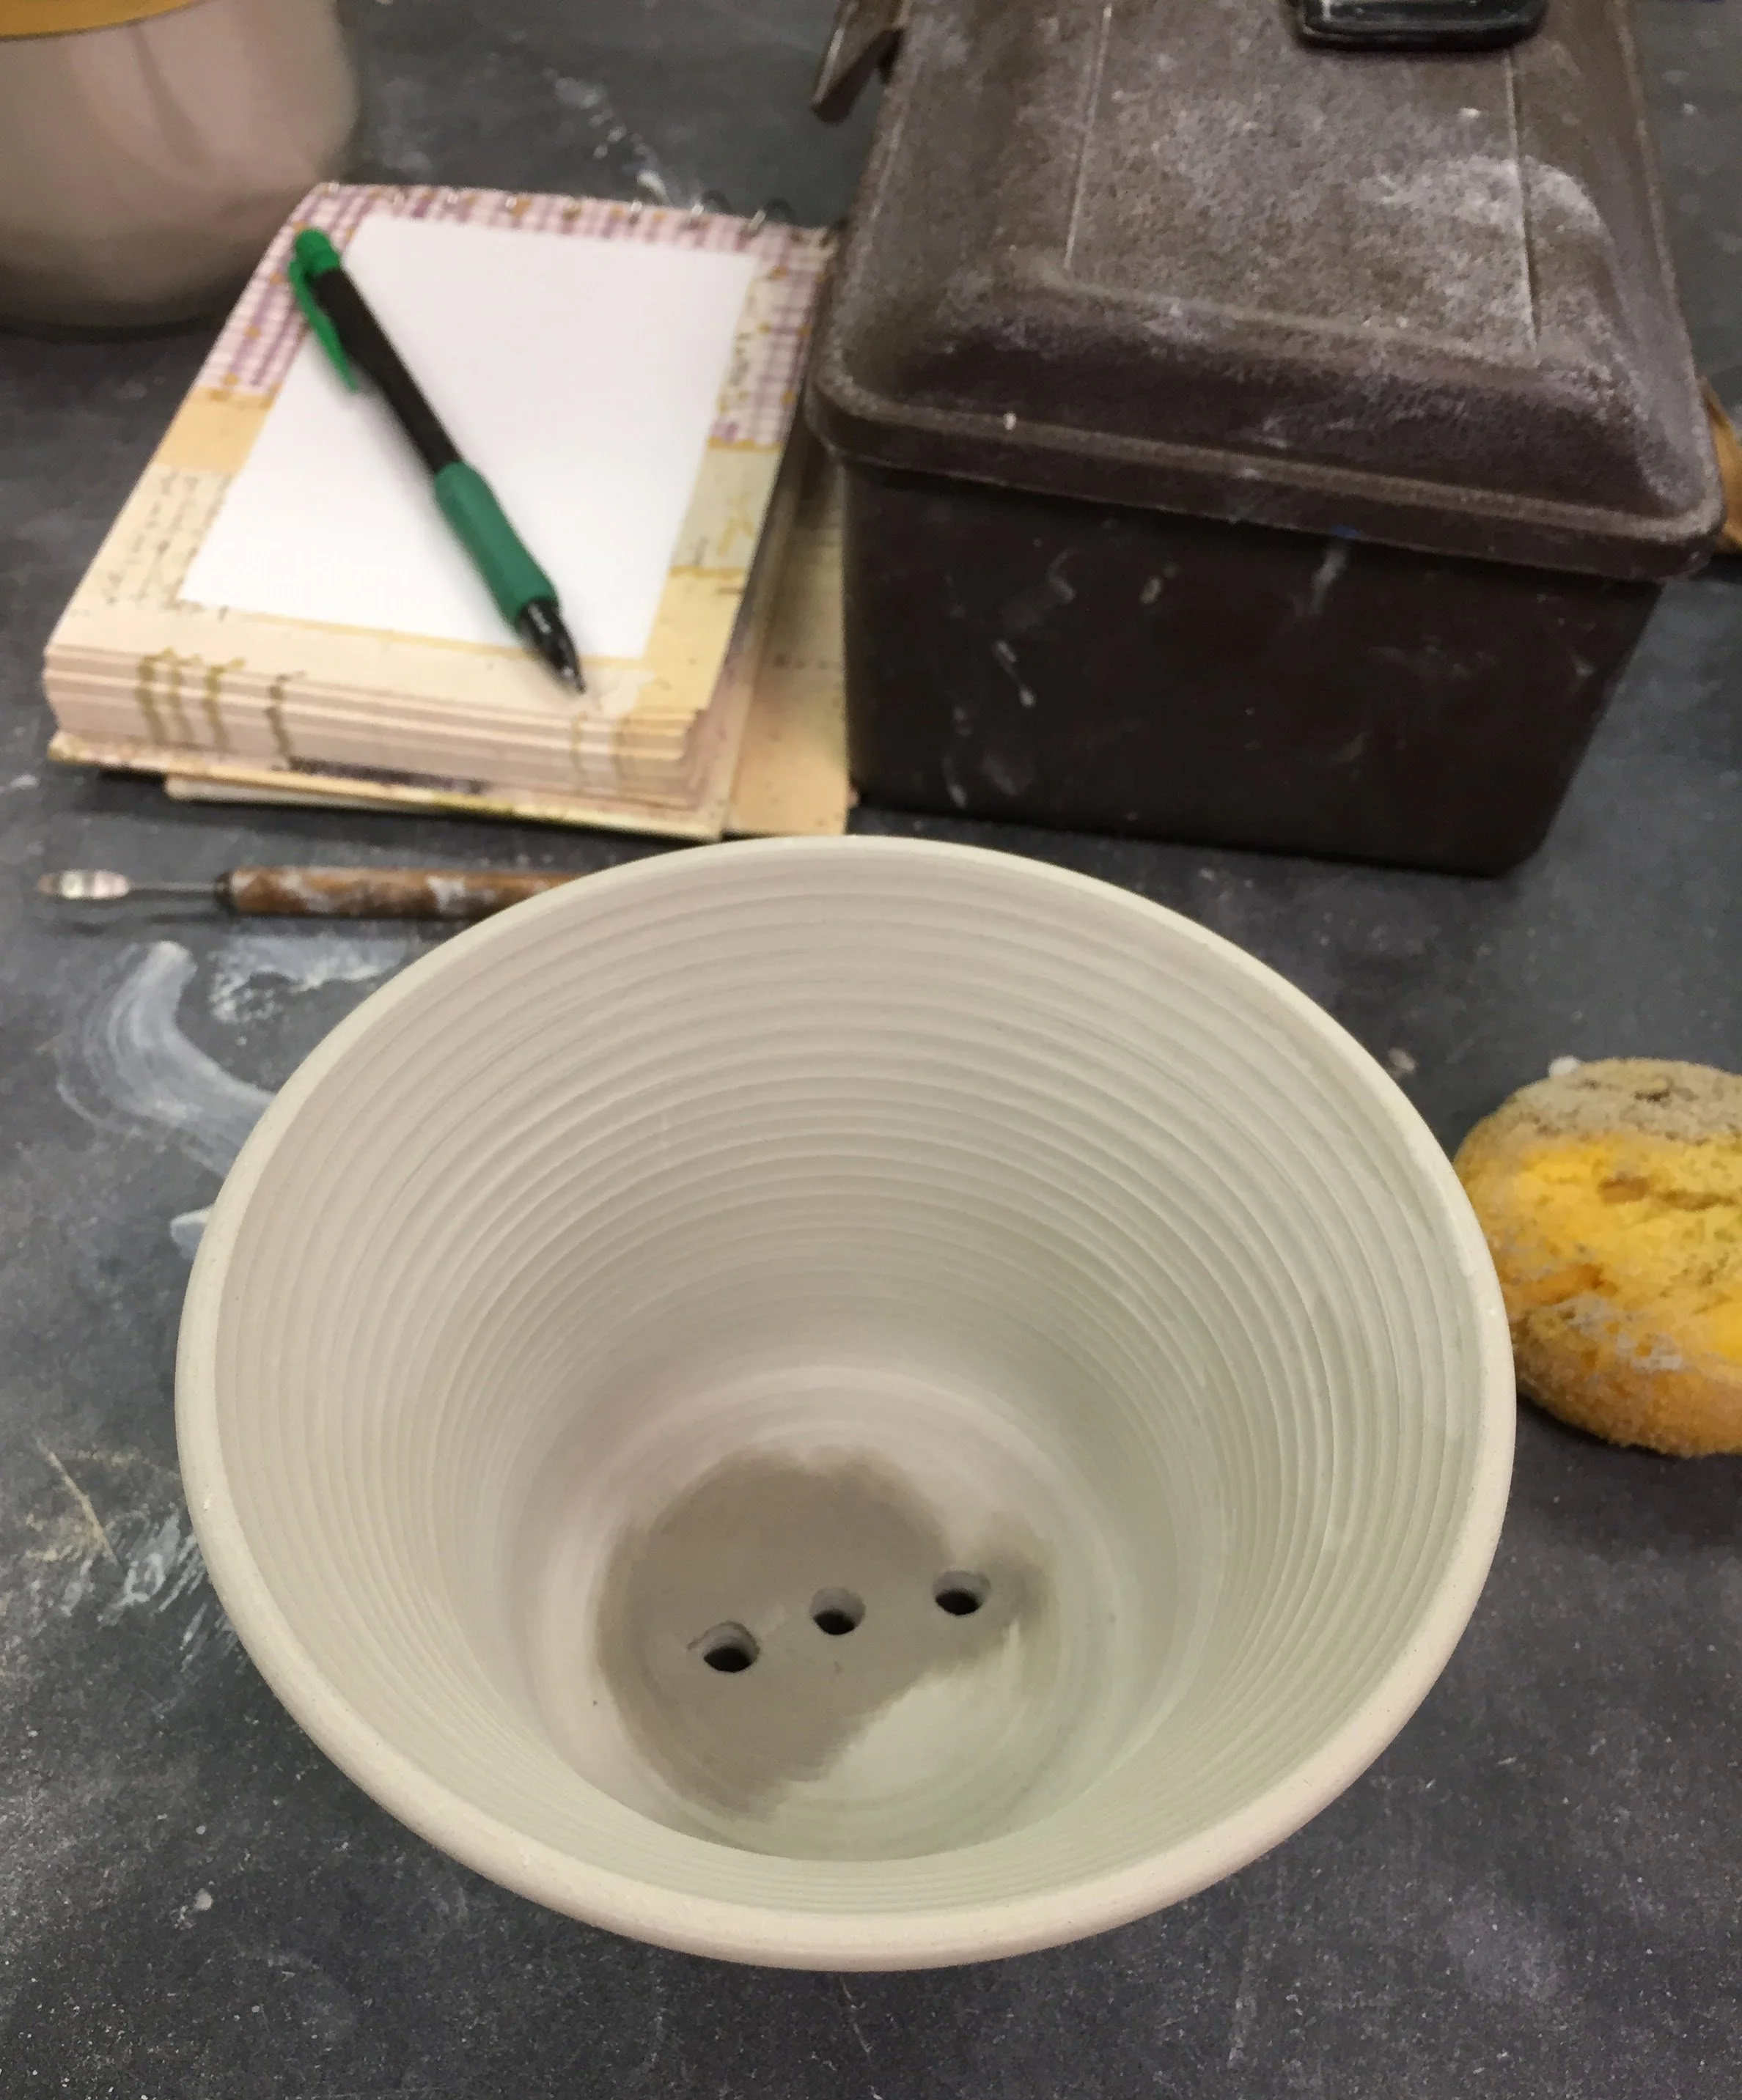
So it became a not very successful flower pot.
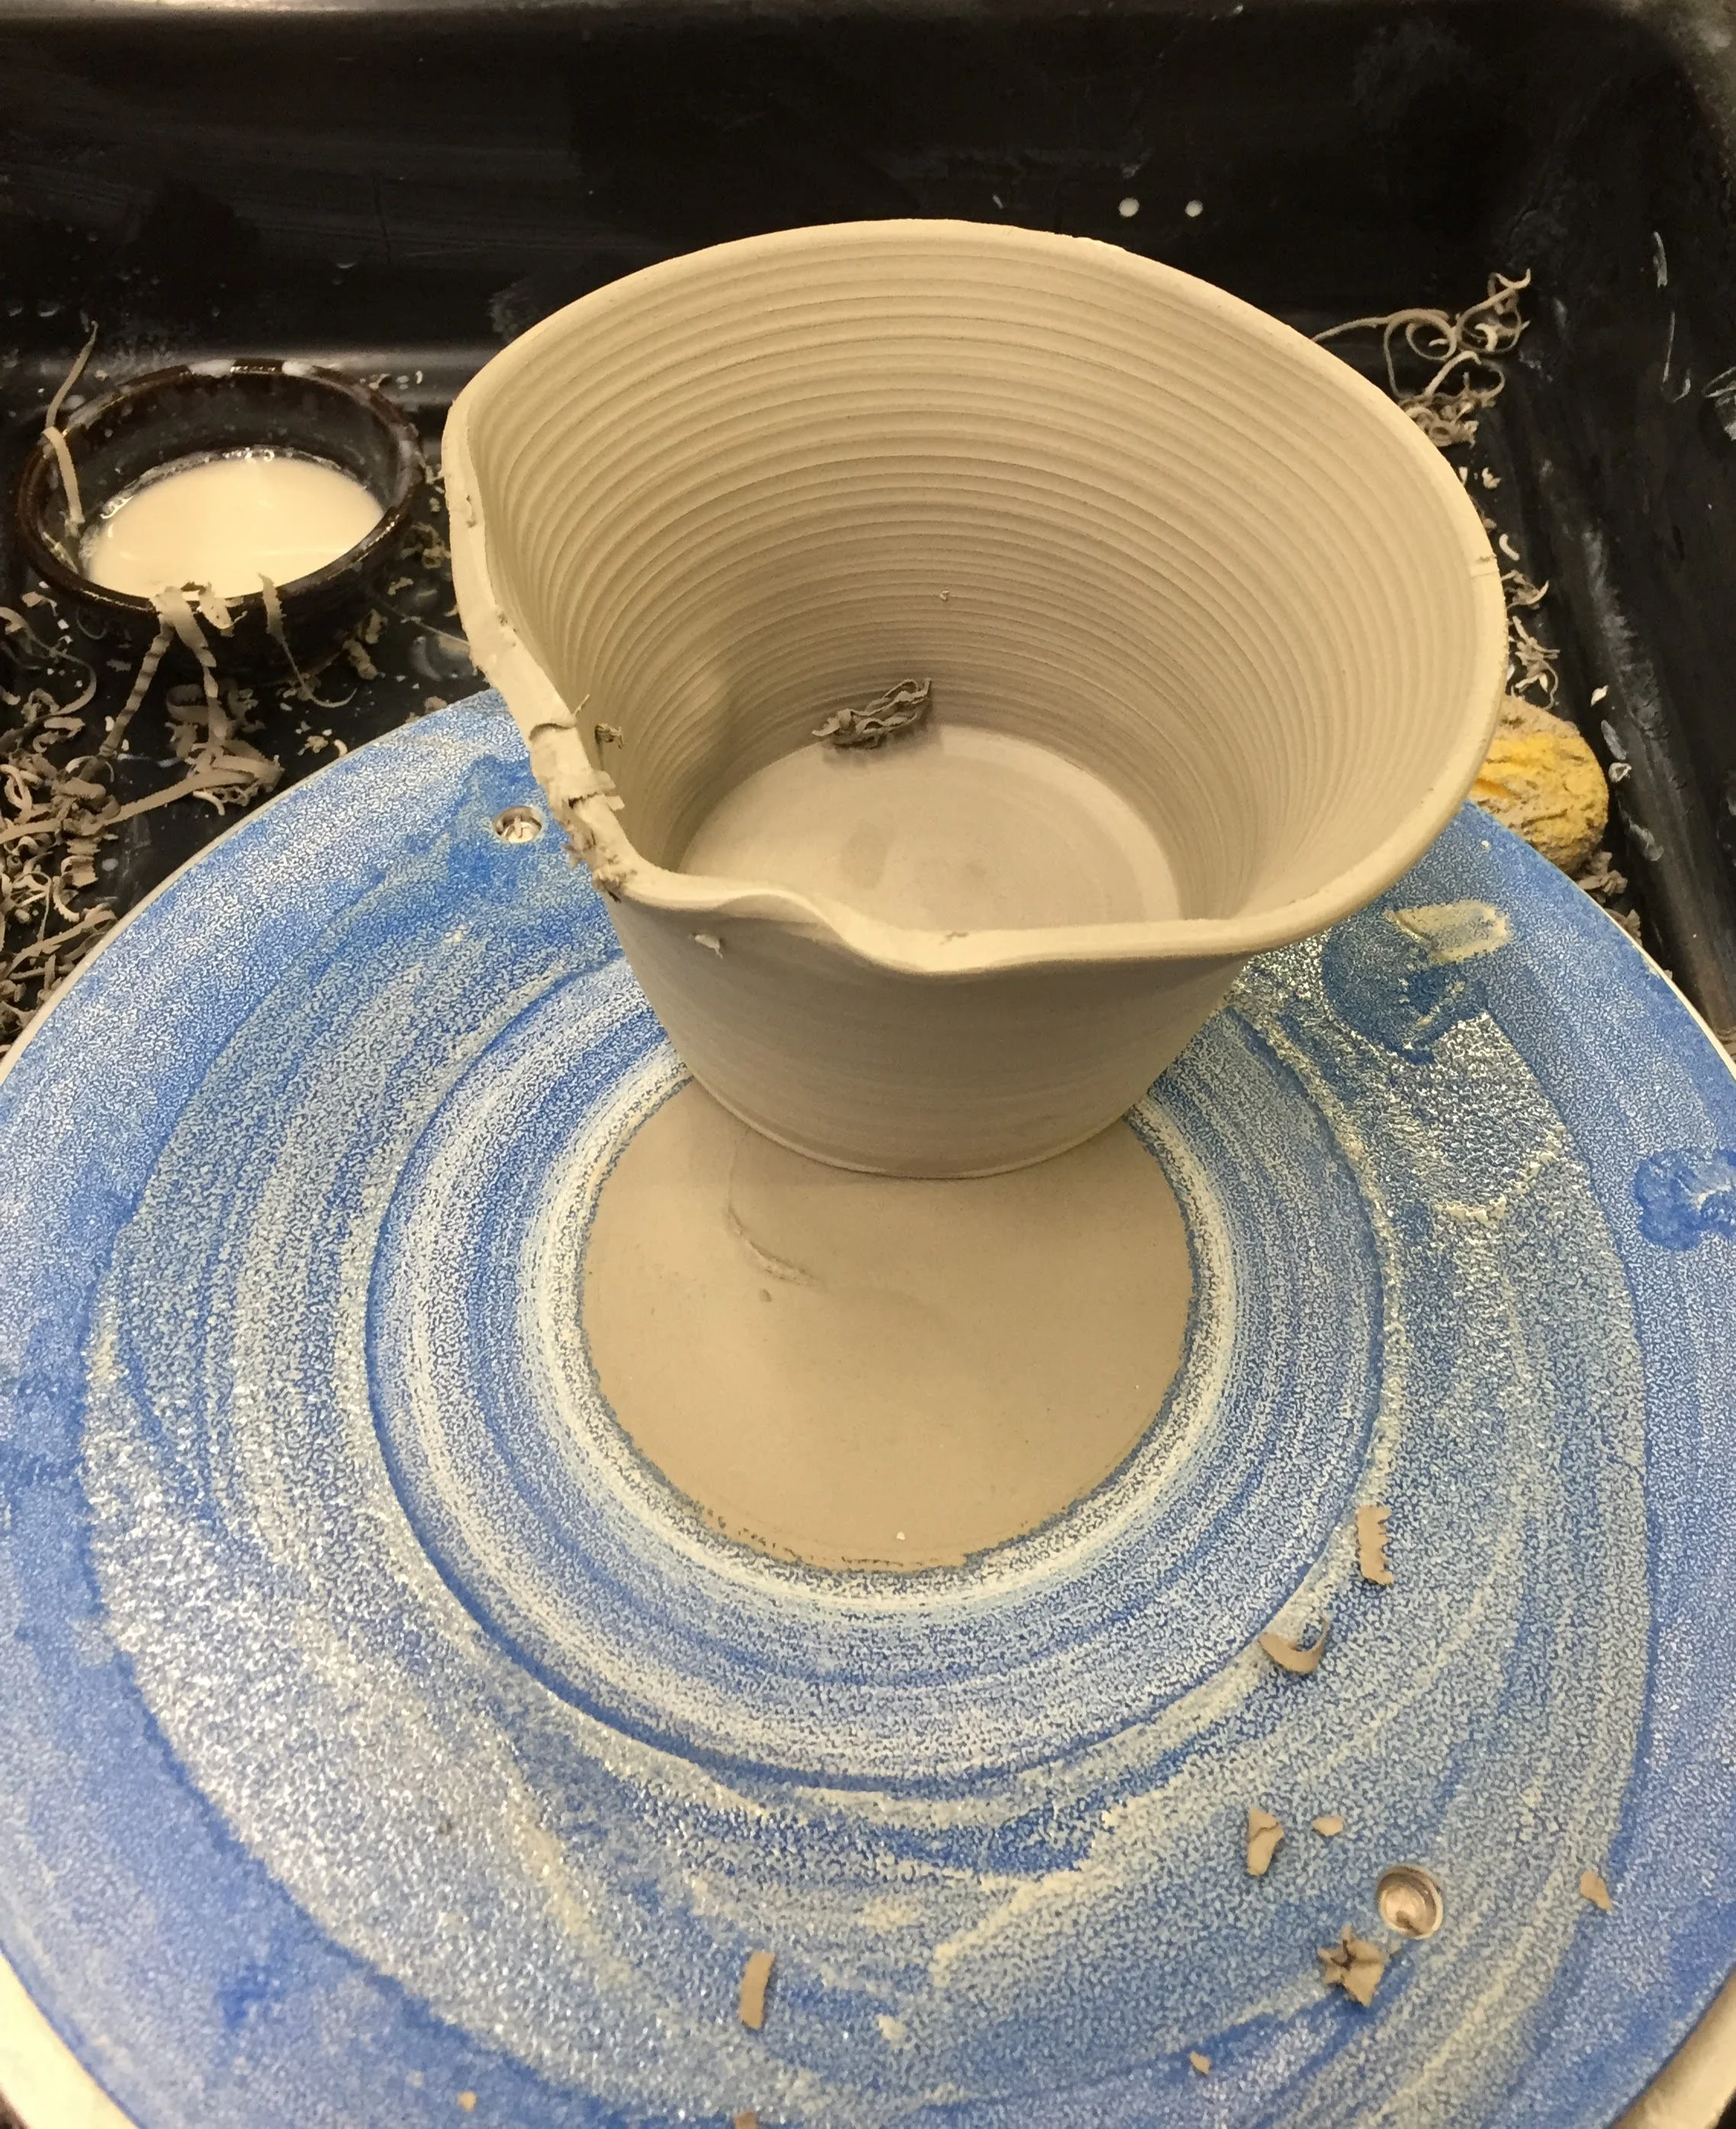
But at the very last, one of the three slipped out of control on the wheel and got mangled.

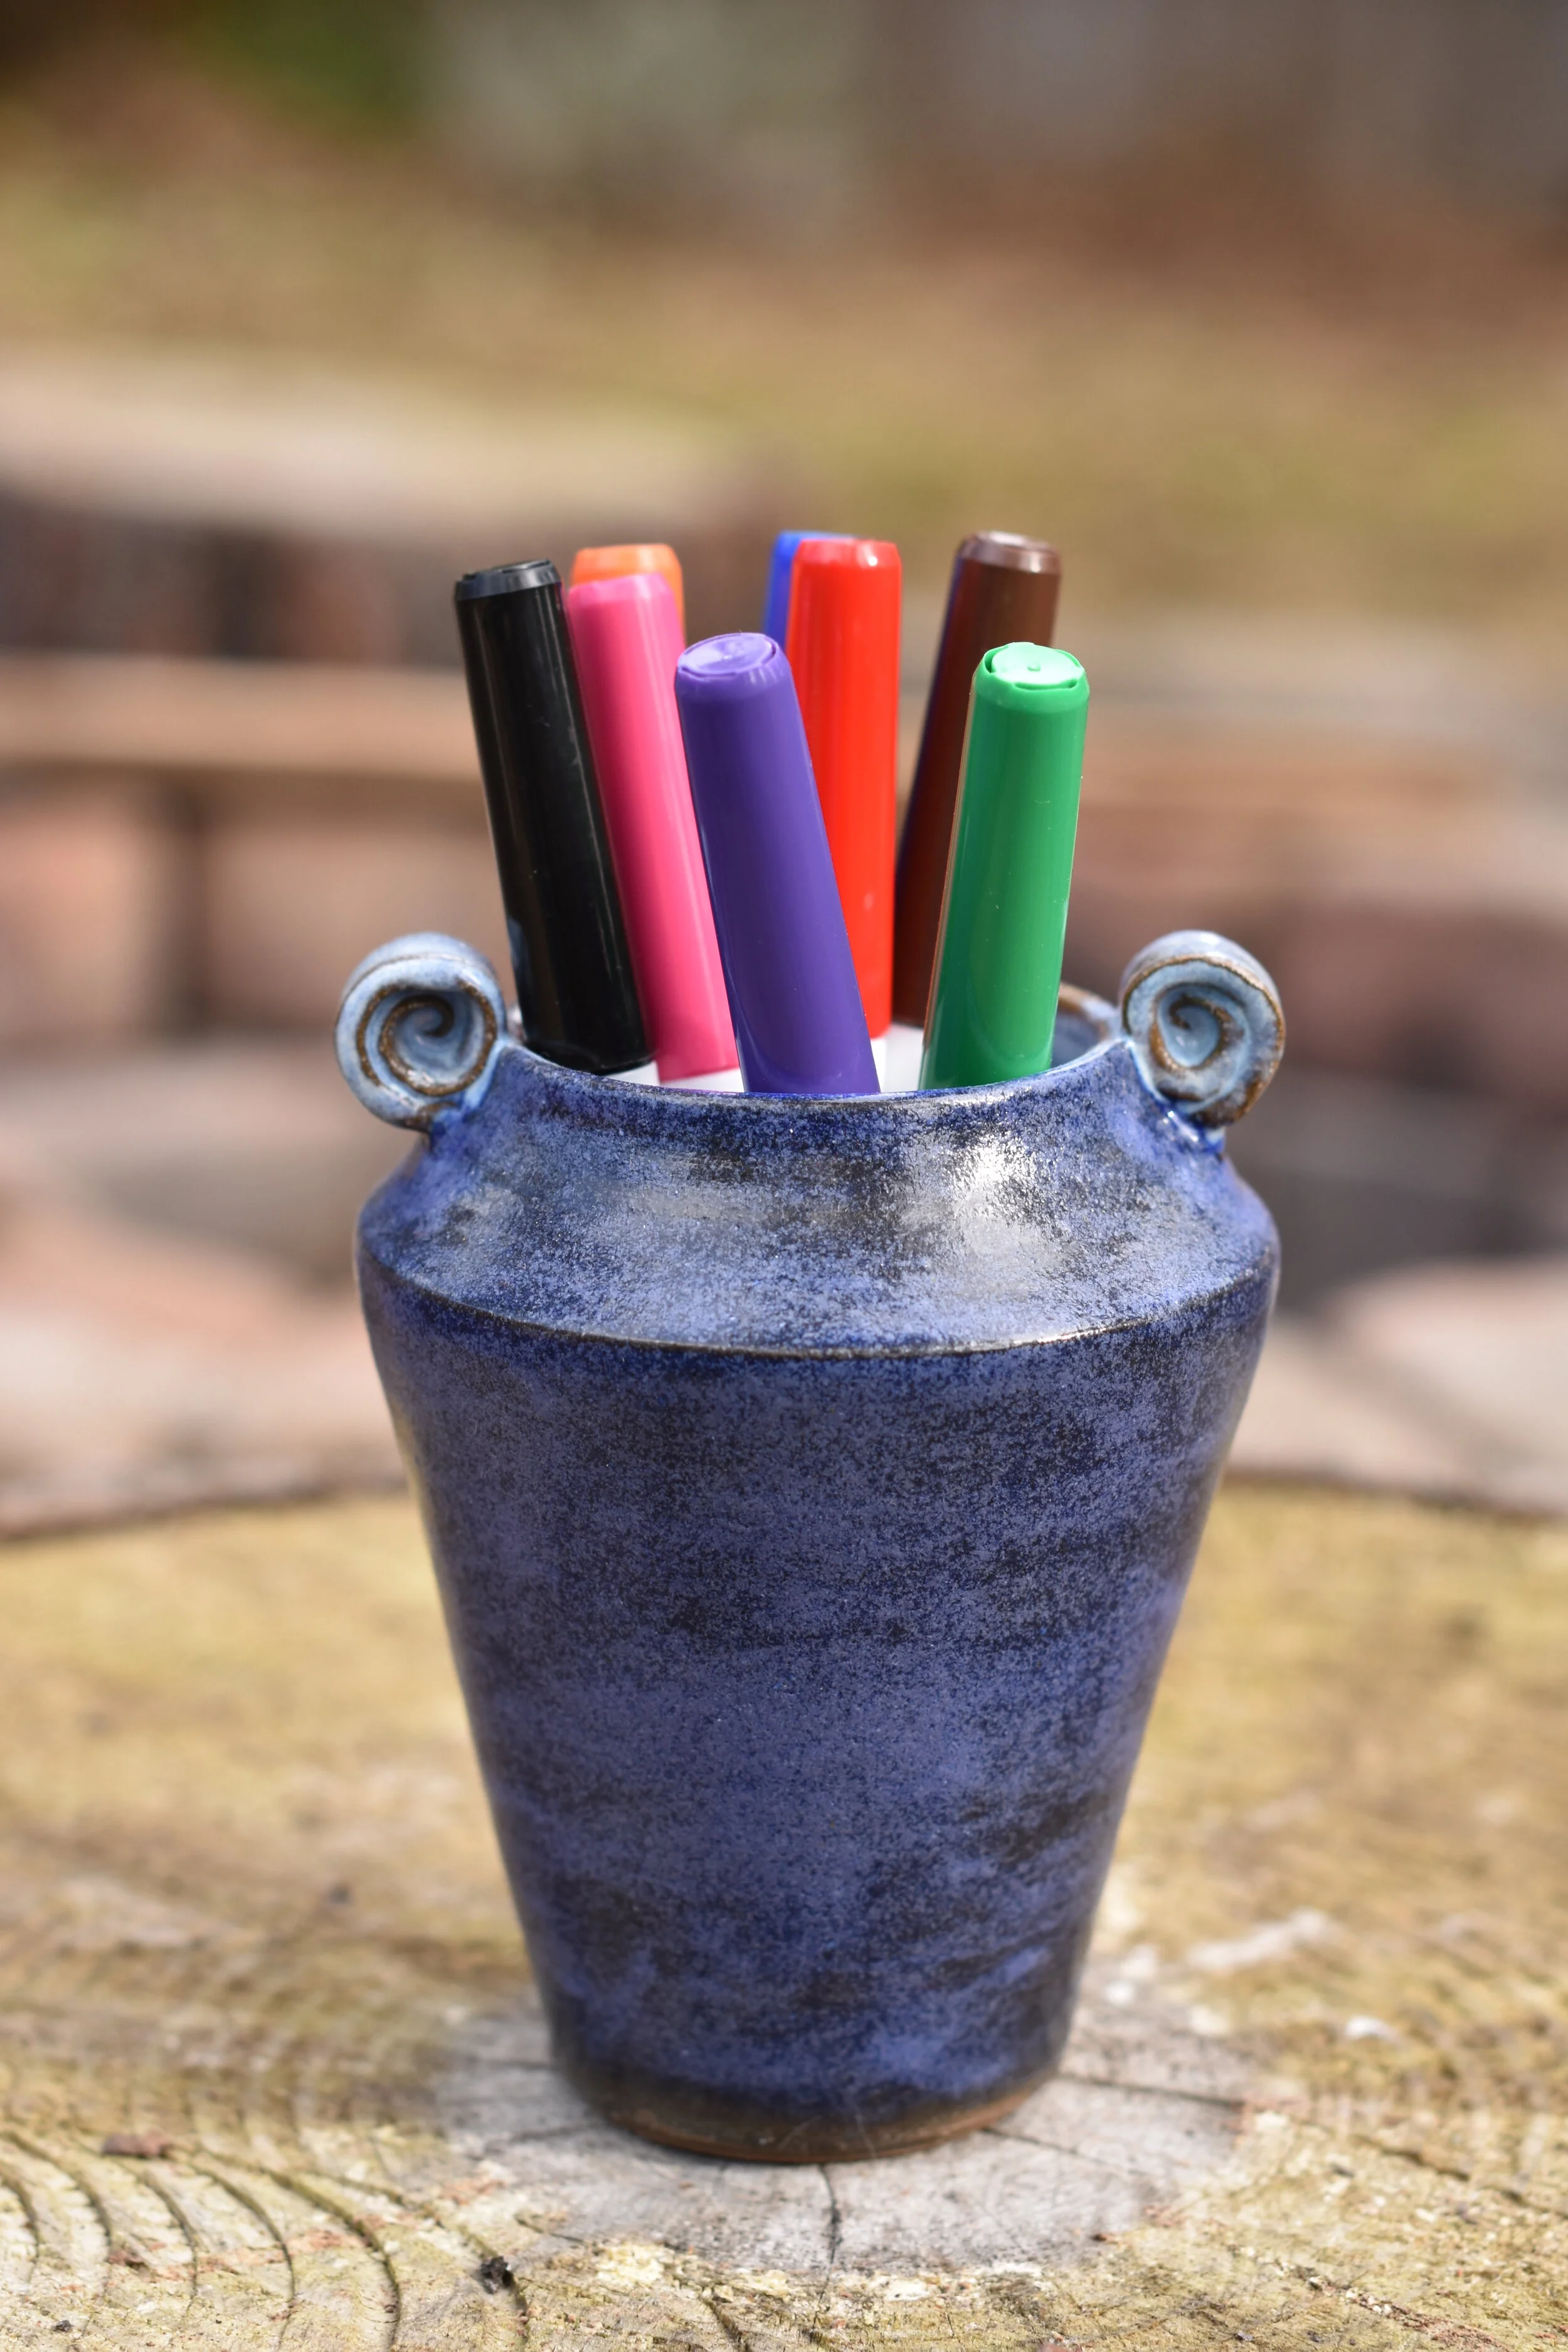
And finally that one was dunked in glaze and fired for the last time, producing the blue bowl above.
I learn so much from each project.

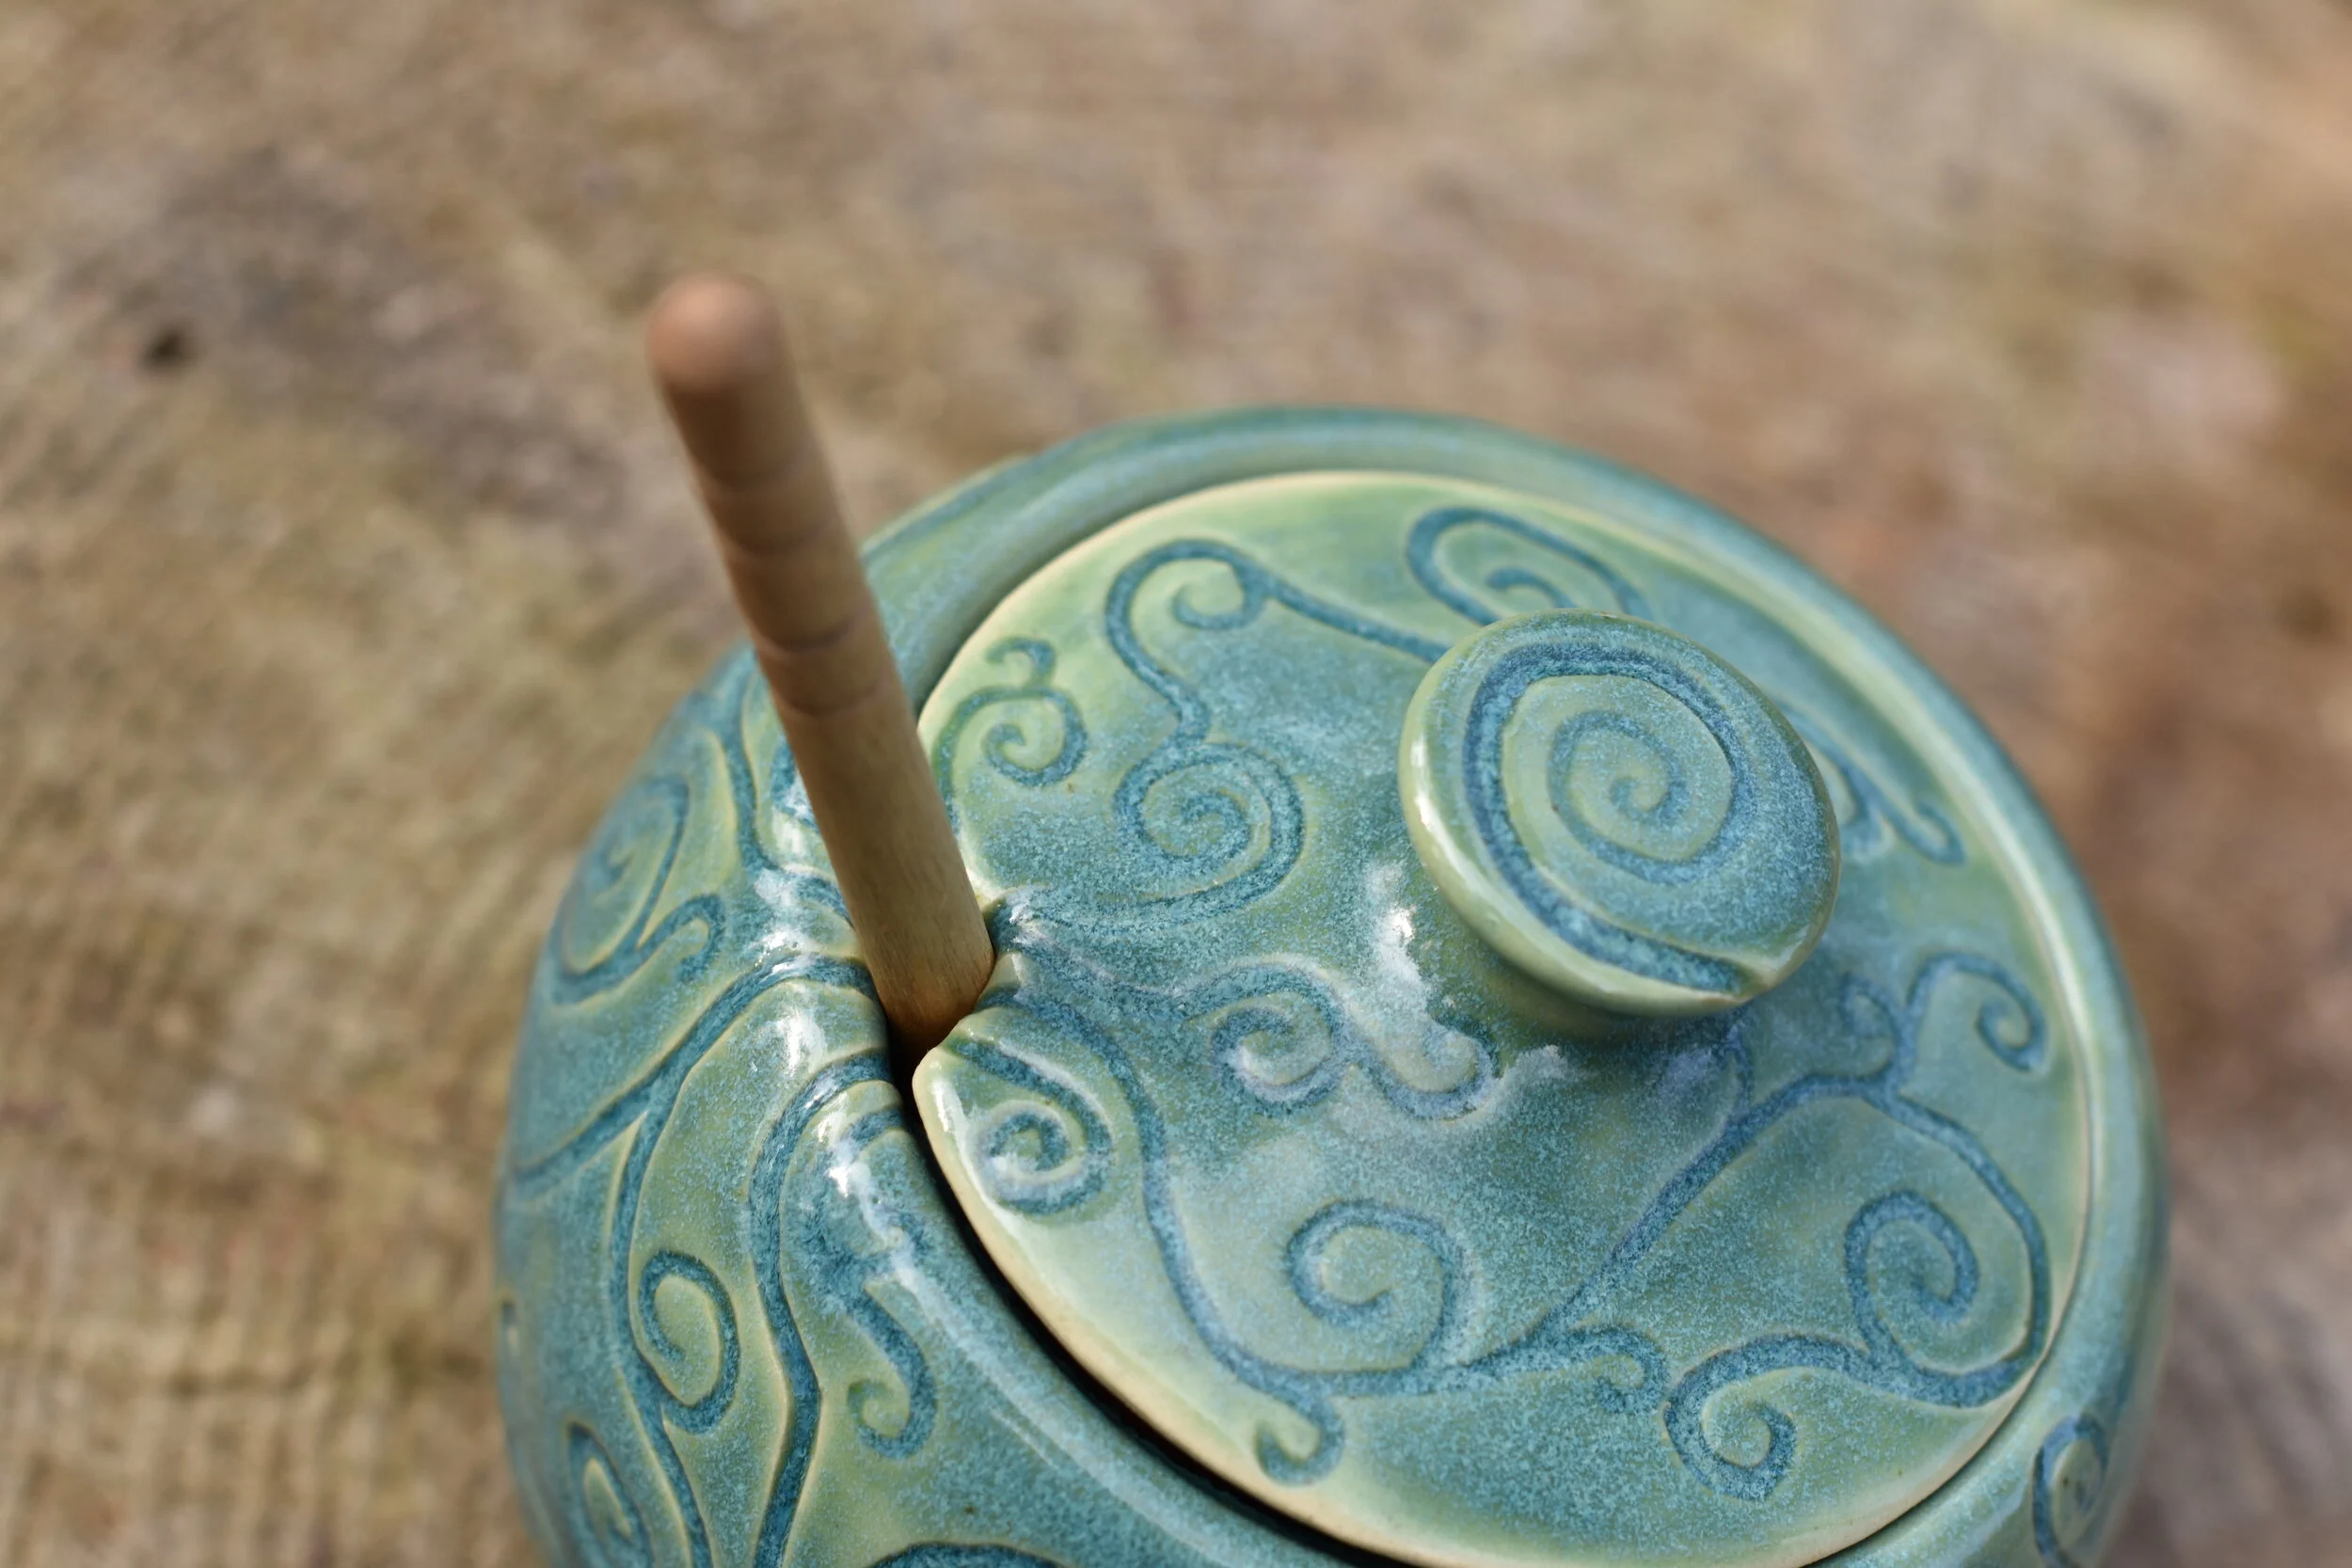

Mom’s Tea Service
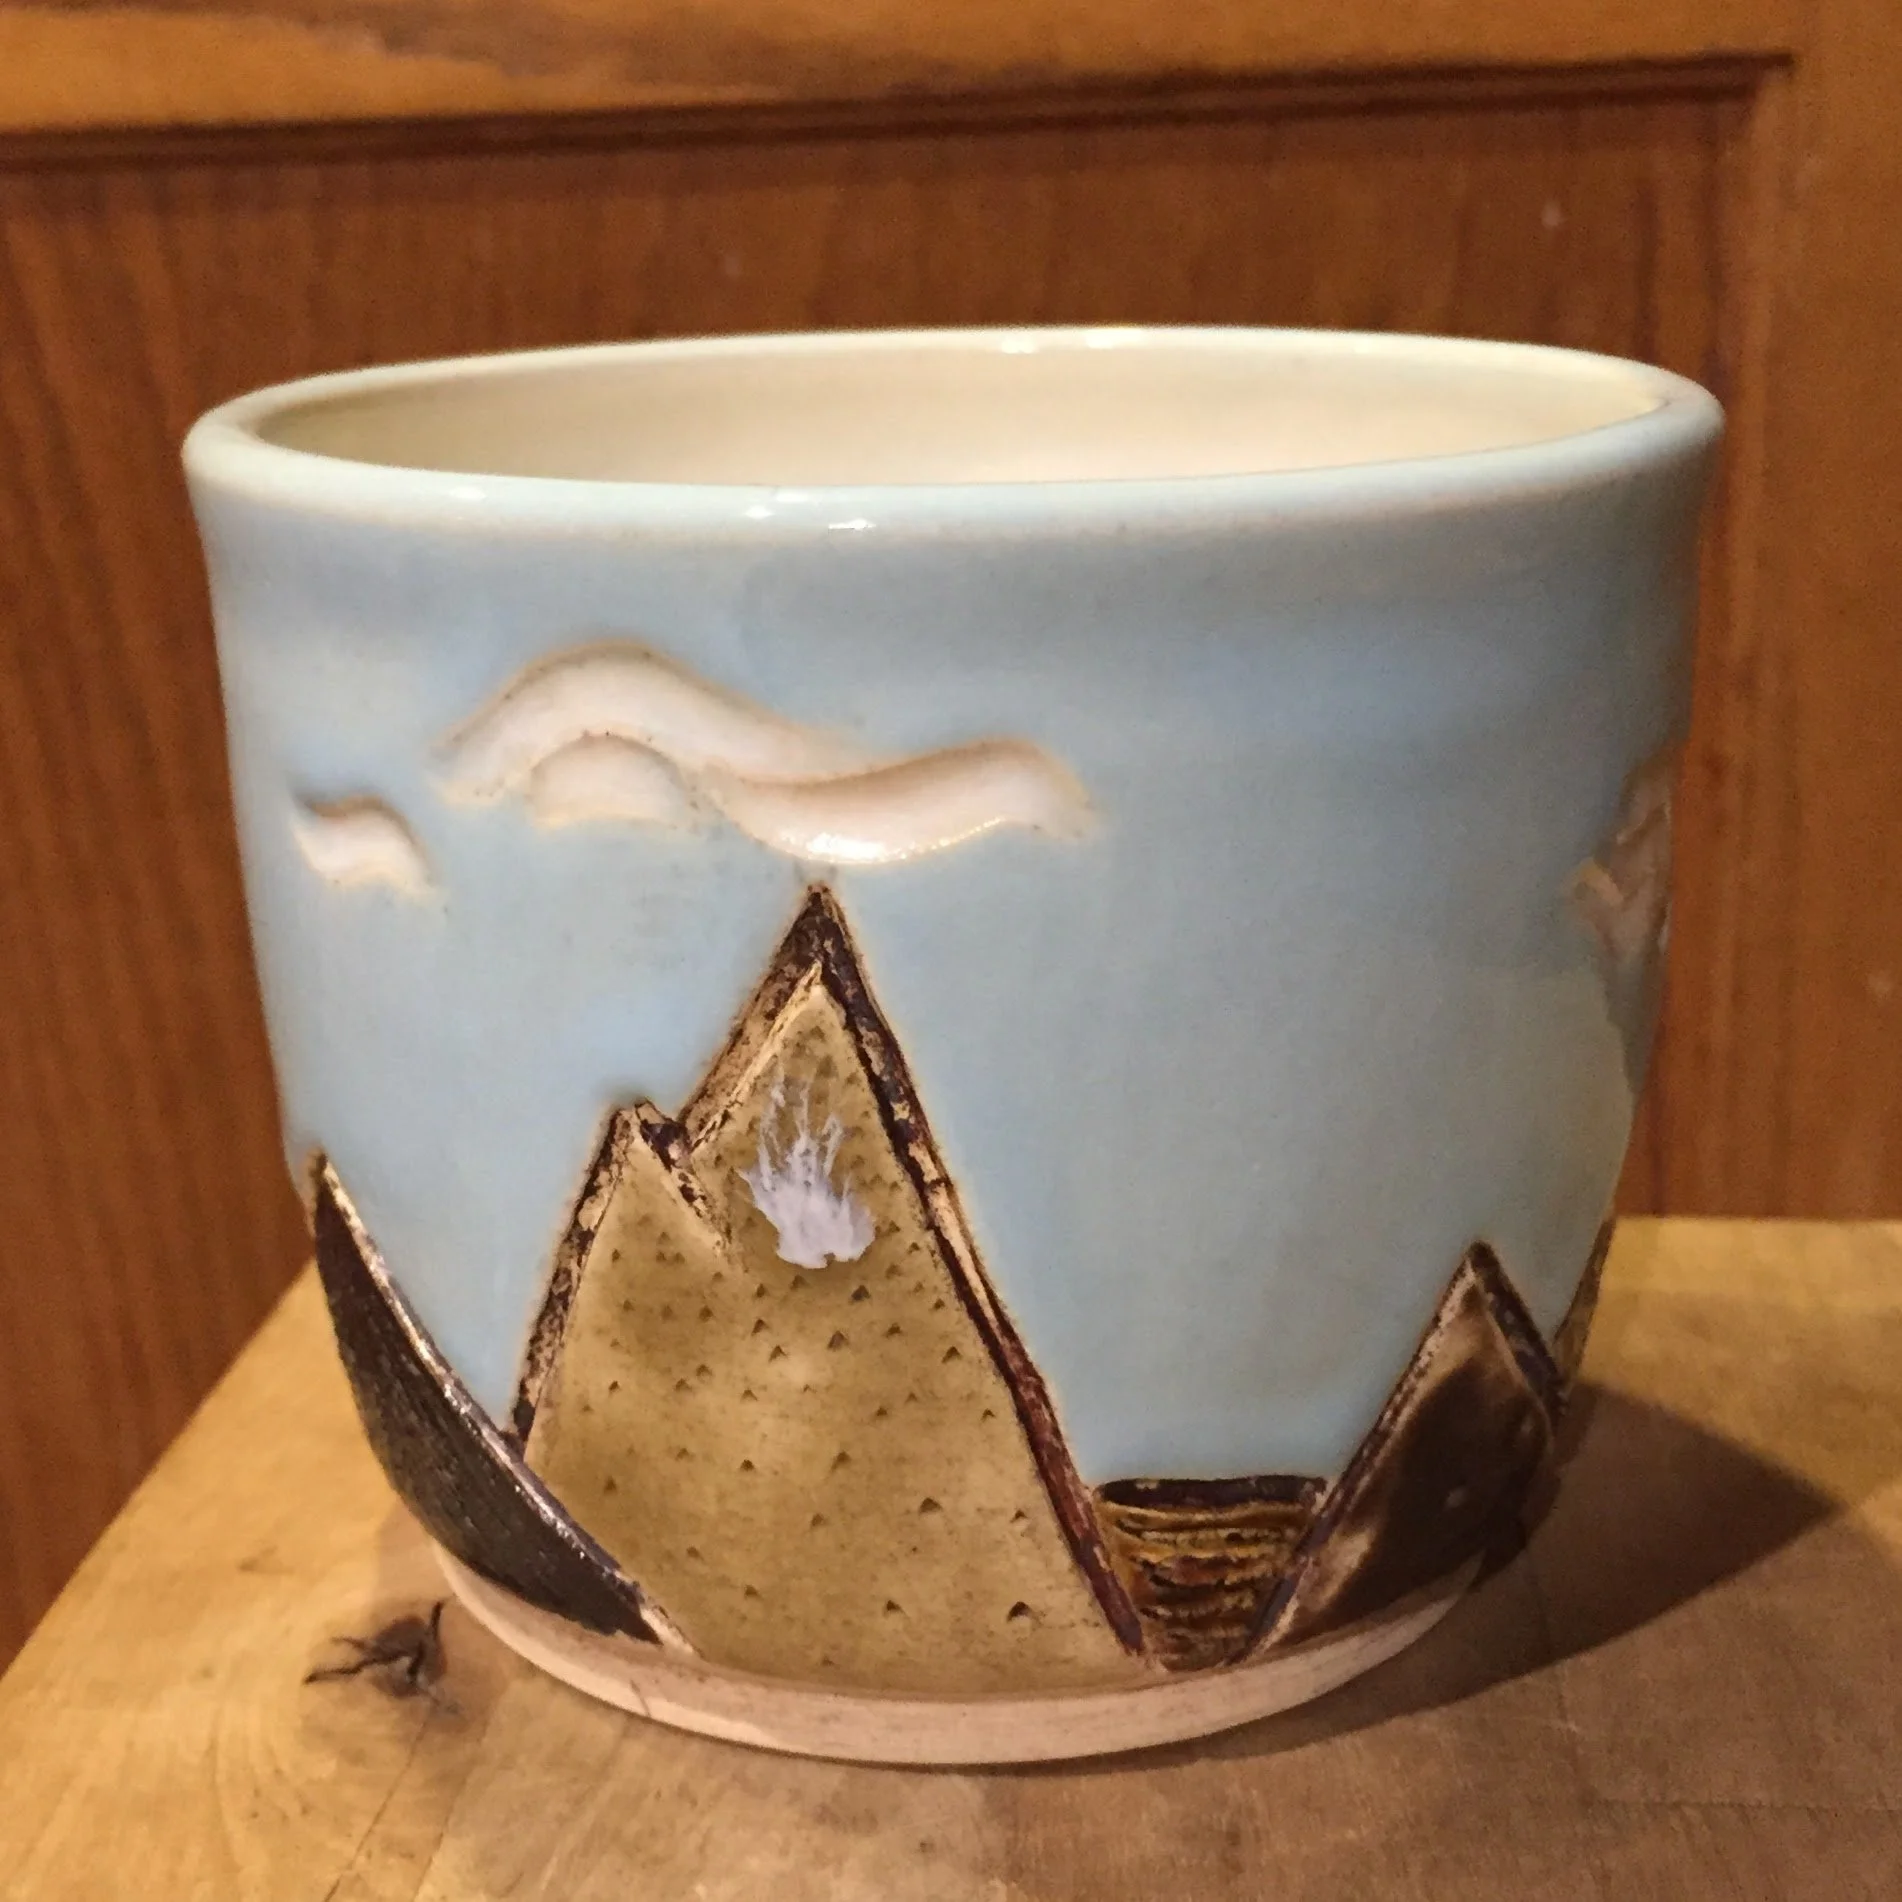
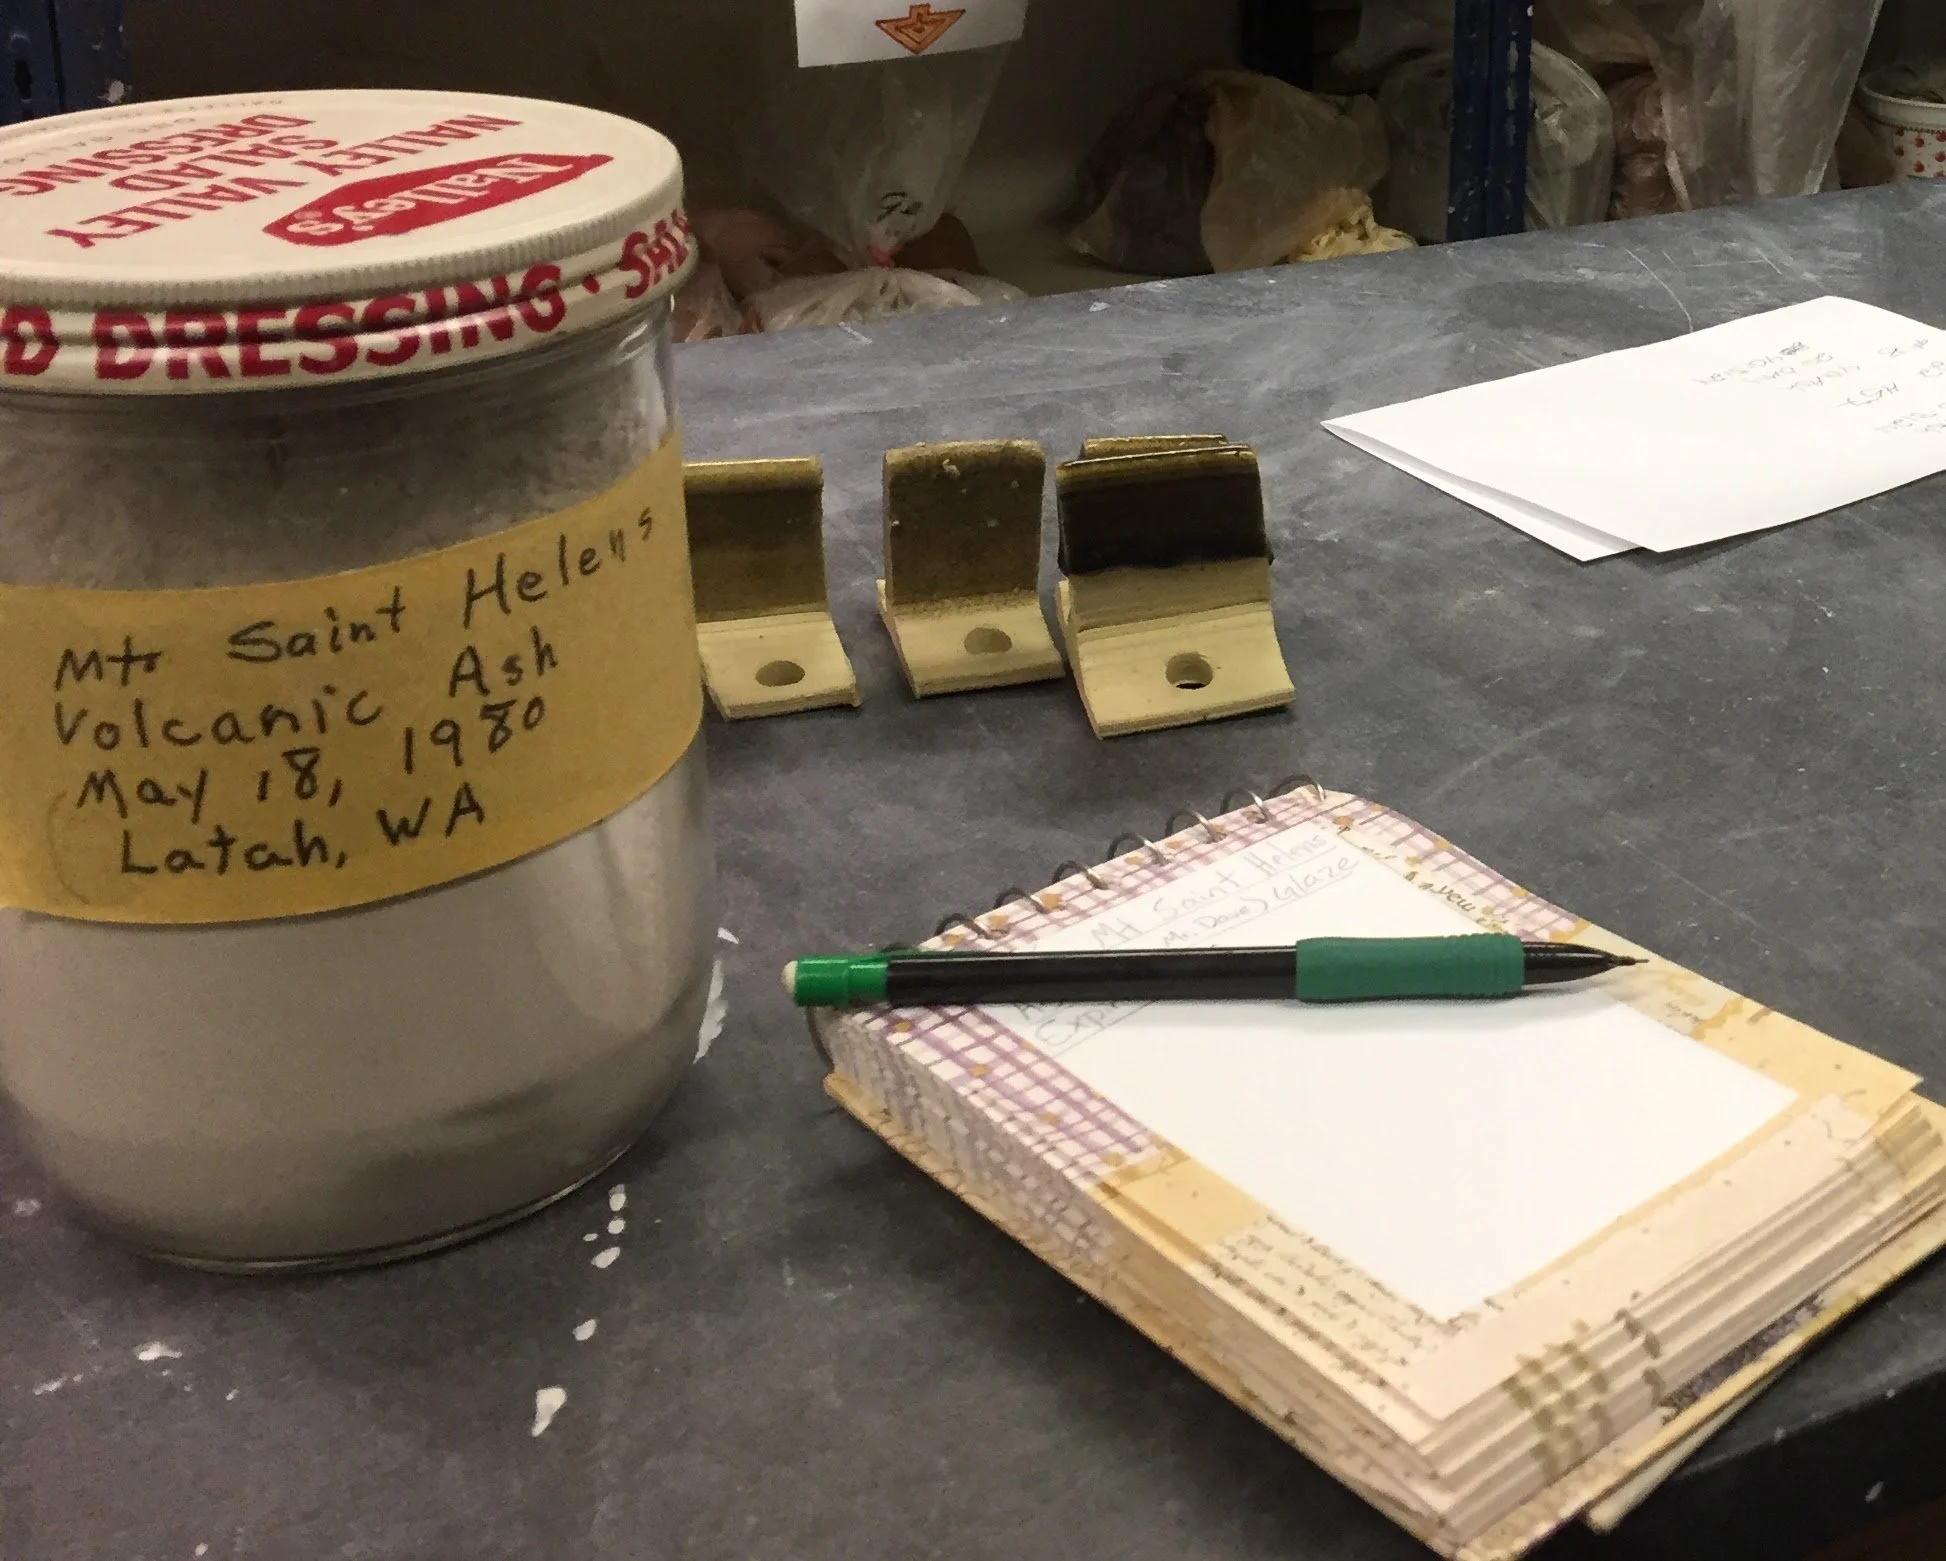
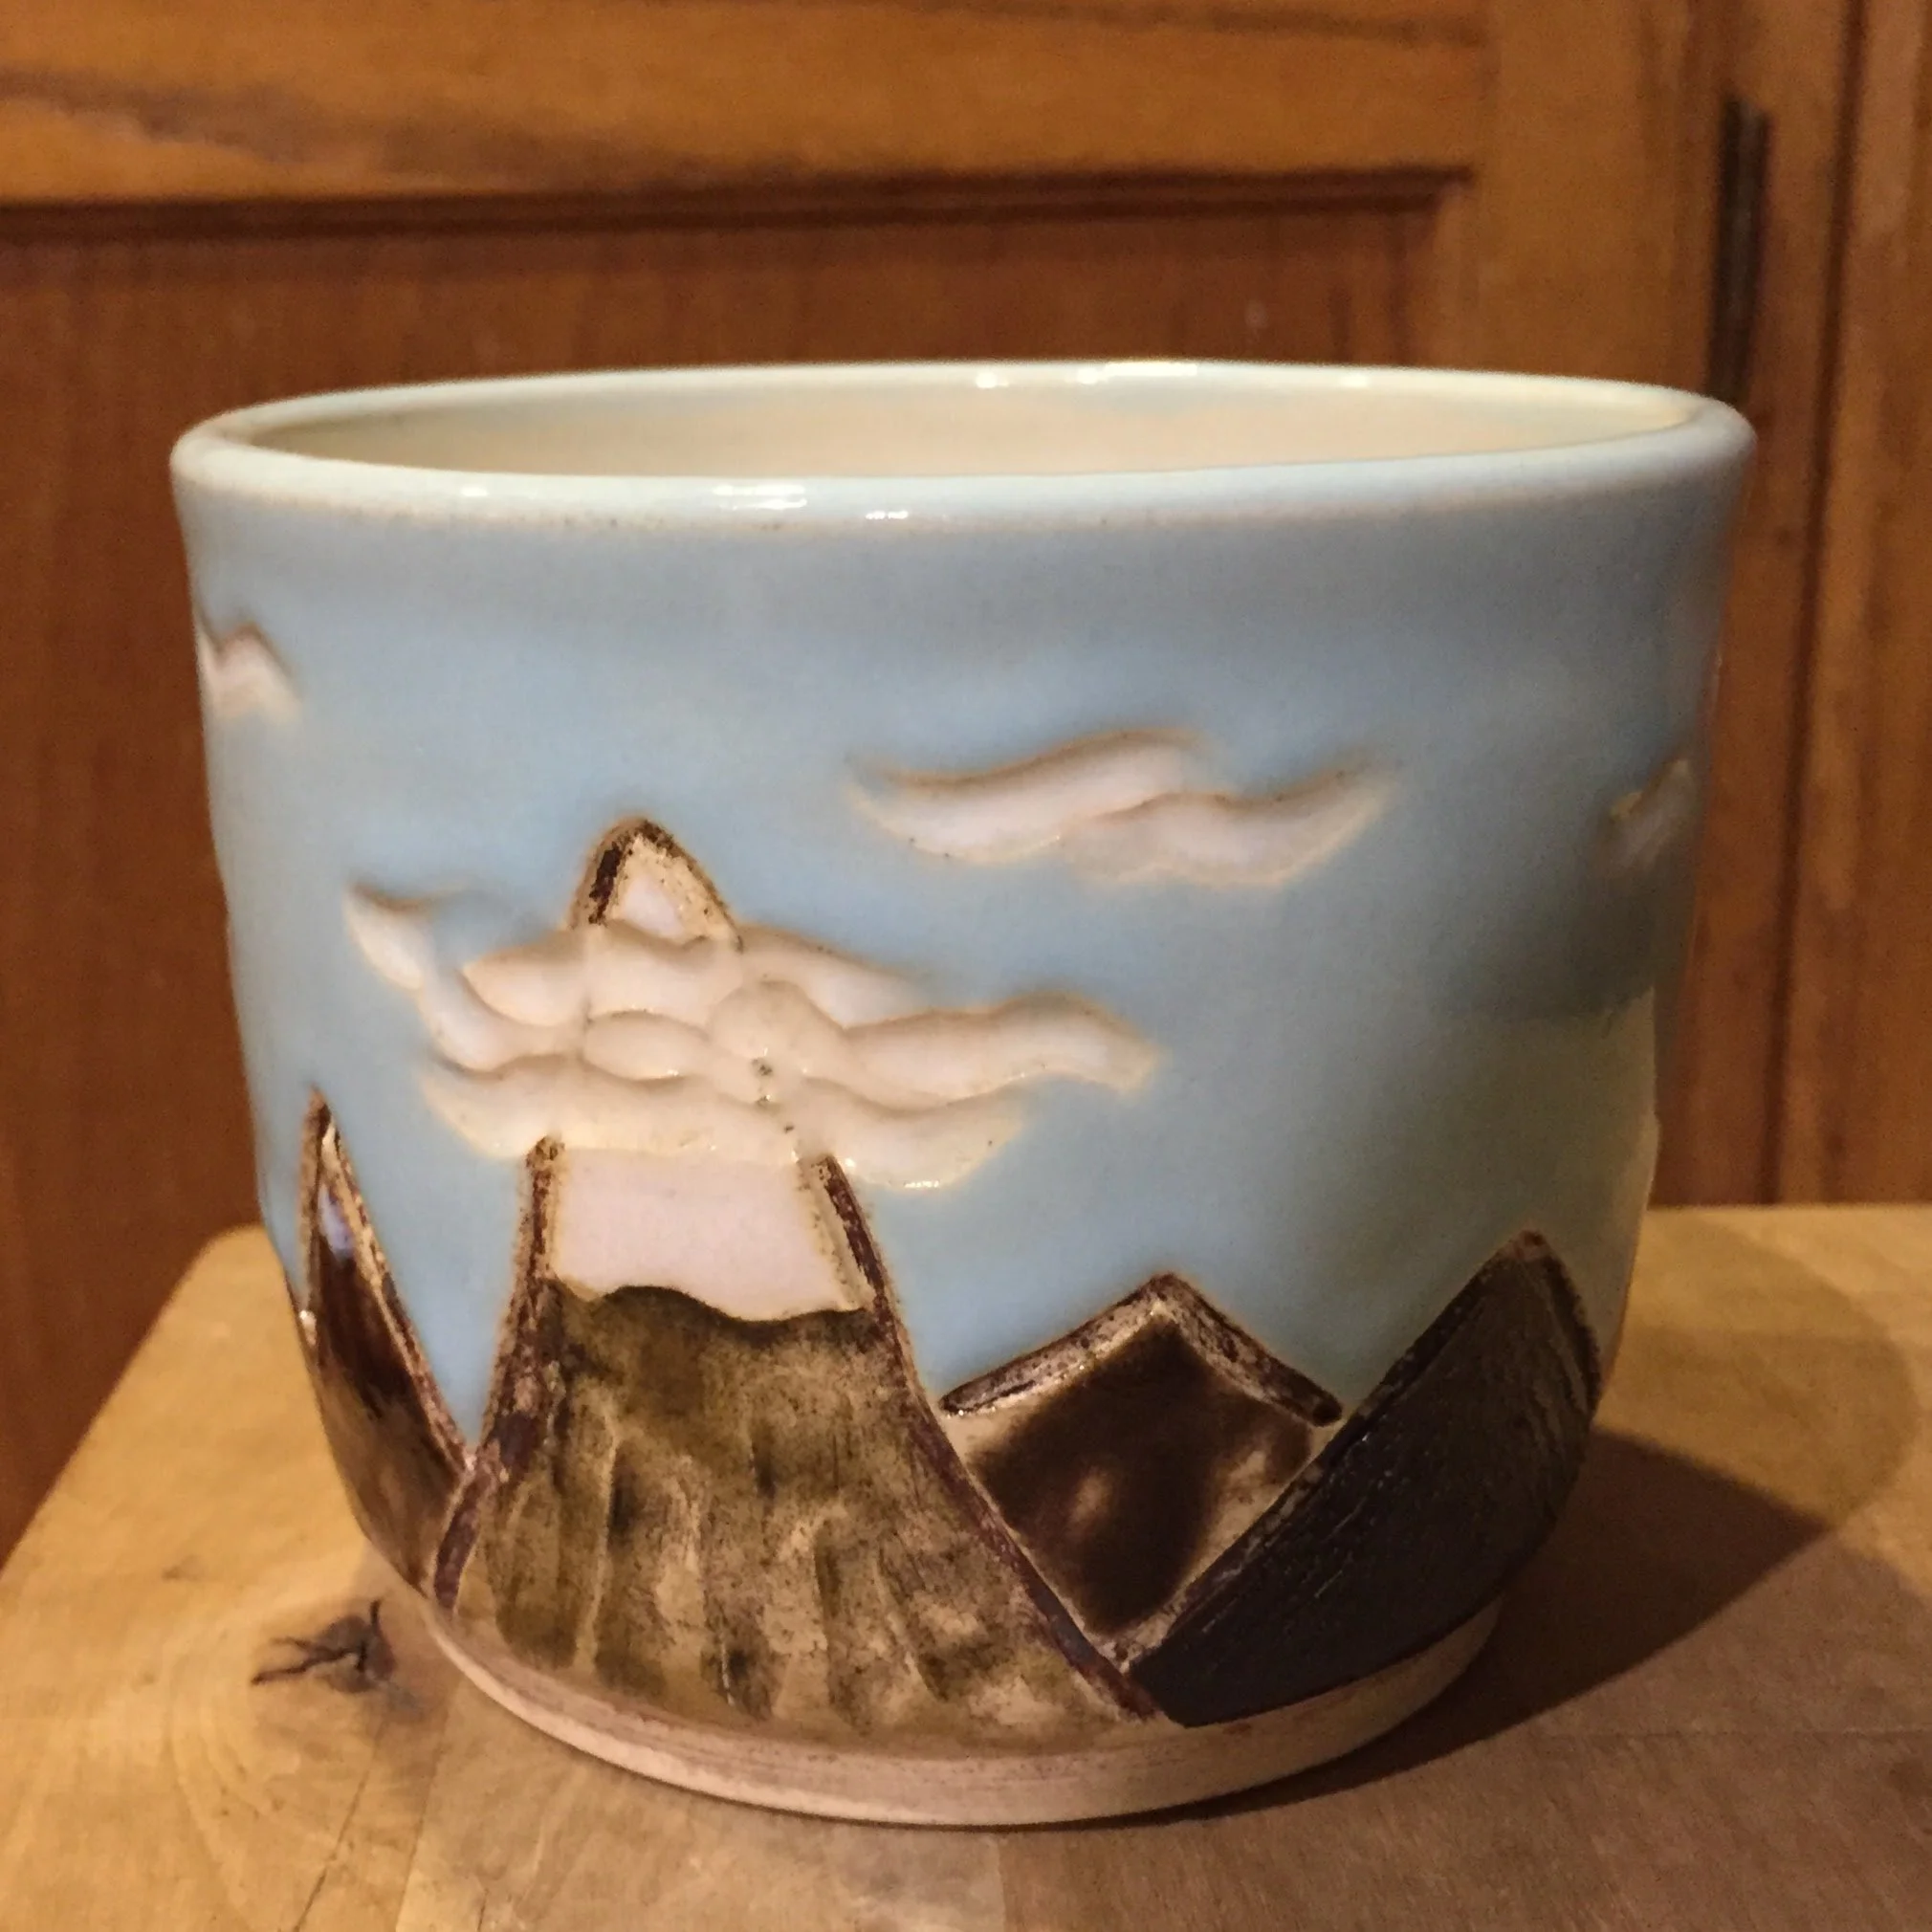
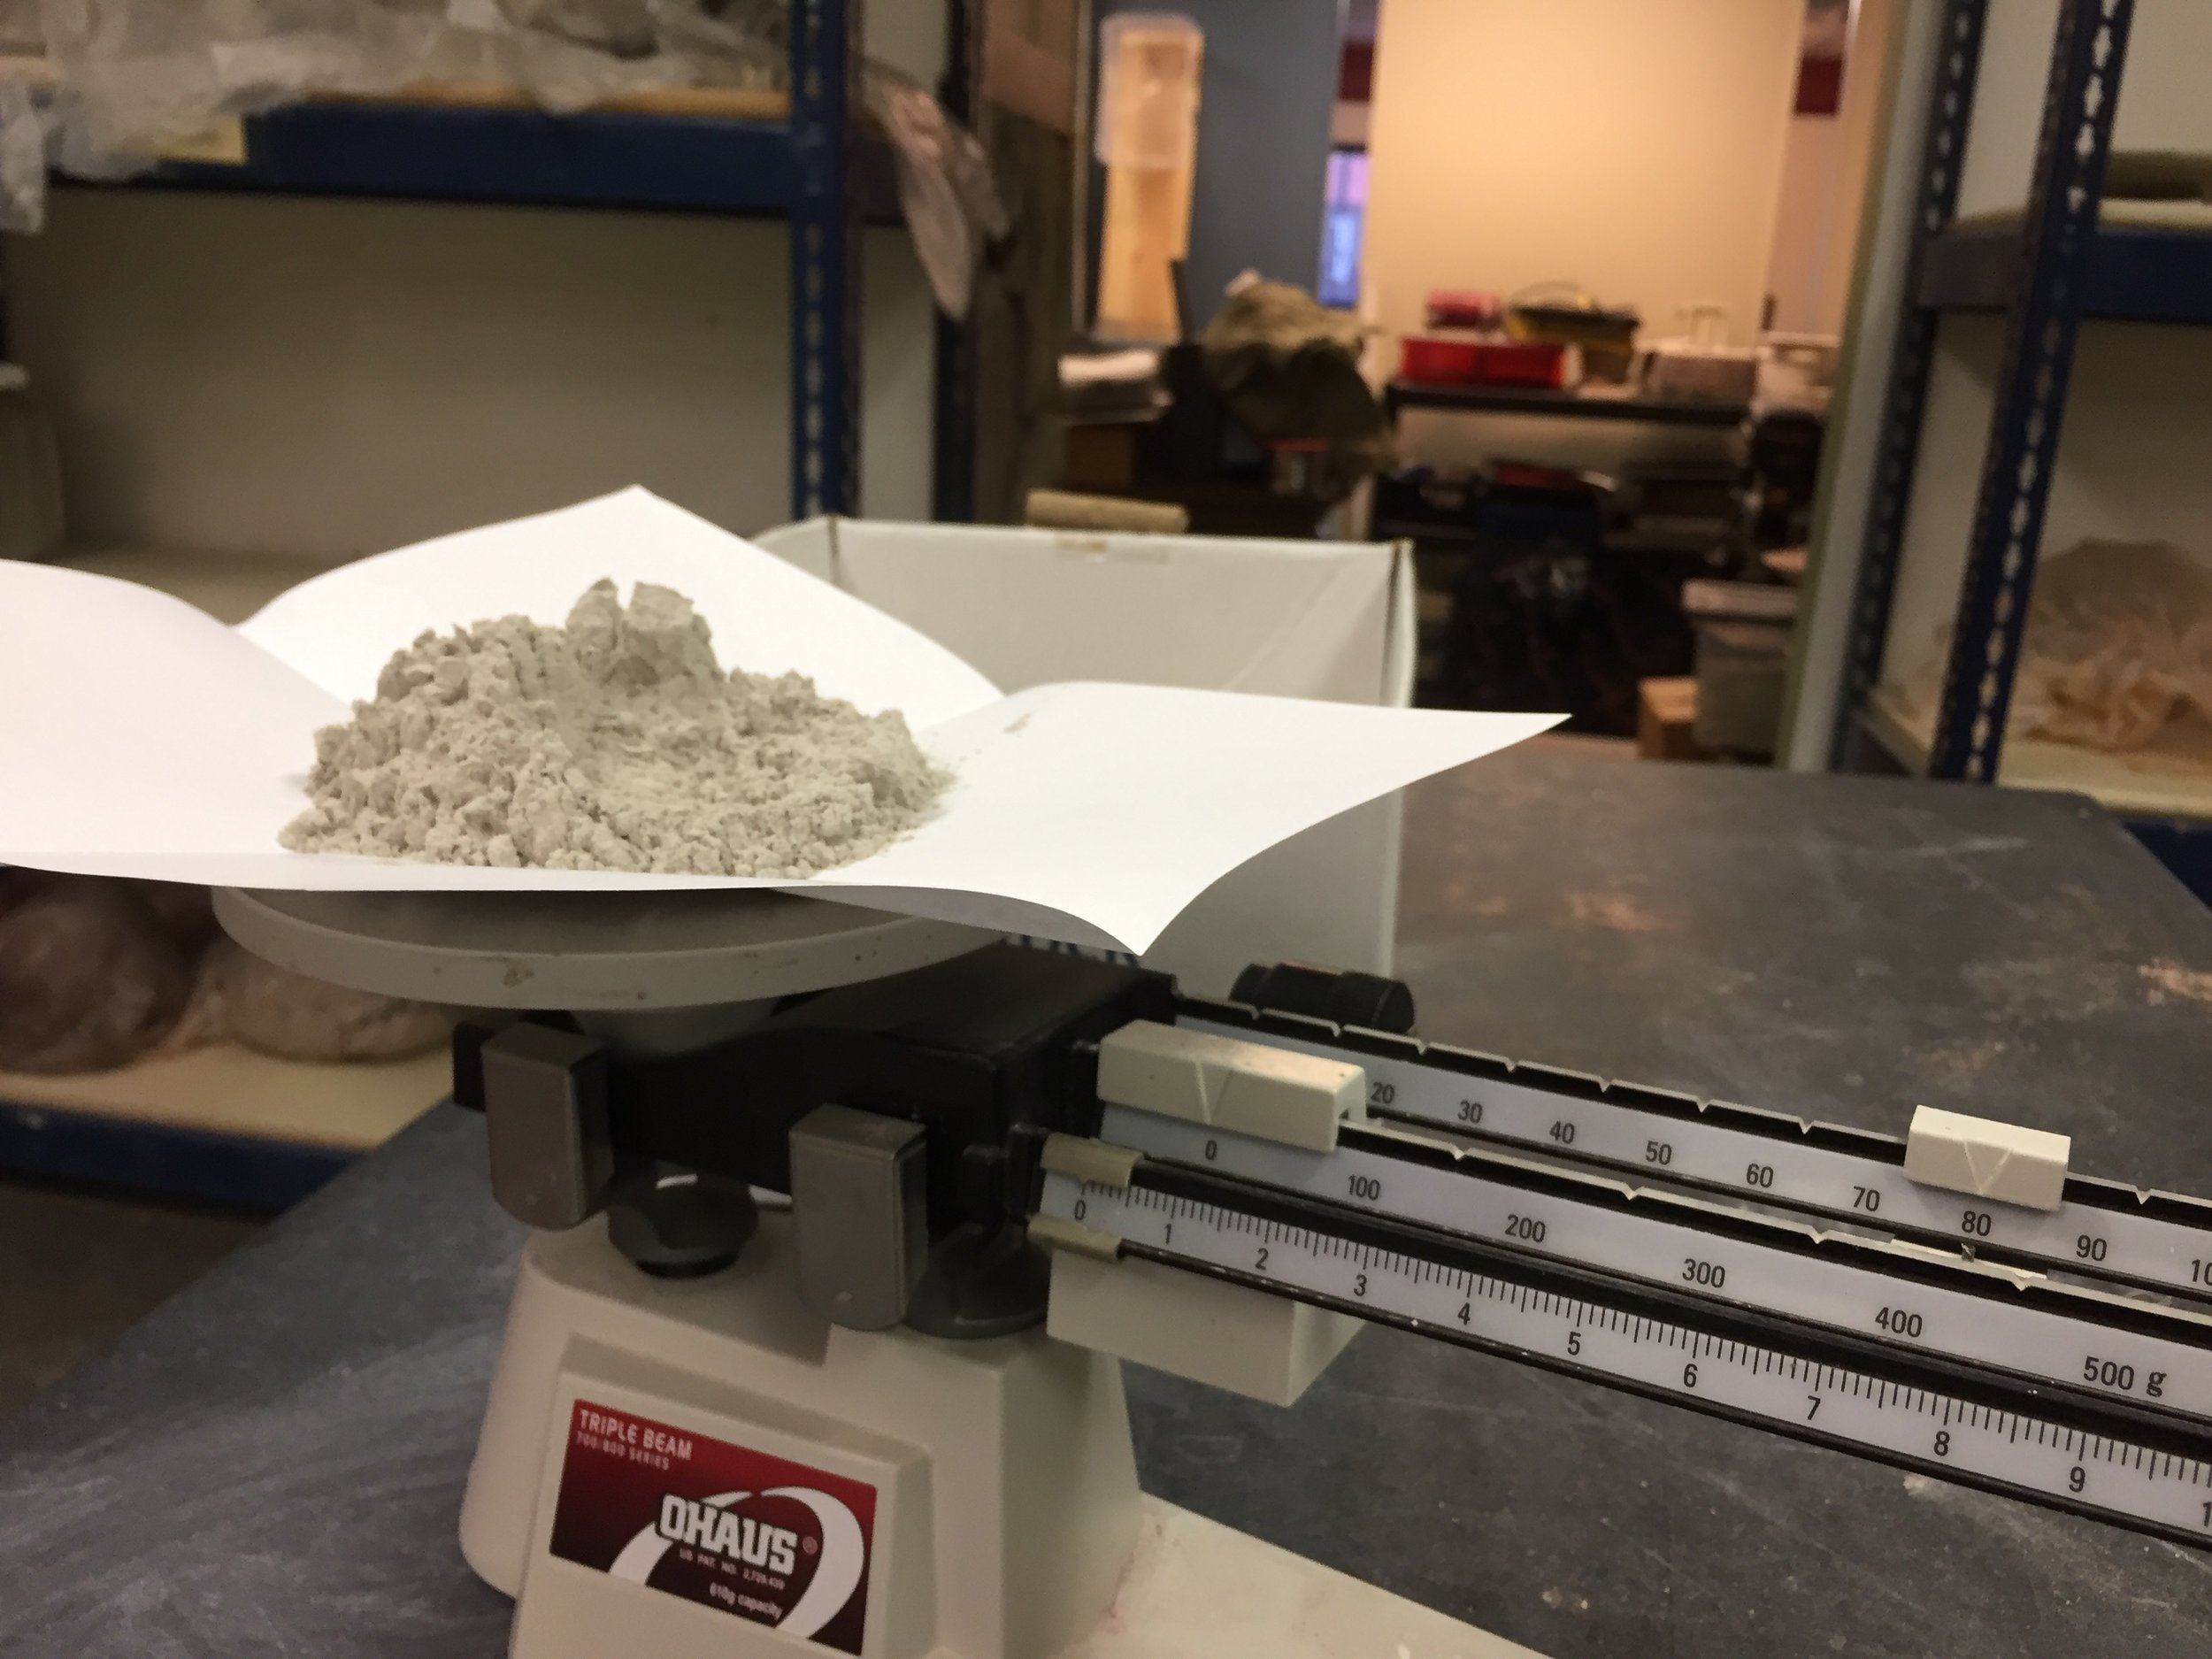
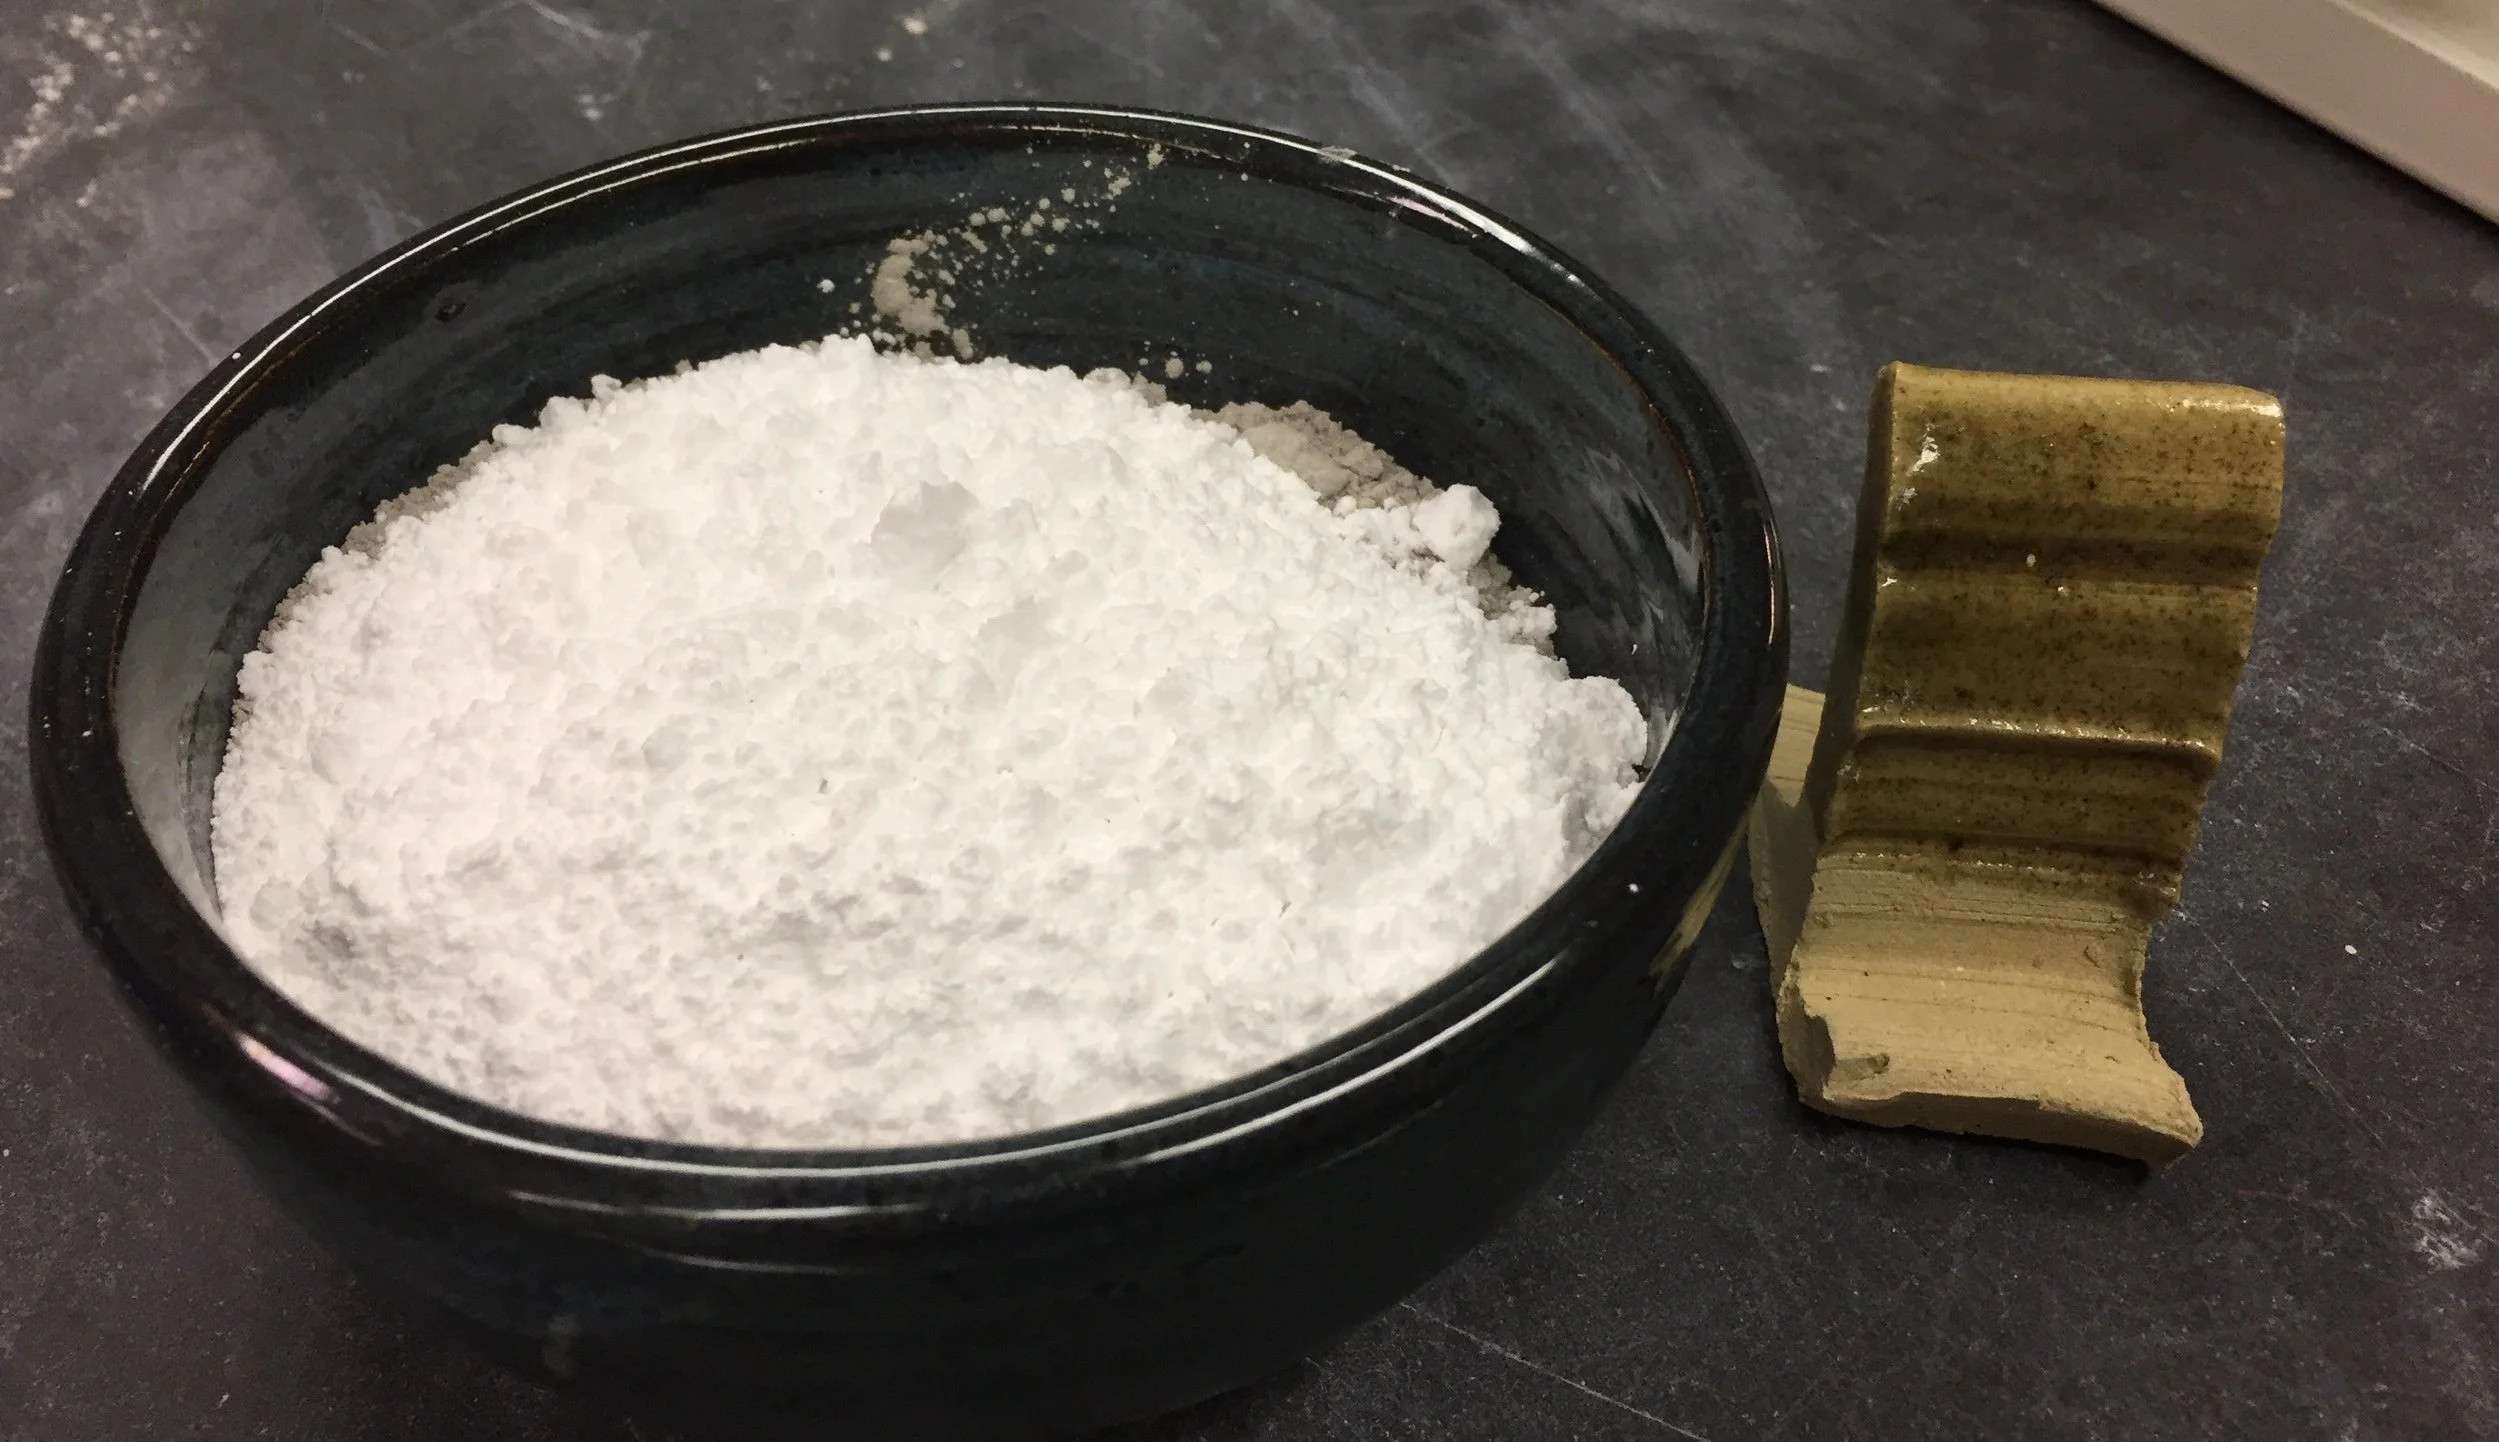
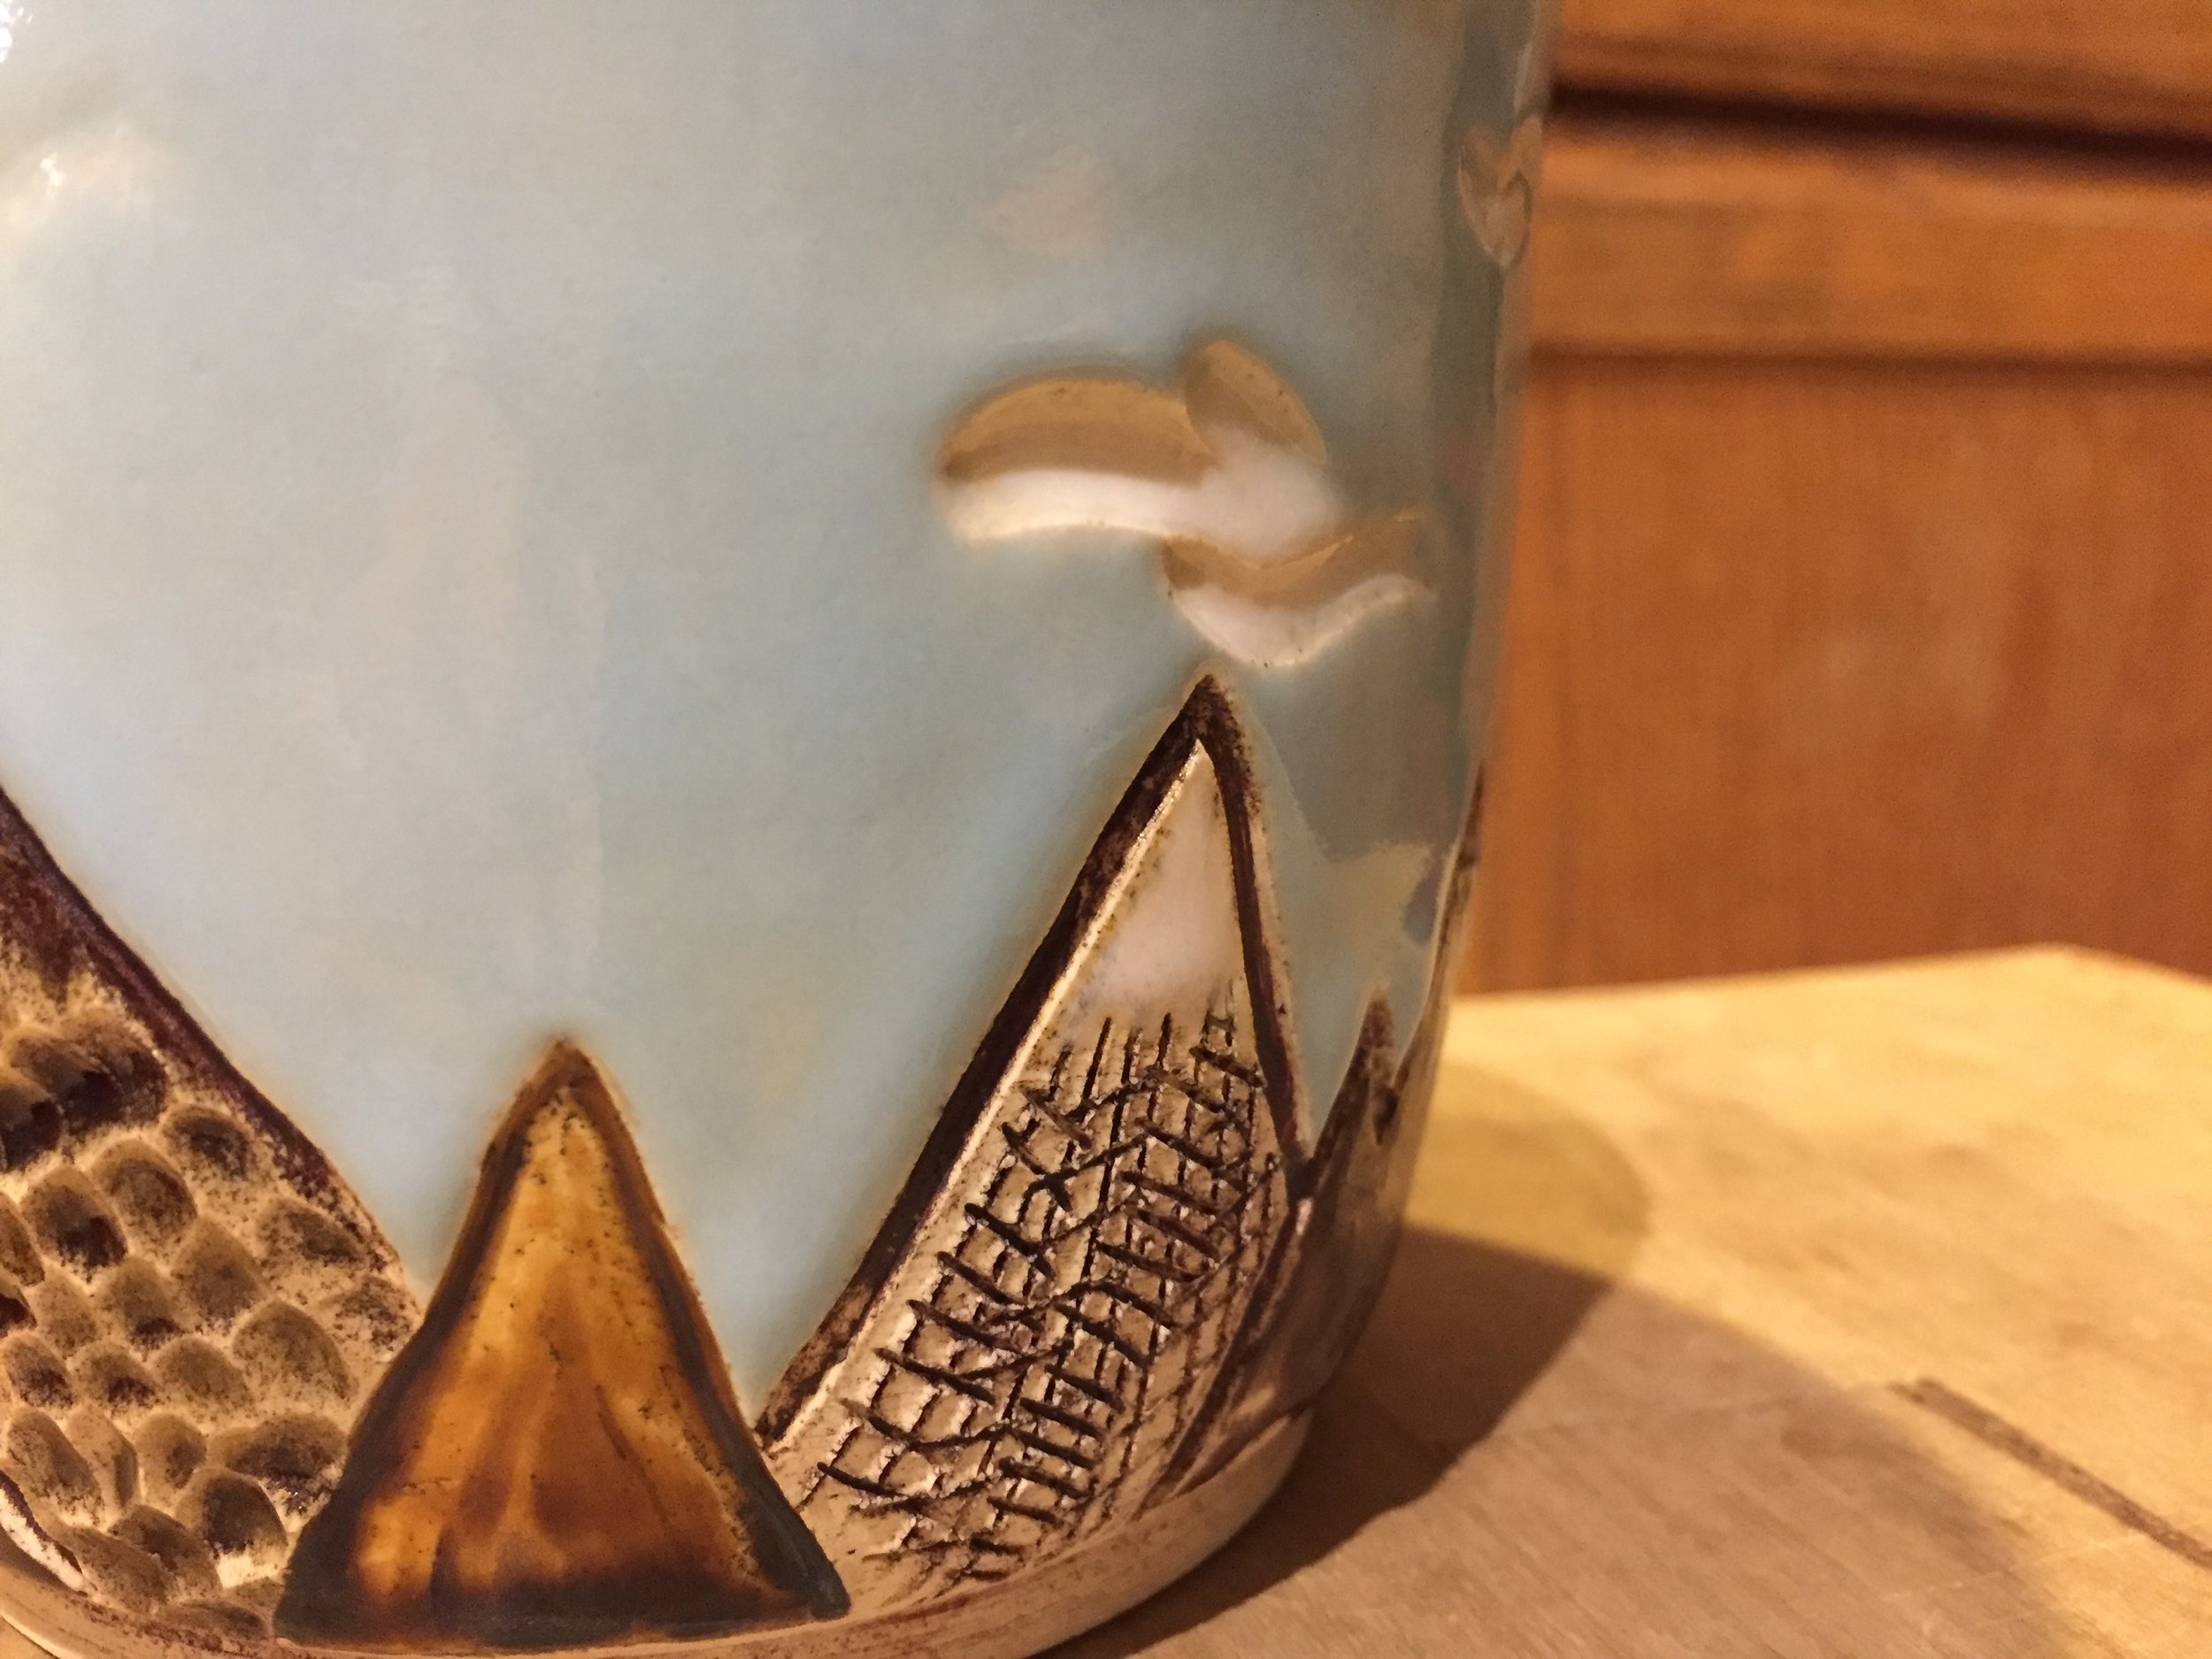
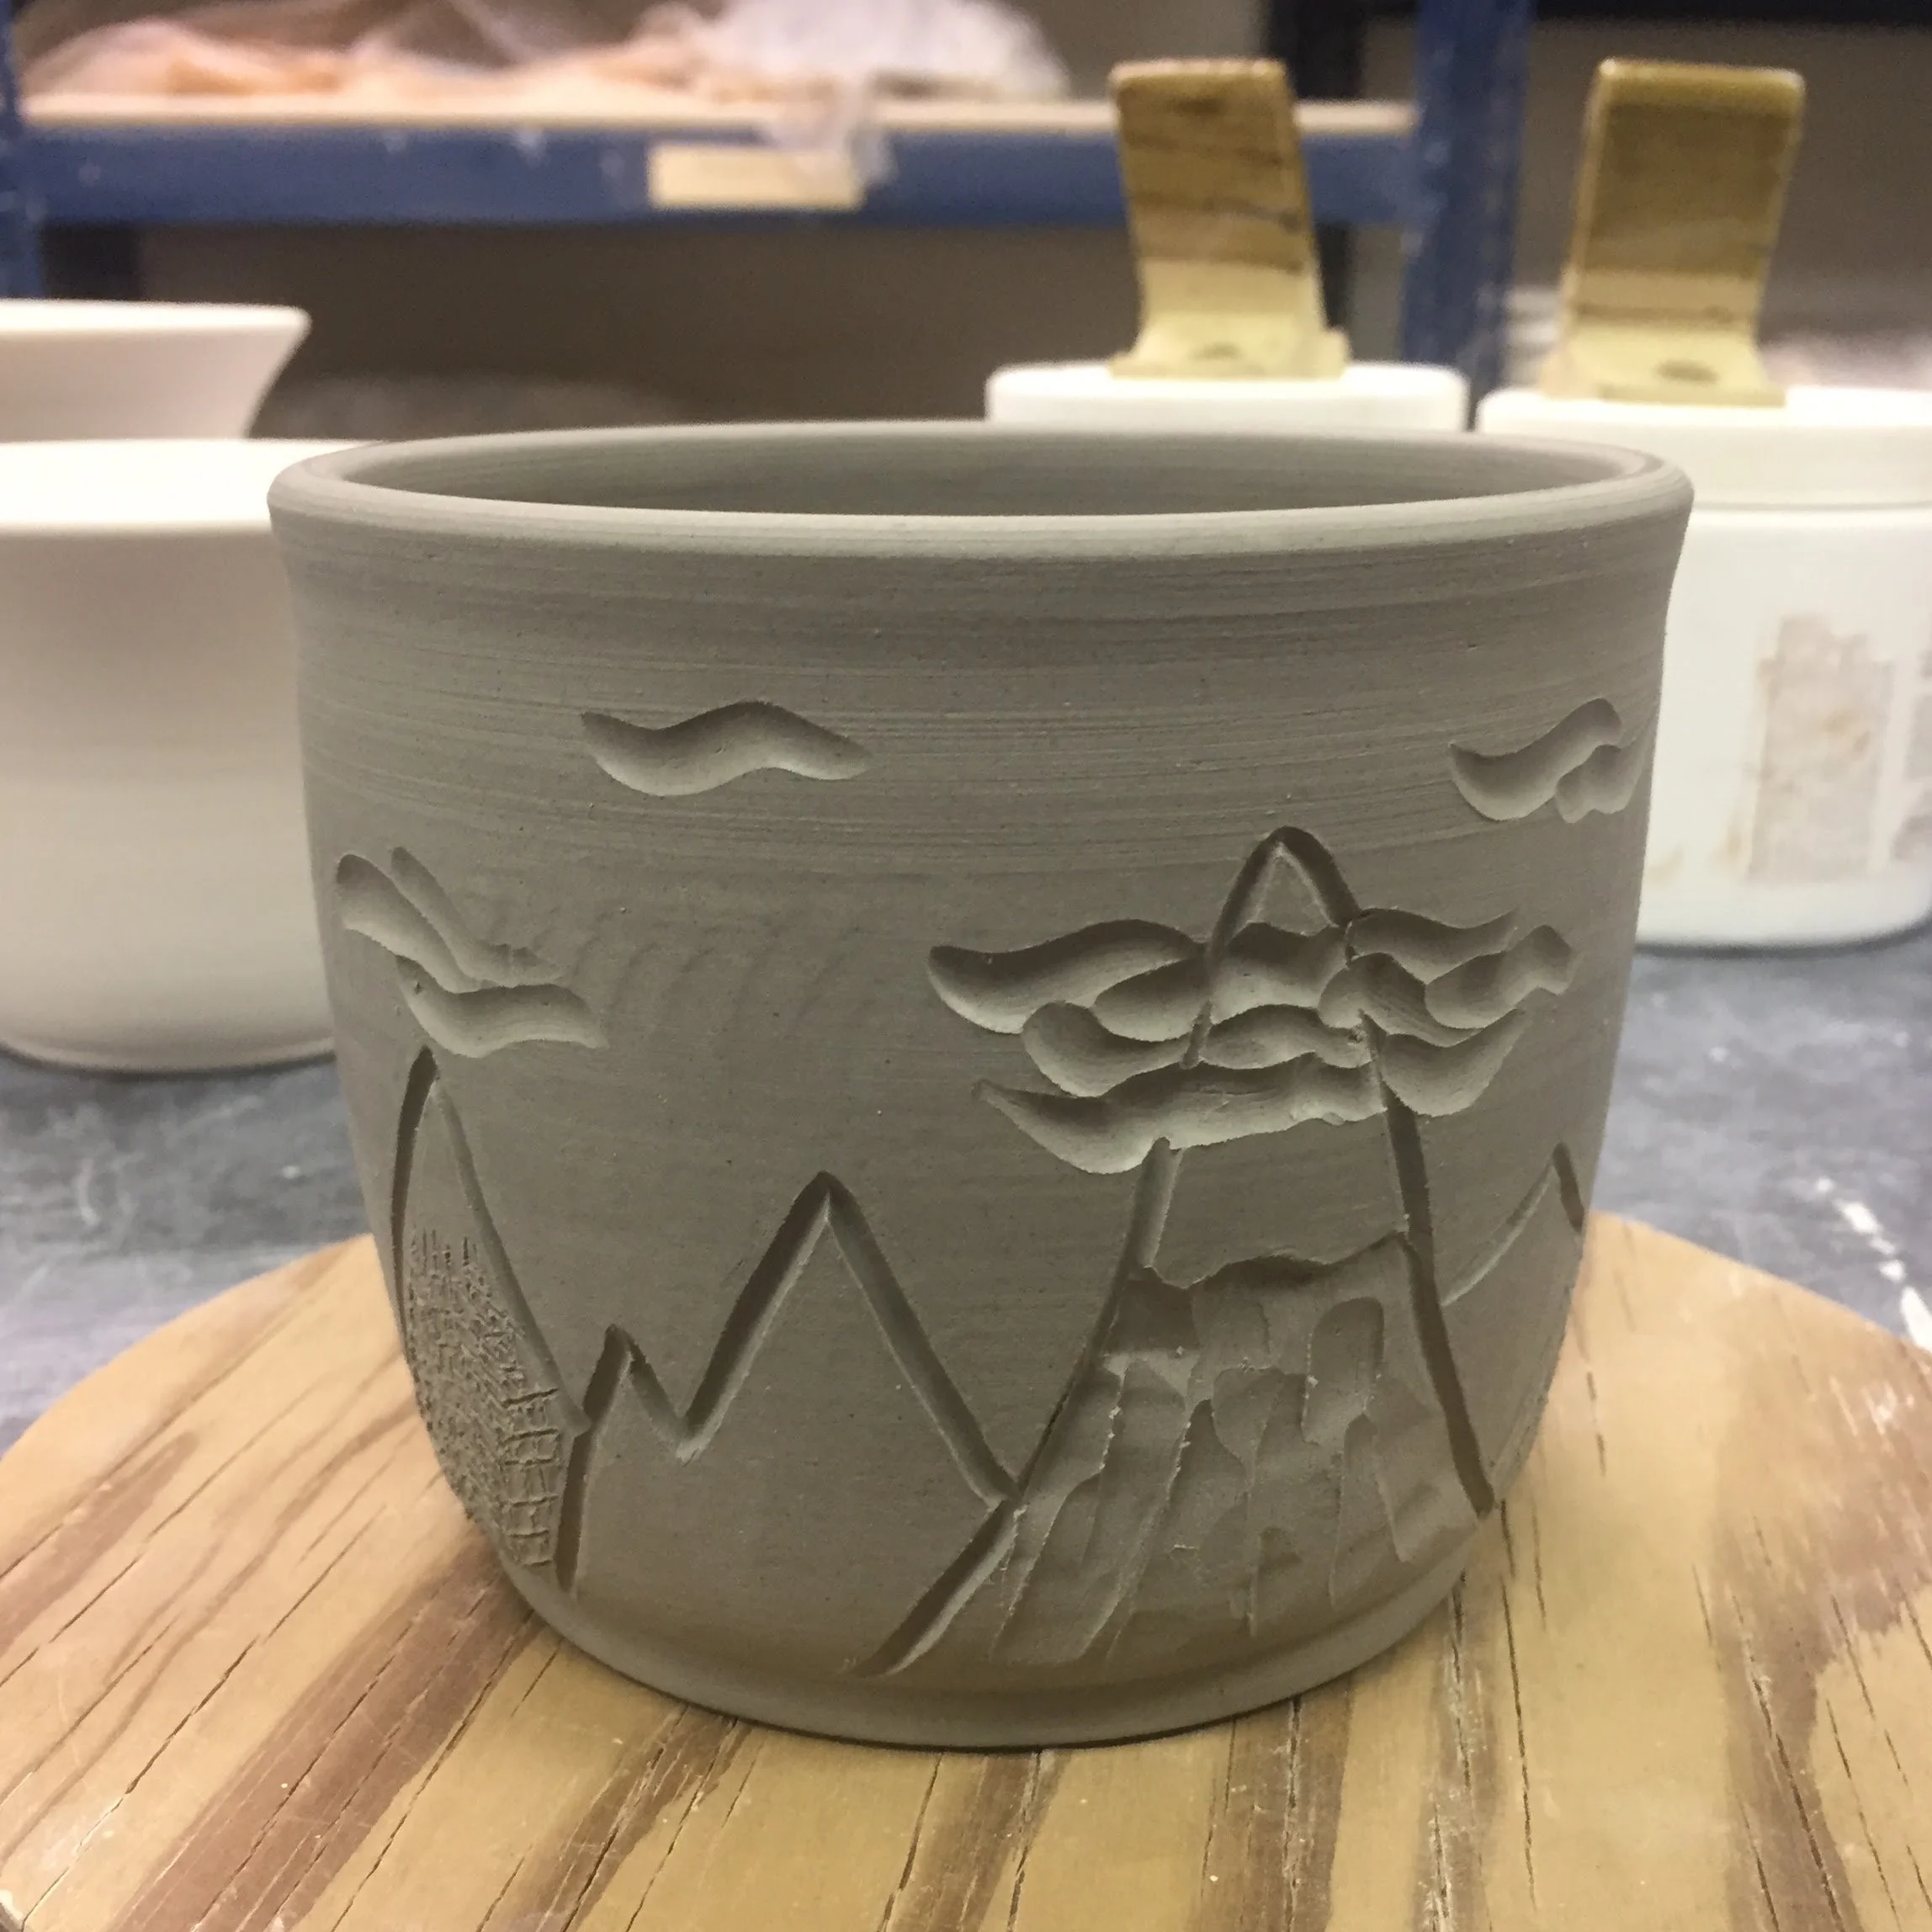

To date this is my only graze mixing experience. Using Mt. Saint Helen’s Ash and the basic building blocks of glaze making, I created four glazes that I then used on the mountains for the pot above. It was an interesting experiment. I think it’s cool that Mt. St. Helen’s Ash can be used as a glaze with no additives do to its natural composition. The dark brown, lumpy mountains are the straight ash mixed with water.

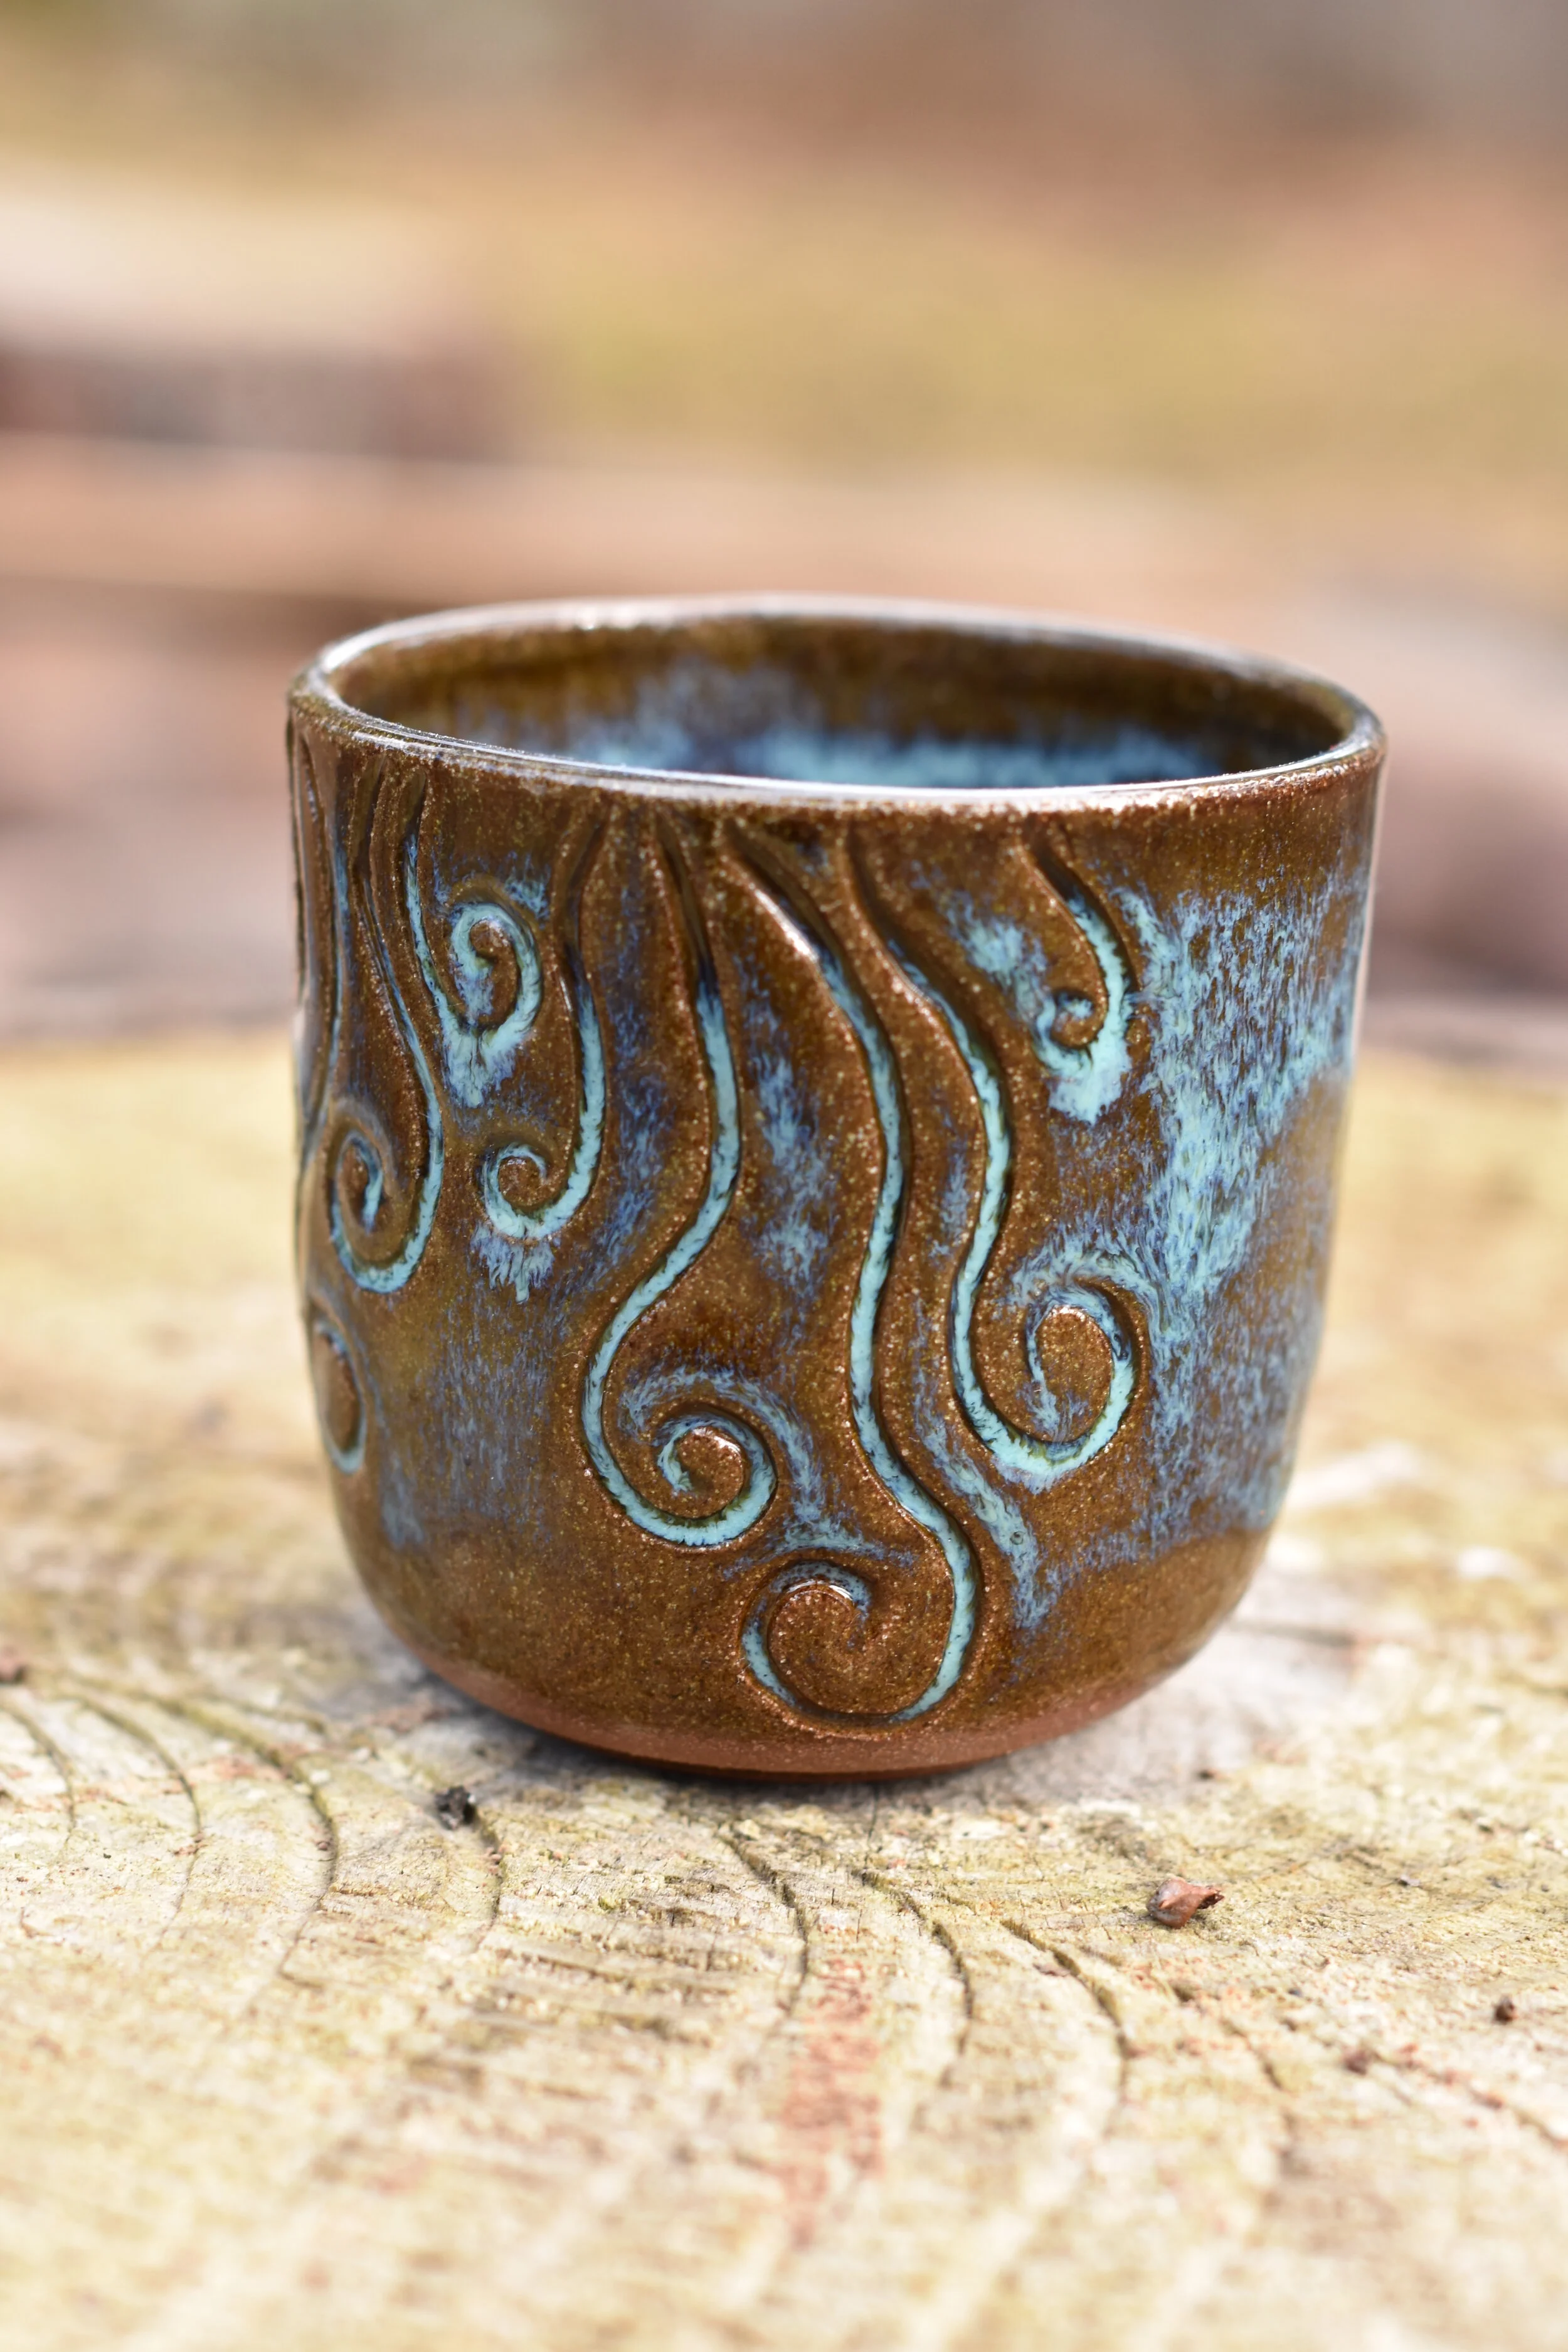
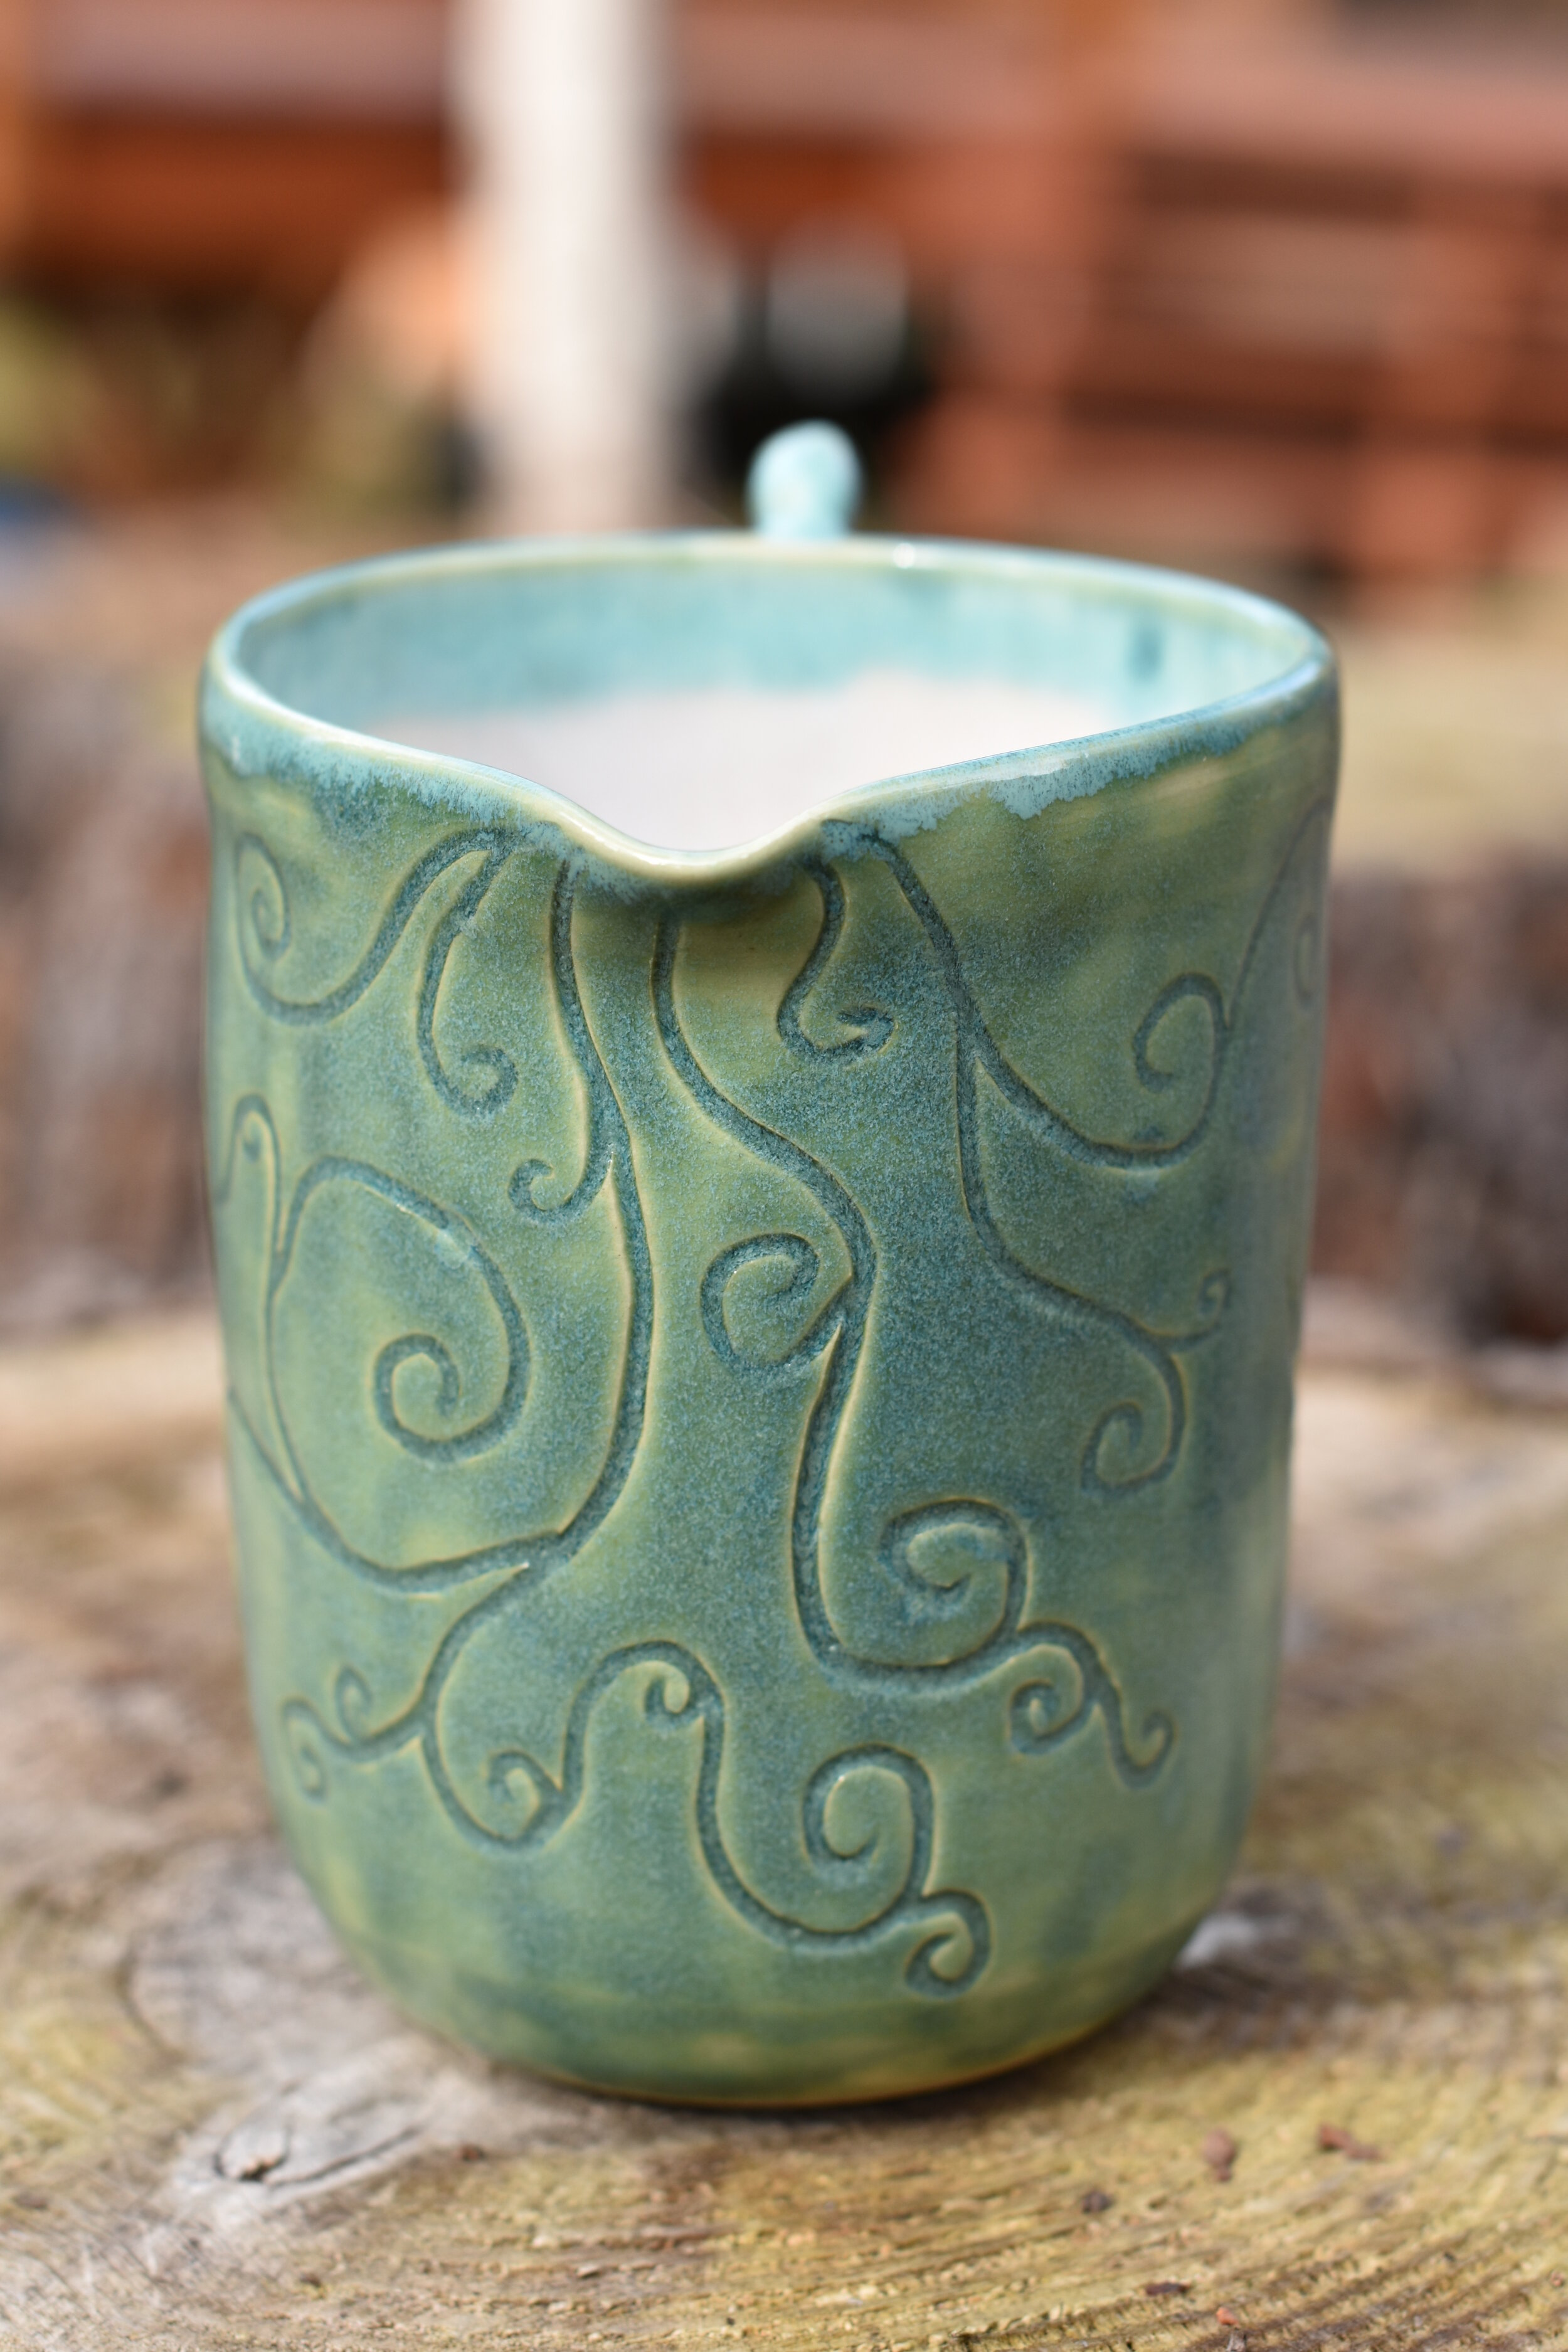
I like the flowy glazes like the ones I used on these two.